• Skip to primary navigation
  • Skip to main content
  • Skip to primary sidebar

HookedOnPlants

When getting hooked is a good thing

  • Jules
  • Why Vegan?
  • Optimize Your Diet
  • Podcast
  • Recipes
  • Shop For the Animals
  • Free Breakfast Recipe Book
  • Contact

Salt Free

Hooked On People Interview: Nicolette Richer of The Green Moustache + Grain & Bean Summer Salad

July 11, 2017 By julia

Nicolette Richer is an awe-inspiring woman who wears many hats in the health world. She worked for 10 years as an environmental educator and health consultant, which lead her to become well aware of how connected our health is to the environment around us. She now is a guru at preventing and healing chronic disease and cancer through a plant-based lifestyle and the Gerson Therapy. ‘Richer Health’ is all about preventing pollution within ourselves. Not only does Nicolette do talks, online coaching, workshops, and retreats, but she also started the much-loved Green Moustache! The Green Mo is a live food and juice café well-known for it’s delicious eats and airy atmosphere. I always walk out of there feeling more vibrant than when I stepped in.

If people want to learn and experience, hands on, how to Eat to Beat Cancer and Chronic Disease, they can now sign up for her 5-Week Eat to Beat online course.

**If you enter the code ‘JulesFuel’ you’ll get 20% off.** (Thanks  Nicolette!)

Let’s learn all about Nicolette…

Hooked on Plants: What are your top 3 tips for plant-based newbies? 

Nicolette Richer:

1) Eat clean real food. Living a healthy, nutrient-dense, plant-based lifestyle means you love eating out of the produce and grain section of a grocery store, or you source directly from your local farmers market or farm. Ditch the idea that packaged food and plant-based healthy living mean the same thing, because it doesn’t. Organic vegan Oreo-cookies, most fake-meat products, or even simply cheap pasta and canned tomato sauce may technically be plant-based, but it’s really just fortified food chalked full of sodium, dyes, preservatives and other unwanted chemicals. Stick to clean real food (like Jules Fuel 😉 to nourish yourself daily.

2) Eat in abundance! The beauty about diving into a plant-based lifestyle – or as Dr. Joel Fuhrman says, a ‘plant-rich’ lifestyle – is that if you are eating a variety of nutrient-rich, whole-plant-based foods, prepared in healthful ways, such as baked, blended, juiced, slow-cooked, slightly steamed and raw, then counting calories becomes an out-dated and useless practice of the past.

3) Keep It Simple. It’s fun to pull out the recipe books and make complicated decadent dishes and sauces that require exotic ingredients. But in reality – all of those ingredients can be one-time-use expensive, and who has time for that on a day to day basis? For a plant-based dessert, eat a mango, a few dates, and a bowl full of chilled grapes – mmmm. Love popsicles? Blend the mango with the grapes and a bit of water and freeze it. Want a delicious plant-based soup? Cook onions, garlic, leeks and squash. Blend. Enjoy… No oil, no veggie stock, no spices. After a week of keeping your plate simple, your taste buds will grow to appreciate the complex flavours that already exist in the nutrient-dense produce.

HOP: Why did you get into a plant-based lifestyle?

NR: Thanks to my mom and our African and East Indian background, I grew up loving the crunchiness and freshness of salads, warm baked potatoes and okra, and curried veggies and whole grain rice. We always had a garden and I detested eating meat. But I wasn’t always plant-based. In my teens, when I started earning my own money to buy food at school, I wavered over to a Skor Bar, Pepsi, Big Mac, and Poutine diet. Intense PMS and acne quickly followed and noticing the effects of my diet on my health, I ventured back to my plant-based roots. However, what really sealed the plant-based deal for me was witnessing my friend heal himself of stage IV cancer using a nutrient-dense plant-rich diet therapy. That experience kicked off my thirst for knowledge about the relationship between food and disease and a result, my businesses are built around educating others about how to Eat Real to Heal their chronic health conditions.

HOP: As a Gerson home trainer, you must have an abundance of success stories. Can you give a quick overview of what the Gerson Therapy fundamentals are?

NR: My clients have incredible healing stories based on them taking the steps to swap out the SAD (Standard American Diet) for a whole-foods plant-rich lifestyle. Ultimately the Gerson Therapy is all about restoring nutritional deficiencies, caused by the SAD way of life, which then prompts the body to kick start its self-healing regeneration systems, dump toxic build-up, and ultimately reverse chronic disease including cancer. The Gerson Therapy is named after the German medical doctor, Max Gerson who spent his life researching how organic, whole plant-based foods actually work to heal the body and he found that the fastest way to nutrify and detoxify the human body was through the consumption of:

  1. cold-pressed juices (think IV therapy)
  2. cooked and raw breakfast lunch, dinner and even desserts
  3. high dose nutrients in the form of key primary supplements to support organ functions
  4. a liver detoxification protocol to support the expulsion of metabolic waste and other toxins
  5. rest and minimal exercise are also important aspects of the therapy.

HOP: Your kids must be some of the healthiest around! What is your favourite trick for feeding kids more fruit and veggies? 

NR: Haha! I love this question and I often get asked it by parents. Yes, teachers and parents often state that they are amazed that my kids eat everything and that they love fruits and most veggies – my youngest has yet to find a love for mushrooms though.

I have 3 tools to help parents:

  1.  The trick is to not trick your kids into eating more fruits and veggies – if you get your kids involved in shopping, washing, chopping, and making real food plant-based meals, beverages and desserts, their brains will be turned on to the textures, flavours, aromas, and sensations received from living this lifestyle and they’ll crave it, just like most adults would
  2. The key is that you can’t have competing foods in the house. If there’s a bag of salt and vinegar chips in my house, I’ll always choose those over the healthier more satisfying options. So imagine, what it’s like for a child to be presented with a scrumptious home-made plant-based dish when there are cheese strings, goldfish crackers, and mac & cheese in the cupboards
  3. Don’t pressure, bribe or bully your kids into eating their veggies and fruits. Most kids won’t starve themselves. Simply prepare your meals or snacks and present them on the table as you would normally do and mirror the joy and love of eating healthy food

Do these things day in and day out, and if your child eats even a little of what’s on the table – great – don’t make a big deal about it, just do it again the next day. If they eat a lot – again, wonderful…but you really don’t have to celebrate it though you can do a little jig of joy and relief internally. If your child claims they are still hungry after dinner, present them with other just-as-healthy options so it’s a win, win all around. And give your child time to adjust their brain, habits, and taste-buds to the new healthy textures, colours and aromas on your table of goodness.

HOP: Great tips. How did you come up with the name Green Moustache (it’s the best)?

NR: I love the name too! We were sitting around our kitchen table with friends and I had made a yummy blueberry and greens smoothie for my daughter – she was 2 years old at the time – and the berries made the smoothie congeal in the glass so when she went to tip the glass up to drink from it, the entire smoothie slid out of her glass and onto her face giving her a beautiful big Green Moustache, and not to mention a very angry but cute pout.

HOP: Too cute! The Green Moustache is spreading like wild fire! Whistler, Squamish, Vancouver and Revelstoke are all lucky enough to have one, and the Dragon’s gave you some great exposure too! What is the next exciting project you’re working on?

NR: Our two major projects are 1) supporting our franchisees in Squamish, two in North Vancouver and Revelstoke with more being announced soon … and then 2) working with the Provincial Health Authorities to get the Green Moustache into BC Hospitals in 2018! This is our dream at the Green Mo to get our food and beverages into areas where people need it most.
HOP: You do 4 retreats per year with Yoga, Cooking classes and Nutrition talks! So awesome. When is the next one coming up?

NR: We’ll be hosting a 3-day retreat at the end of August in Whistler to launch our train-the-trainer program. Students who want to dive deeper into the art and science of using food as medicine to reverse disease so they can teach other people how to Eat Real to Heal can further their studies with us for 3 months after the retreat is over. Dates and location will be announced soon on FB and on our websites.

HOP: Can you share your favourite recipe with us that means SUMMER to you? 

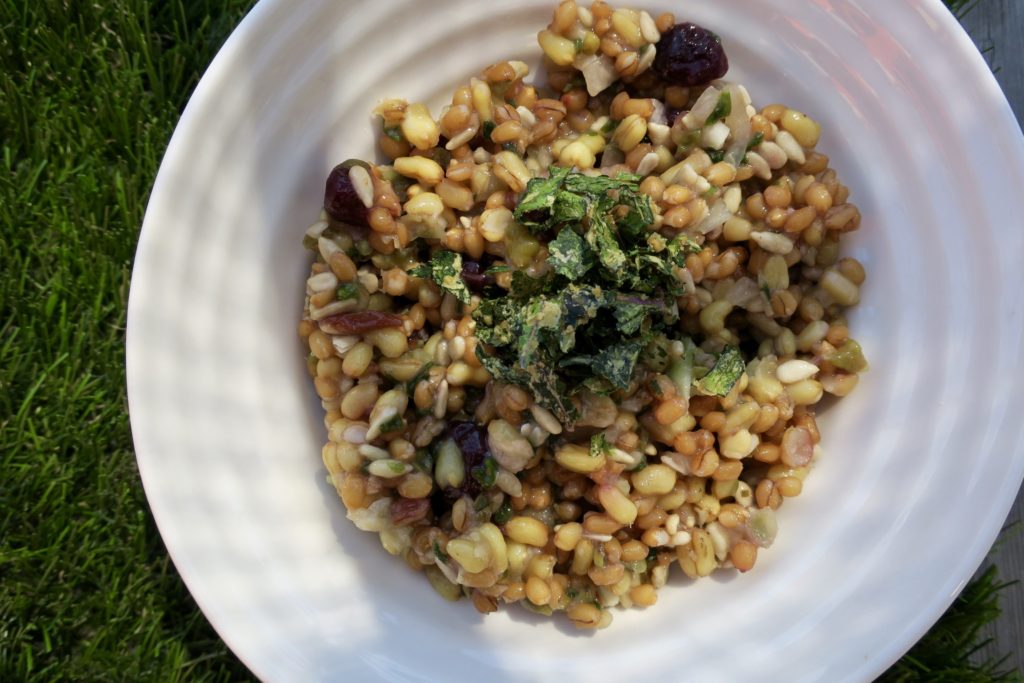
NR: I love recipe books but rarely follow a recipe…I’m a sort of a free-style chef, so to speak…so I’ll take you through how to make my favourite go-to summer dish, inspired by Oh She Glows, Back On Track Wheat Berry and Bean Salad. You can adjust the quantities and ingredients based on the flavours you are craving when you make it, or by what is available in your fridge.
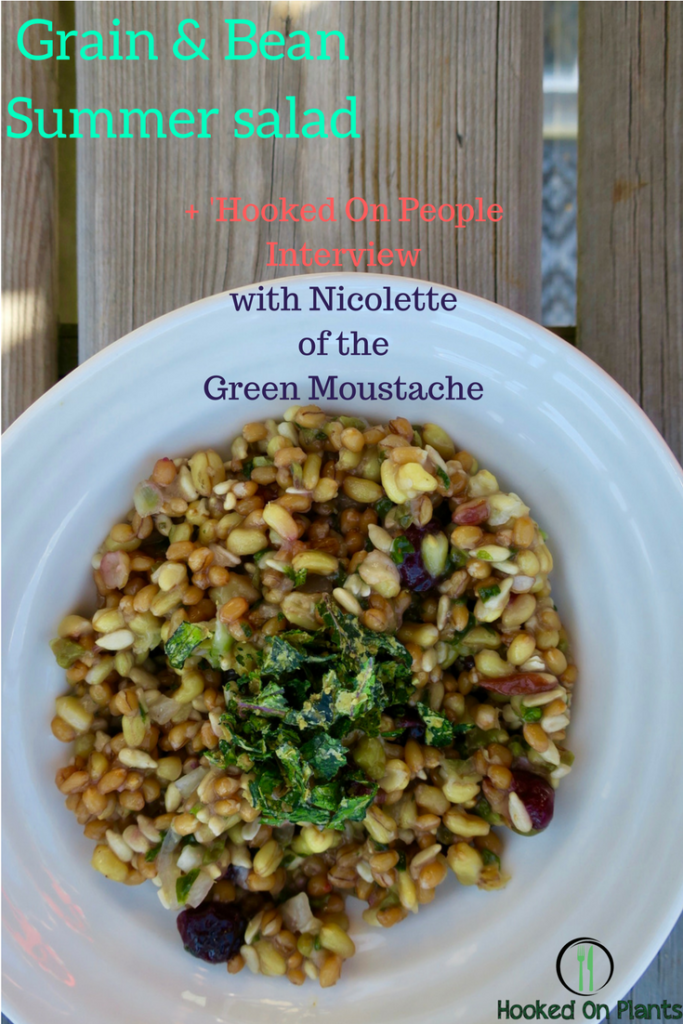
Nicolette’s Go-To Grain & Bean Summer Salad

Serves: 7 cups approximately

Ingredients: 

Salad Ingredients:

  • 1 cup dry wheat berries cooked and drained (substitute: brown rice, quinoa, barley, etc.)
  • 1 cups/500 ml cooked navy beans (substitute black beans, kidney beans, white beans, chick peas, etc.)
  • 1 mango, diced
  • 1 cucumber or zucchini, diced
  • 1 red pepper, diced
  • 1 carrot, diced
  • 1 large tomato, diced
  • 1 cup fresh parsley or 1 cup cilantro, diced
  • 3 green onions, diced
  • black pepper to taste
  • If you desire a salty flavour, add 2 stalks celery, diced

Dressing Ingredients:

  • 0-3 tbsp flax oil or extra virgin olive oil (oil is optional)
  • 3 tbsp apple cider vinegar
  • 1 tsp Dijon mustard, hot mustard, or ground mustard seeds
  • 1 tbsp maple syrup (optional)
  • 2 large garlic cloves, minced
  • 2 tbsp freshly squeezed lemon juice

Directions:

  1. In separate bowls, soak the grains and beans overnight in cold water.
  2. The next day, drain and cook grains and beans separately until tender. Drain water and cool.
  3. In a large bowl, add diced vegetables and mango.
  4. In a small bowl or mason jar, whisk or shake the dressing ingredients together.
  5. When the grains and beans are cooled, add to large bowl of veggies and mango.
  6. Add dressing to taste.
Filed Under: Dinner, Hooked On People Interviews, Lifestyle, Lunch, Oil Free, Recipes, Salt Free, Spring, Summer, Uncategorized Tagged With: gerson therapy, grain and bean salad, green moustache, hooked on people, hooked on plants, nicolette richer, plant based diet, plant-based for kids, raw food diet, richer health, summer salad, vegan diet, whistler entrepreneur

Nut-Free Maca Date Balls & Vegan Festival Eats

July 5, 2017 By julia

Sometimes all you need a two-biter to make your day.

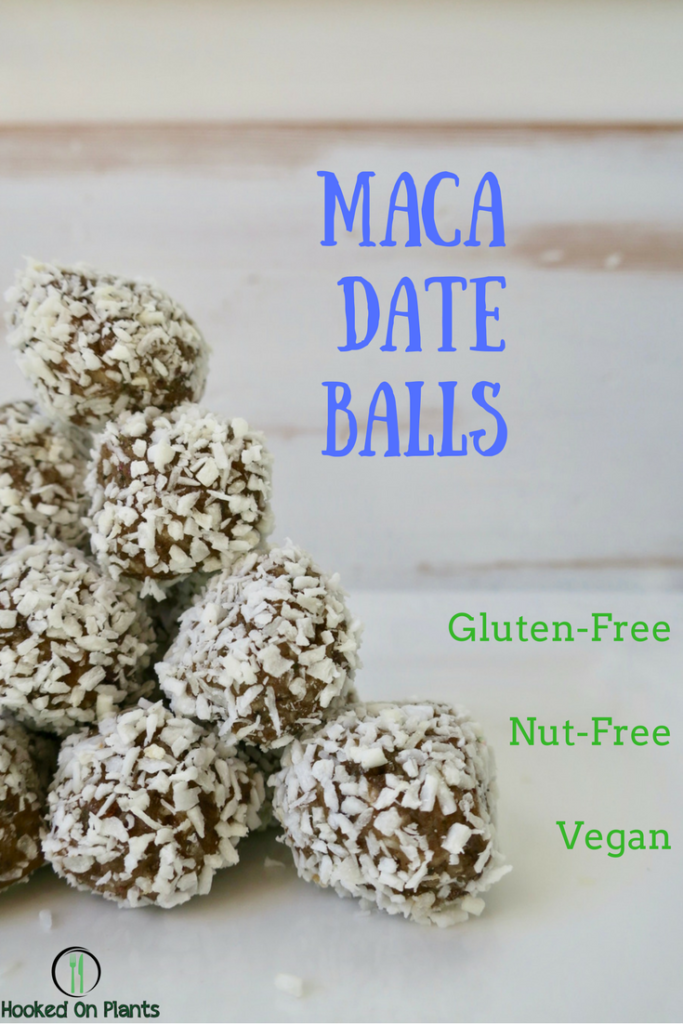
Need it to be gluten-free, nut-free and packed with nutrients? Look no further.

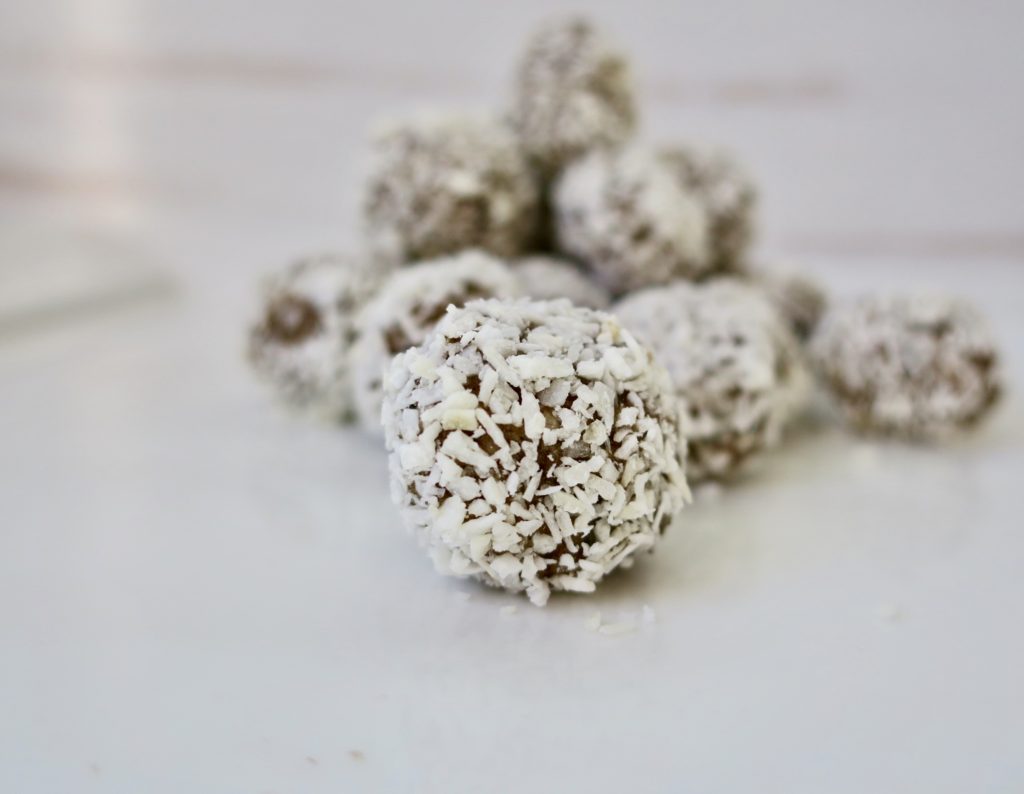
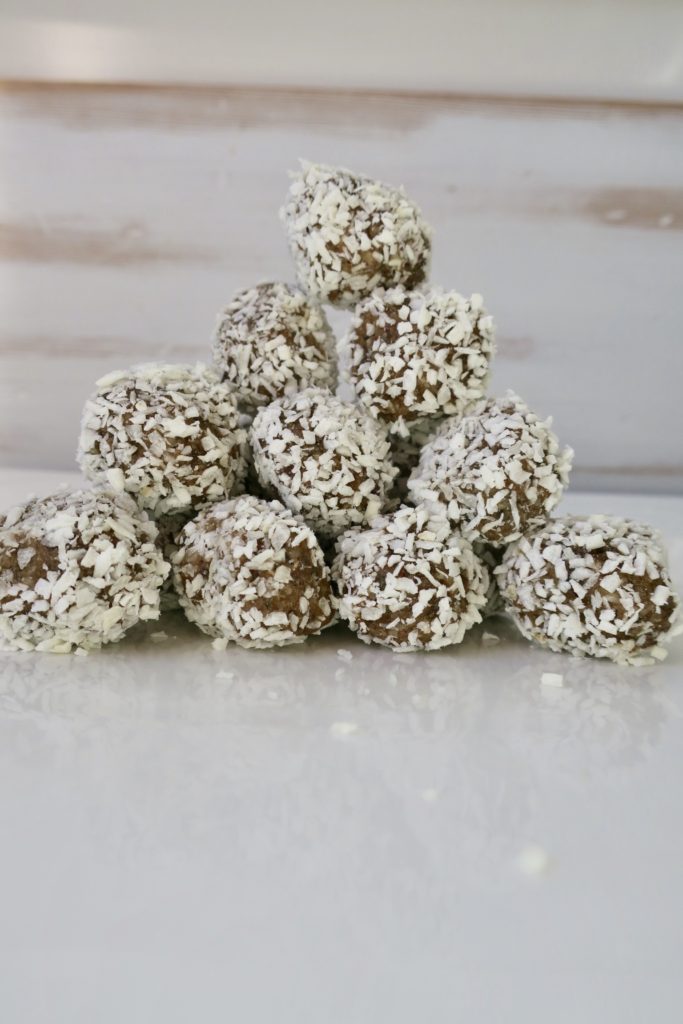
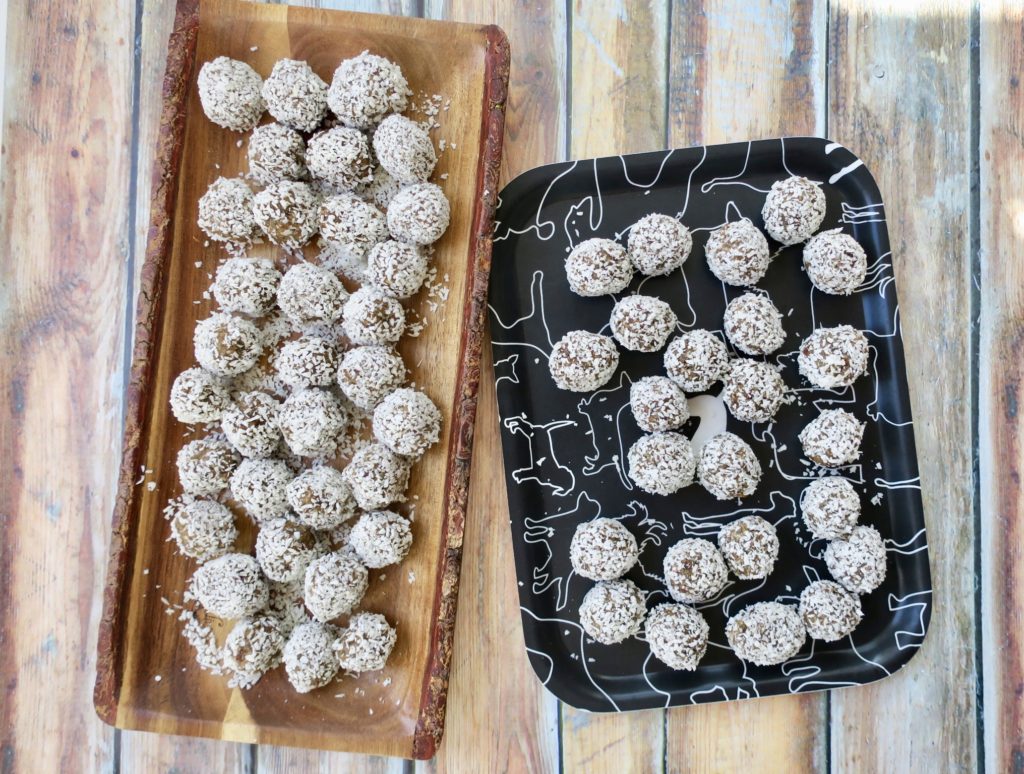
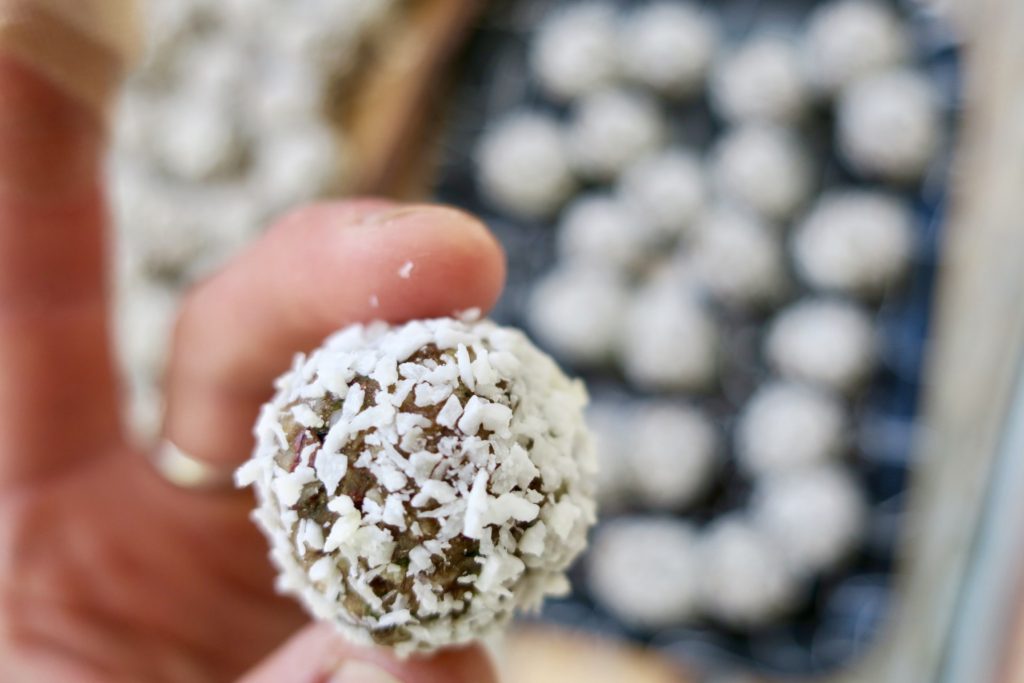
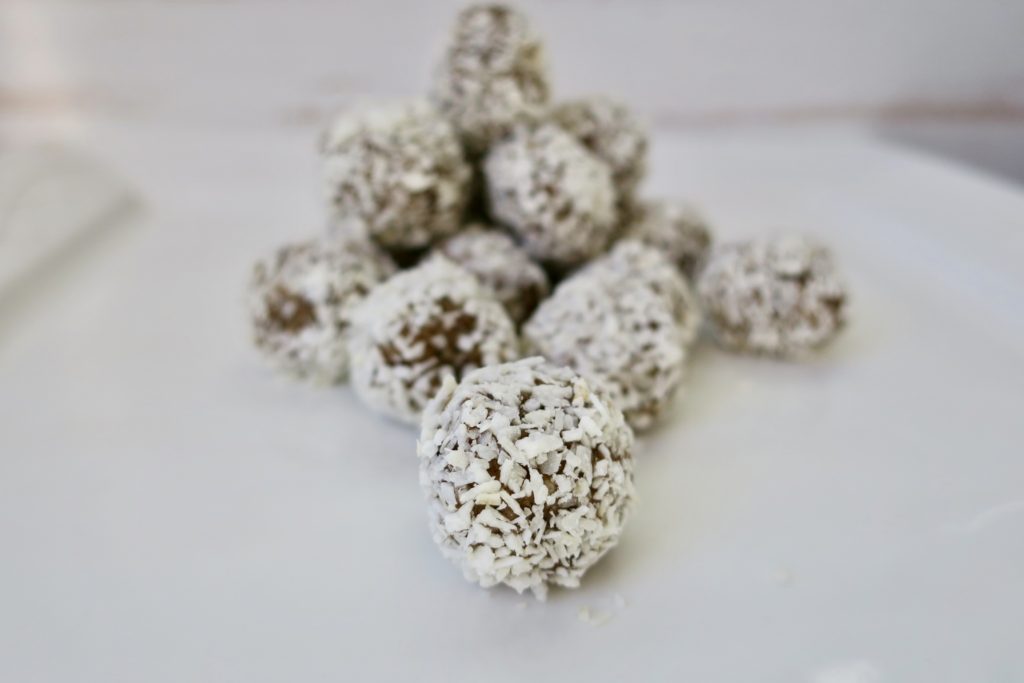
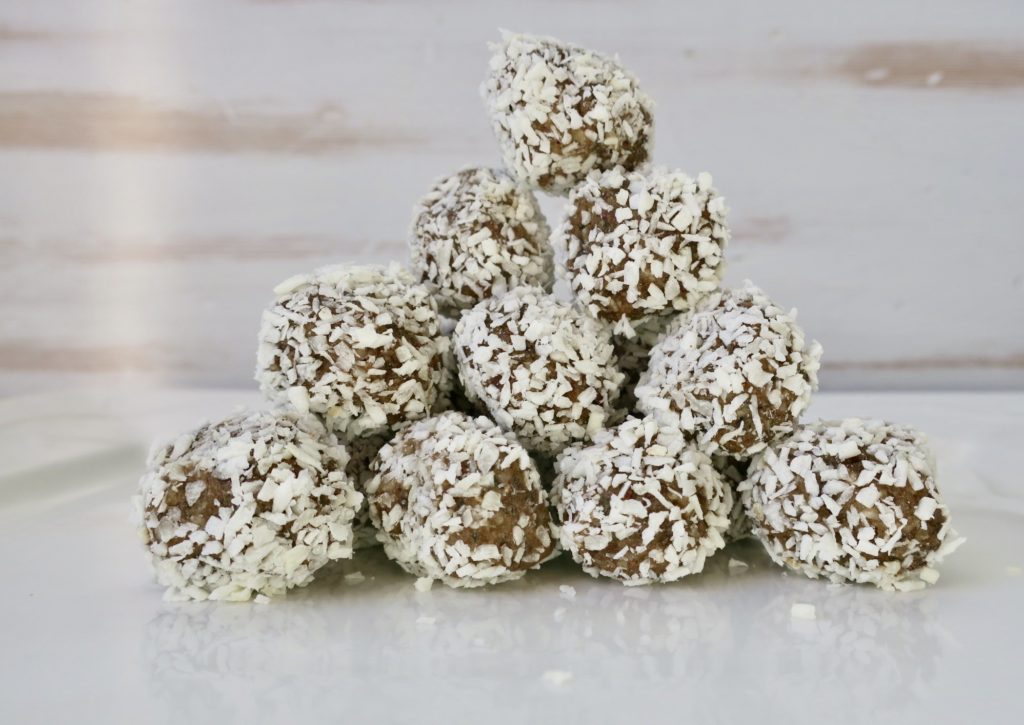
Here’s a two-bite morsel (AKA meteor ball) that will make you bounce of the walls from all that whole-food, plant-based energy. Not to mention… make your taste buds sing.

Easy as dump, blend, roll.

It’s festival season. It’s camping season. T’is the season for glorious balls of tasty nutrients.

These are perfect for camping. You can take them in a big zip lock, and keep them in your cooler until you head off on your hike, then transfer to a little baggy to stash them in your back pack.

Or, if you’re ever needing a little boost of energy at a festival, meet your new best friend.

There’s nothing like a hand-to mouth treat that is actually healthy for your cells, your muscles, your brain, your digestion… and of course, your dance moves.

This weekend calls for these little bites. Bass Coast is coming up, which it’s all about taking your dance shoes out and busting a move. Since cooking time will be squeezed out of the schedule because of all of the art to look at, people to learn from and dancing to do, these are the PERFECT bites to bring in a cooler to keep us sustained for the festivities.

Dress by @ChicLittleBoho

Oh ya! And, I’m excited to be bringing these balls to the Hooked On Plants Bass Coast workshop too!

While we’re on the topic let’s talk festival eats! What eating at a festival really means is snacking on the go. It’s important to bring snacks that will sustain you, hydrate you, and fill you up with nutrients and good energy.

And water. LOTS and lots of water. Throw in some electrolytes or even a dash of Himalayan salt, and you’ll be loving it.

Vegan Festival food ideas:

  • Hummus and veggies/tortilla chips
  • Fruit – any kind, and all of it! This is nature’s way of giving us amazing energy packed with nutrients and hydration
  • Pre-make one-bowl meals to take spoonfuls of regularly:
    • Soba noodle salad
    • Simple green curry
    • Quinoa sweet potato salad
    • Pasta salad
    • Butternut Mac & Peas
  • Salad fixin’s: Bring lettuces, tomato, avocado, and seeds, plus one of these dressings in a jar
  • Pre-bake sweet potatoes (either whole or as fries), and dip in organic ketchup
  • Bring these Fudgy Quinoa Brownies to drool over and sustain you
  • Pre-make popcorn with coconut oil and nutritional yeast to pack in the B12 (try adding curry powder or garlic powder, YUM), and bring it in a big re-usable ziplock
  • Roast chickpeas for a salty snack
  • Bring along your favourite green powder to throw in your water bottle in the AM.
  • Pre-make and bring along a tupperware of Jules Fuel for breakfast so you can pack in some mega-nutrients before your day even starts
  • Rice, Beans, Guac, Salsa, Wraps. Enough said.

Ok, now back to the balls.

The magic ingredient in this recipe is Maca.

Benefits:

~Maca root is an adaptogen. All adaptogens bring your body back to homeostasis (or balance). Adaptogens grow in stressful situations (extreme weather), meaning they need to adapt to their environment. That’s why these amazing herbs and roots are so beneficial! Maca is especially good for balancing hormones, strengthening immunity, increasing energy & labido,

~Dates are the base to these ‘meteor balls’. Dates pack a mean punch of minerals, fibre, and clean, easily digestible energy. Perfect for the summer adventures.

~Hemp seeds bring a complete plant-protein to the mix. Plant protein is easily assimilated by your body to help you grow beautiful hair and nails. You really don’t have to worry about where you’re getting your protein from when you eat a whole-food plant-based diet.

Maca Date Balls

AKA Meteor Balls

Time: 10 minutes + 30 minutes chill time

Serves: 15-20 balls

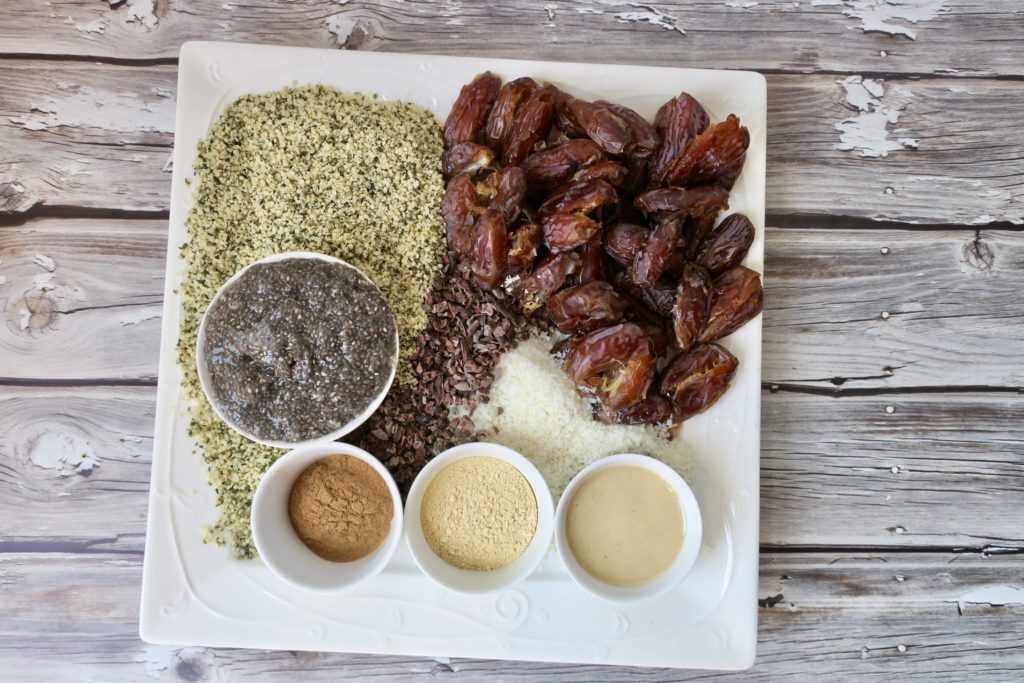
Ingredients:

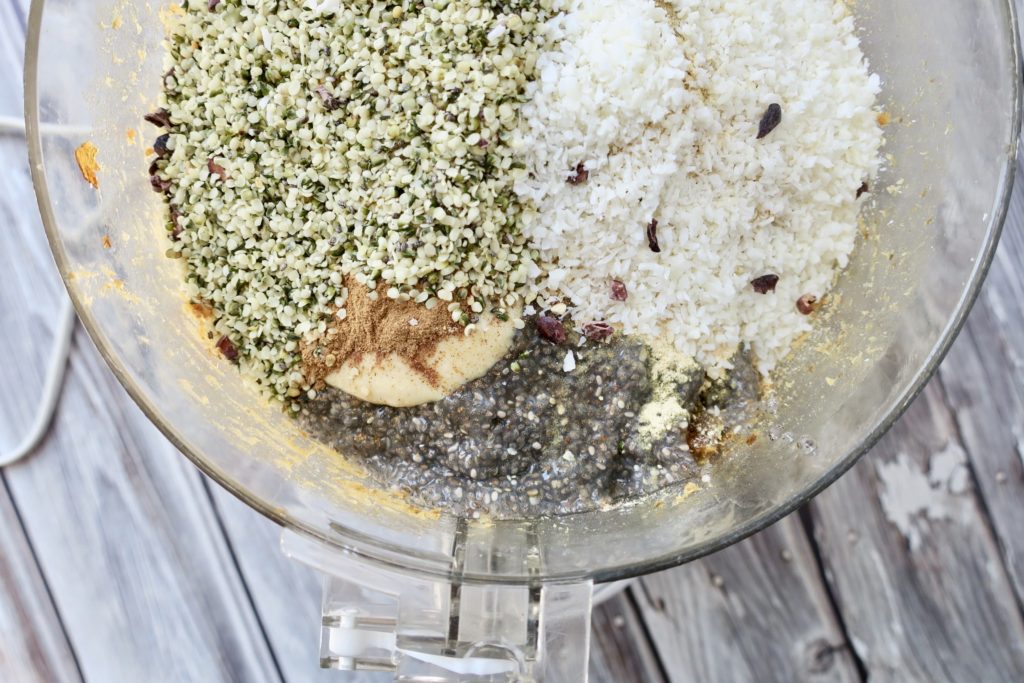
  • 15 pitted dates (1 cup packed)
  • 1 chia egg (1 tbsp chia + 3 tbsp water, let sit for 5 minutes until gooey)
  • 1/2 cup hemp seeds
  • 2 tsp cinnamon
  • 1/2 cup shredded coconut
  • 2 tbsp maca
  • 2 tbsp cacao nibs

For rolling:

  • 1/4 cup shredded coconut

Directions:

  1. Pulse dates in food processor until small chunks form (but don’t pulse so much that a pastey ball forms)
  2. Add the rest of the ingredients except for cacao nibs and rolling coconut
  3. Blend until ball forms
  4. Add cacao nibs, and blend until mixed evenly
  5. Spread rolling shredded coconut out in a flat bowl
  6. Wet hands
  7. Roll date mixture into small balls, then place them in the coconut bowl
  8. Roll the balls around until coconut coats them completely
  9. Place in the freezer in one layer on a plate (at least 20 minutes, then for storage place them in a tupperware or ziplock in the freezer)
  10. Eat when you’re feeling snacky, or low energy!

Filed Under: Breakfast, Dessert, Gluten Free, Lifestyle, Lunch, Oil Free, Raw, Recipes, Salt Free, Snacks, Spring, Summer, Uncategorized, Veganism Tagged With: basscoast, bliss balls, camping snacks, date balls, festival eats, gluten free balls, hemp date balls, hooked on plants, maca, maca balls, nut free balls, plant based dessert, plant-based snacks, ready in 10, vegan balls, vegan camping, vegan dessert, vegan festival, vegan snack

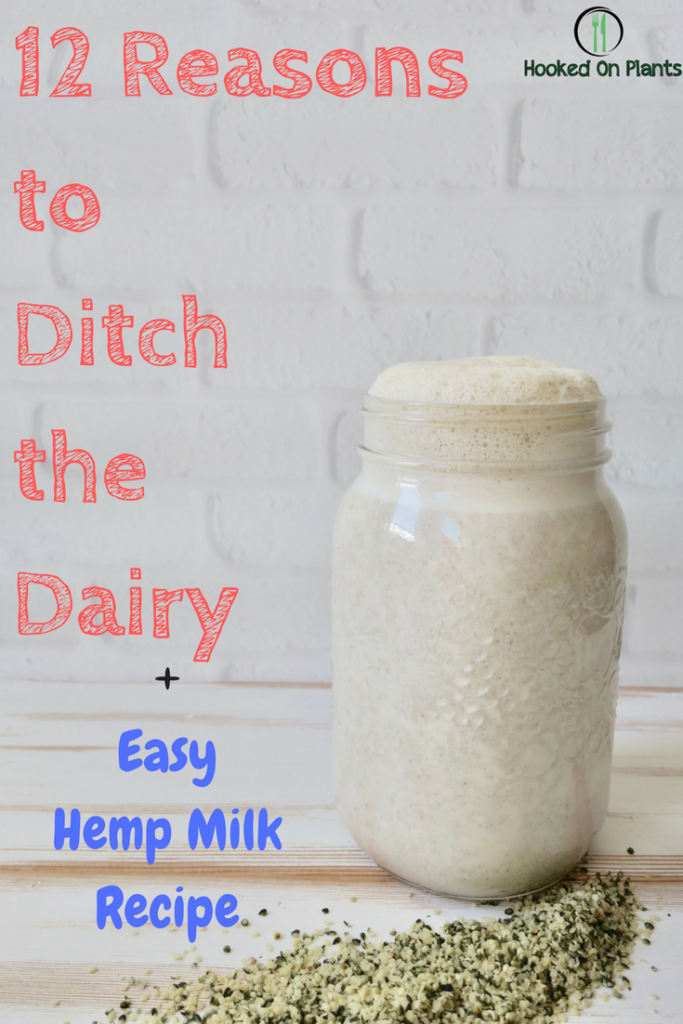
Hemp Milk Recipe & Ditching Dairy

June 23, 2017 By julia

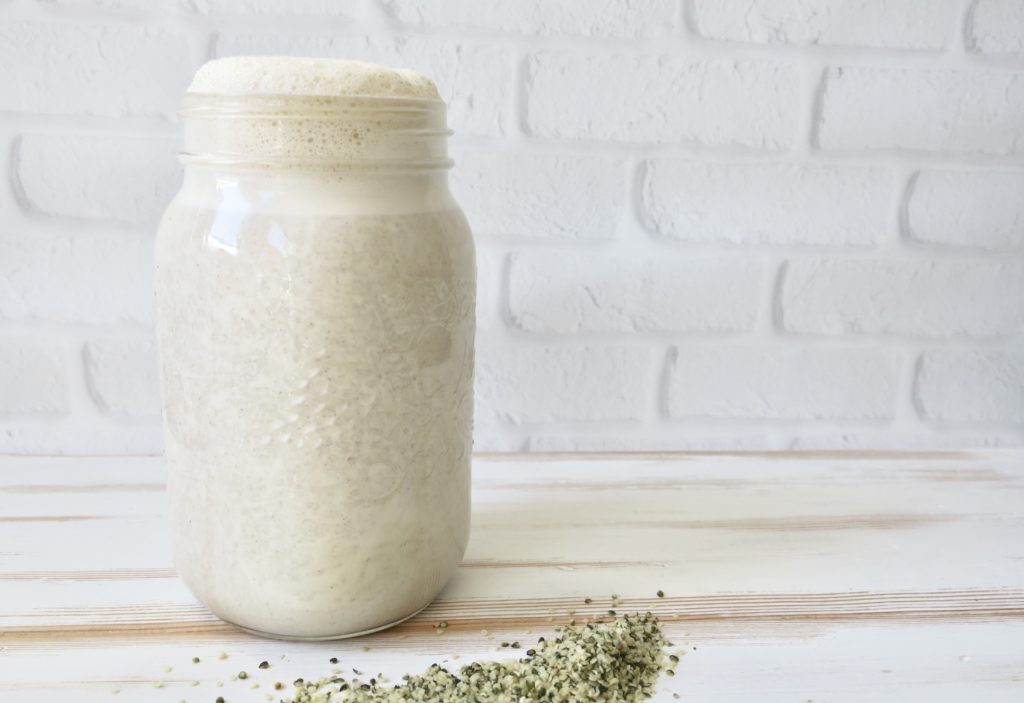
Ready in a few minutes! No pre-soaking or straining needed.

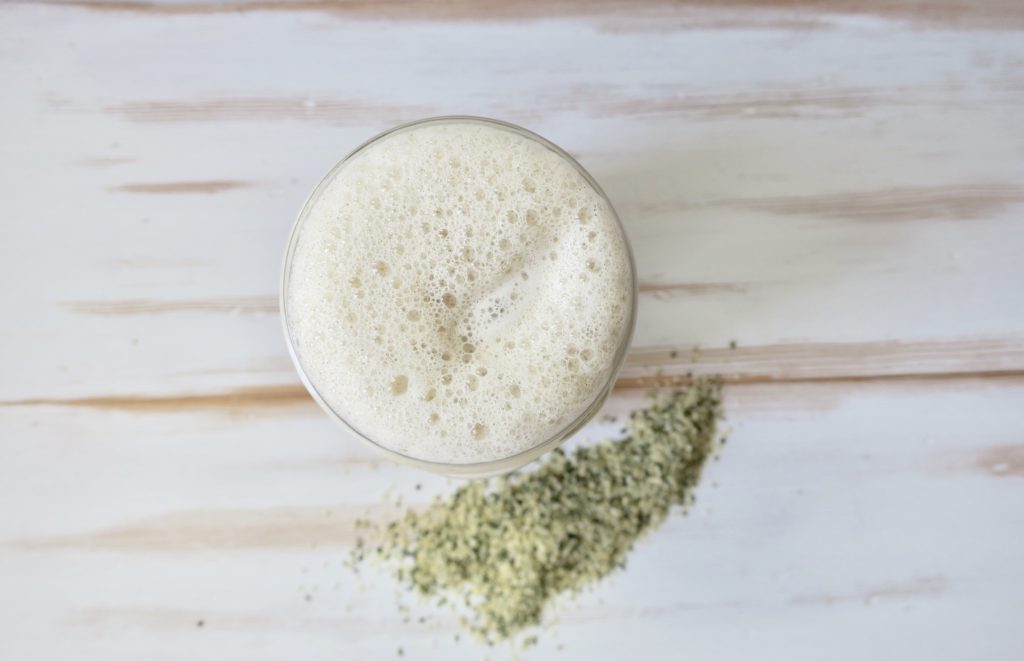
Not only is it the easiest plant-based milk to make at home, hemp milk is creamy and tasty too.

Not to mention the nutrient-boost of the hemp seeds you’ll get! As the most nutritious seed in the world, they’re a perfect balance of omega 3 and 6, a complete plant-protein, and packed with vitamins and minerals.

You can take it to the next step and strain the blended hemp milk through a nut-milk bag (like you would do for almond milk), but since hemp seed pulp is smoother, and packed with fibre for maximum nutrition, it’s a great excuse to skip that step and enjoy a thick, smooth, milky beverage!

Since you don’t have to pre-soak the seeds or strain the milk, you can whip this up in no time. Plus, you can get creative with your flavours. Today we’re keeping it simple and using cinnamon and maple syrup. This is my go-to, and never disappoints.

Other flavours you could add?

  • Molasses
  • Turmeric
  • Nutmeg
  • Vanilla
  • Cacao
  • Peanut butter
  • Maca powder
  • Lucuma powder
  • Shredded Coconut
  • Strawberries
  • Blueberries

Drinking milk on the daily was thought to be the healthy way to get in the calcium and create strong bones. But, now that the science is catching up, we know this isn’t the case!

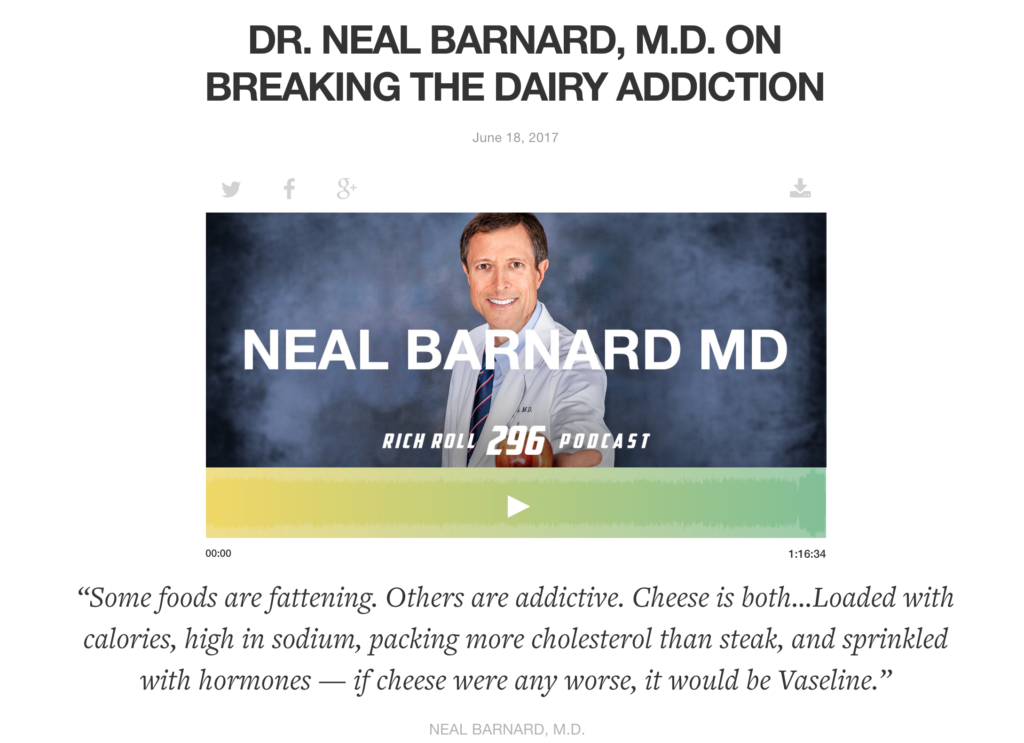
A must listen is Rich Roll’s latest podcast with Dr. Neal Barnard, all about the Dairy woes.

If you don’t have time to listen to the whole hour, here are some points to jump to:

22:22 ~ An example of a woman who healed by switching to a plant-based diet

25:47 – 28:20 ~ Where dairy comes from and the detrimental effects it has on us (estrogens, breast cancer, low sperm count, prostate cancer)

29:15 ~ Calcium confusion

31:15 ~ Prostate cancer

31:40 ~ Prostate cancer and dairy consumption

32:30 ~ IGF 1 (insulin like growth factor) and it’s dangerous effect on cancer growth

35:30 ~ Dairy is a legit addiction

43:25 ~ The ethics of the dairy industry (it’s even worse than the meat industry)

48:30 ~ Antibiotics and Additional hormones


1) Clearer skin  & 2) Less inflammation

Dairy is packed with animal hormones, animal proteins (casein and whey), saturated animal fat, and insulin-like growth factor (IGF-1). These lead to inflammation, mucus production, bacteria and oil build up, leading to acne, skin aging, asthma, weaker immunity. Try a dairy free diet (and ditching the refined sugar will help too) for clearer skin, fewer colds, and easier breathing.

3) Improved digestion & 4) Weight loss

About 75% of the world’s population is actually lactose intolerant. As humans, we are the only species that drinks the milk of a different species. Cow’s milk is meant for cows, goat’s milk is meant for goats. Dairy (which comes with IGF-1) is meant to be consumed by a calf that needs to grow to a 400 pound cow in a few month’s time (this isn’t something we need as humans). Gas, bloating, weight gain, diarrhea, migraines and mucus build up are all issues that come from consuming dairy as a human.

5) Disease Prevention

Dairy packs a punch when it comes to saturated animal fat (#1 source in the American diet), cholesterol, and IGF-1. These all lead to atherosclerosis, diabetes, cardiovascular disease, obesity and cancer.

6) Better for the bones

Contrary to popular belief, milk can lead to more hip fractures and osteoporosis. The elevated galactose in blood causes pre- mature aging, and weaker bones.

7) Calcium absorption

Calcium from plant foods is absorbed nearly twice as well as the calcium in dairy. Dark leafy greens, legumes, rice milk, soy milk, tempeh, are all high in calcium. You have to think about the package of what you’re consuming comes with:

  • Dairy comes with: pus, manure, natural hormones, saturated animal fat, lactose, and a lot of the time, added antibiotics and hormones
  • Plant foods come with: fibre, folate, high concentration of vitamins, electrolytes, antioxidants, phytonutrients

Cancer Prevention:

  • 8) Prostate cancer: Cow’s milk creates an increase in growth rate of prostate cancer cells by over 30%, whereas almond milk suppressed the growth rate of cancer cells by 30%.
  • 9) Breast cancer: Because of the animal-derived estrogen in dairy. Women who consume the most dairy had a 49% higher breast cancer mortality

10) Better for the planet 

Cows are the #1 contributor of methane gas. One fracking well releases just 1/10 of the amount of methane each day compared to one single dairy farm. Dairy products ranging from one glass of milk, 2 slices of cheese, one scoop of ice cream, one greek yogurt take 30 gallons to 109 gallons of water to create. Soy milk, on the other hand, takes 9 gallons of water per glass. You could save 50,000 gallons of water per year just by choosing to ditch the dairy.
11) Minimize cruelty

The dairy industry is the meat industry…but worse. The Mother cows is artificially inseminated every 10 months to give birth to their calf (which is taken away from them). Once they reach a certain age and cannot produce milk at the rate that is economically viable, they are killed for the meat industry. There’s no need to contribute to this cruel treatment when there are so many delicious vegan dairy alternatives available in the grocery stores, and at home in your kitchen.
12) There are delicious things happening in the plant-based dairy world!

Miyokos Creamery

Tree Line Cheese 

Daiya

Chao Cheese

Nice Vice Ice Cream

Make your own:

This Cheese Is Nuts – Just bought this book!

Turmeric Cheddar Log recipe

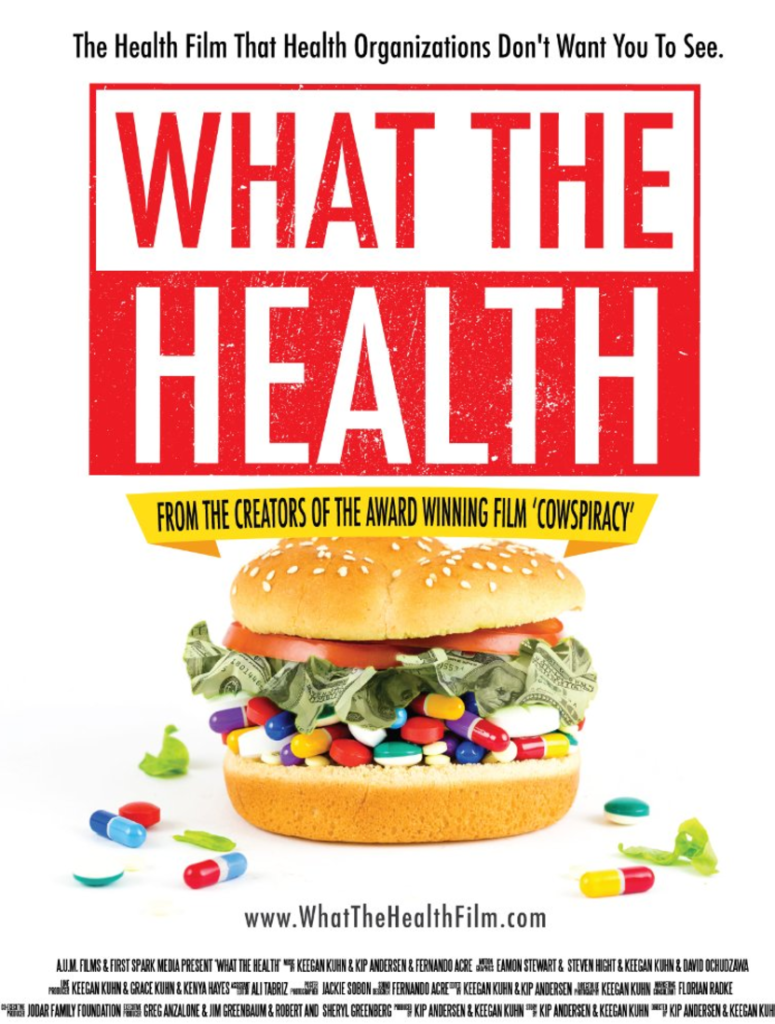
Documentaries to Watch:


Now, onto the recipe!


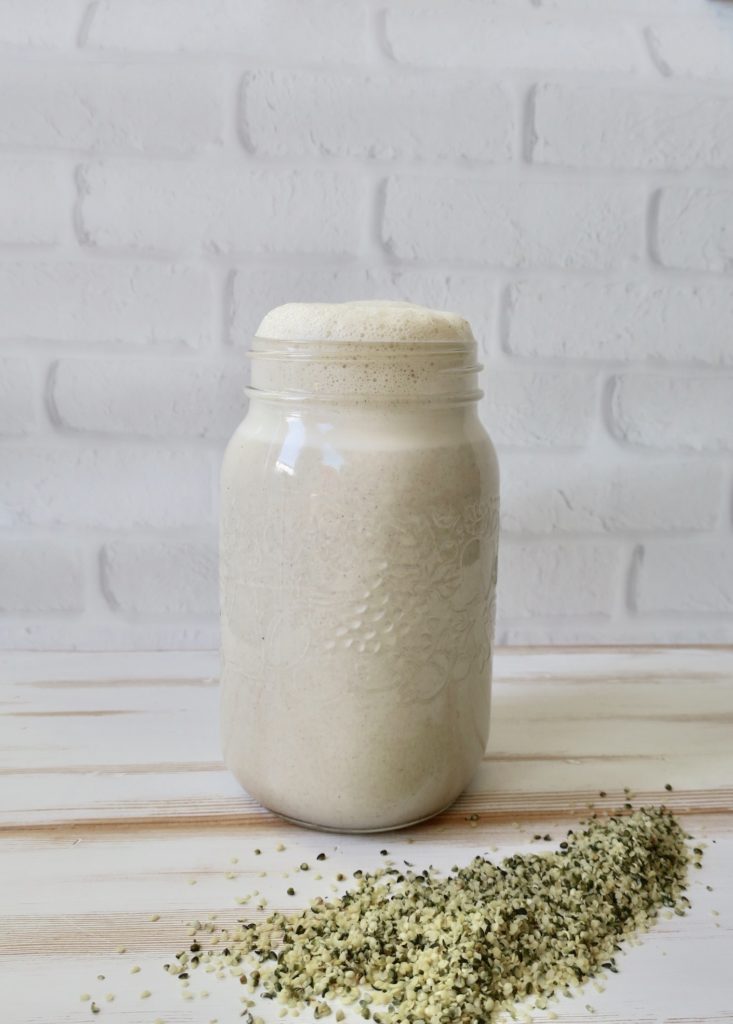
Easy Hemp Milk 

Time: 5 minutes

Ingredients: 

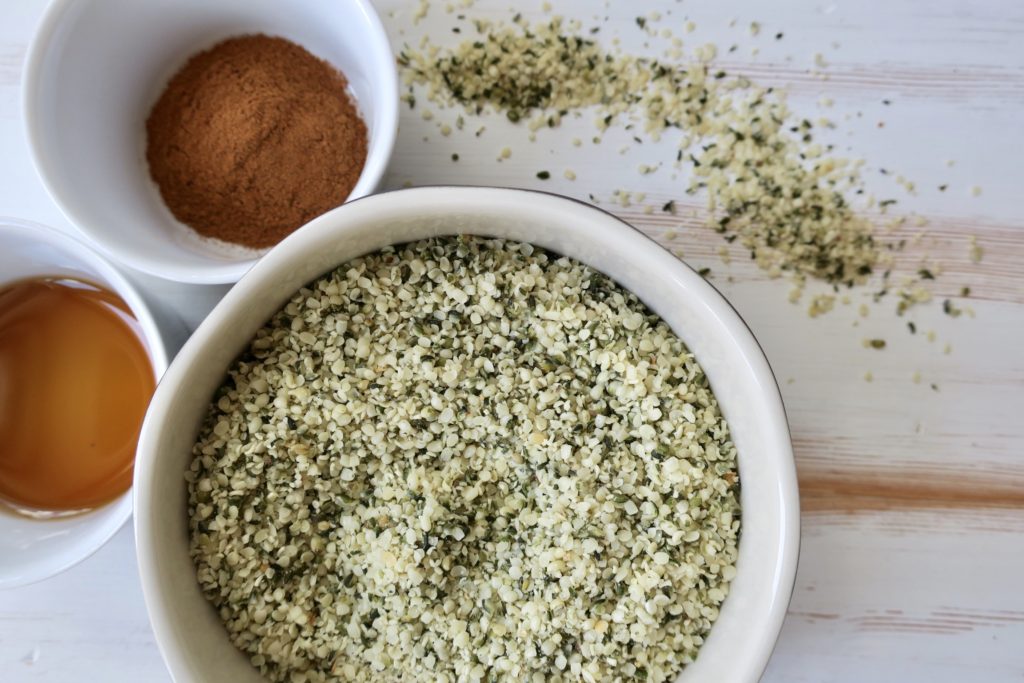
  • 1 cup shelled hemp seeds or hemp hearts (same thing)
  • 1.5 tbsp maple syrup
  • 1 tbsp cinnamon
  • 4 cups water

Directions:

  1. Blend all ingredients in a high-speed blender for 45 seconds to 1 minute
  2. That’s it!
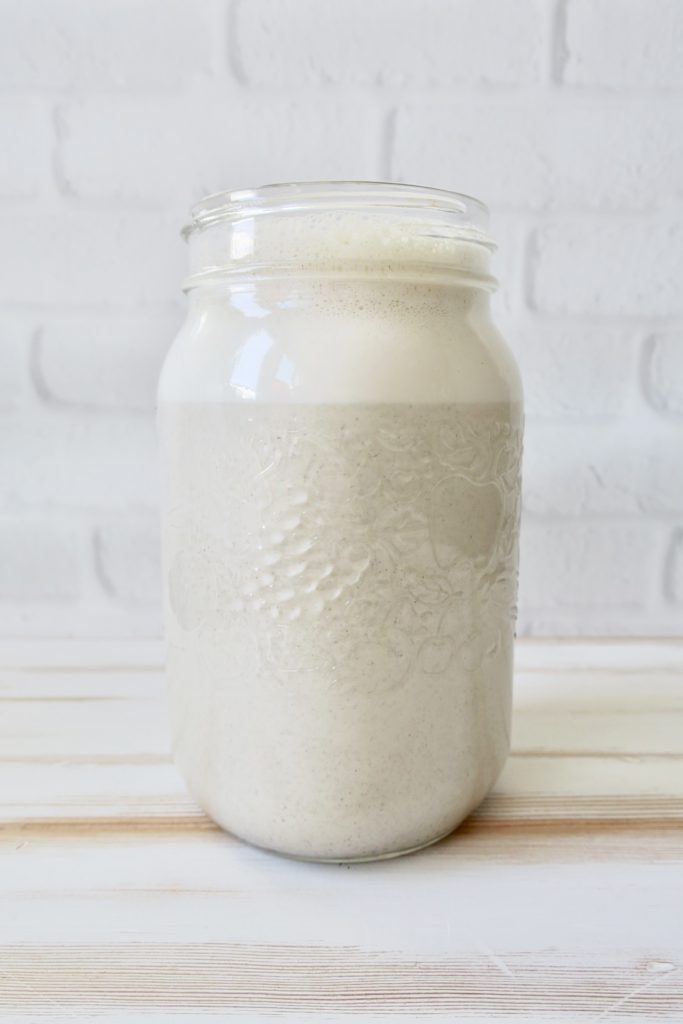
  3. Store it in an airtight jar, (or re-use an old milk carton) for up to 5 days

**Optional: strain it for a smoother texture. But, hemp milk is so creamy and smooth even with out straining it through a nut-milk bag, plus you keep all of the beneficial fibre in your beverage:)

Filed Under: Breakfast, Dessert, Drinks, Gluten Free, Lifestyle, Oil Free, Raw, Recipes, Salt Free, Snacks, Uncategorized, Veganism Tagged With: cancer prevention, clear skin, creamy hemp milk, dairy industry, dairy-free, ditch the dairy, easy vegan recipe, hemp milk, hemp seed milk, neal barnard, nut milk, plant based milk, ready in a minute, rich roll, strong bones, vegan milk, veganism, weight loss

Fudgy Quinoa Brownies + Vegan Camping Eats

June 15, 2017 By julia

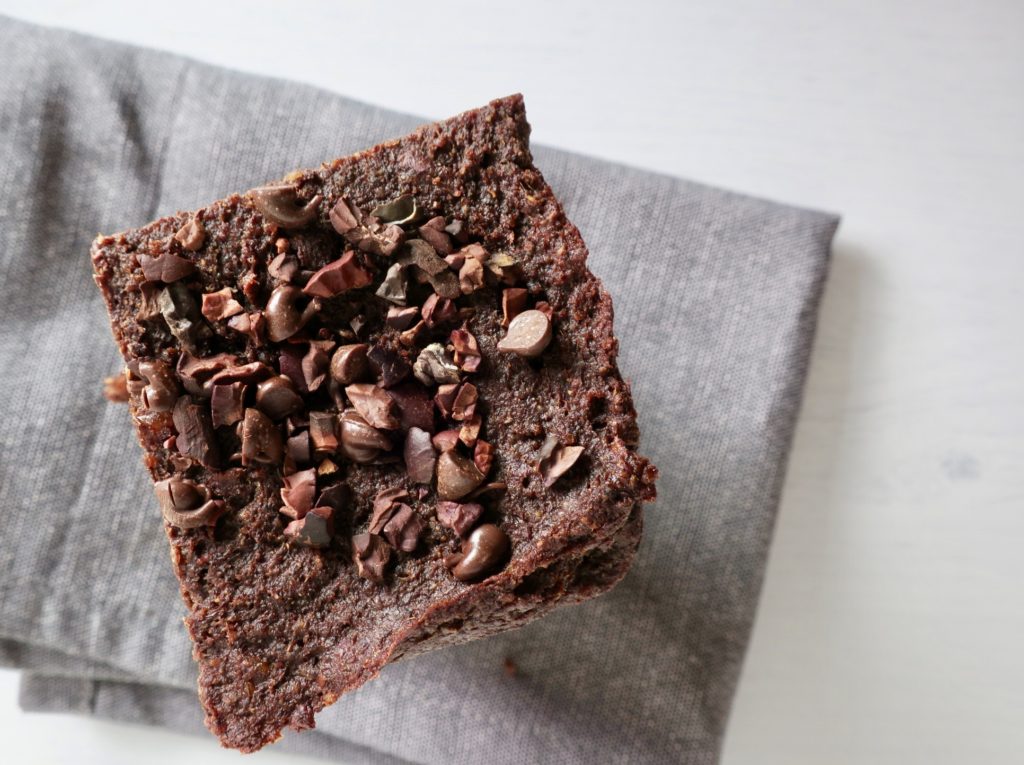
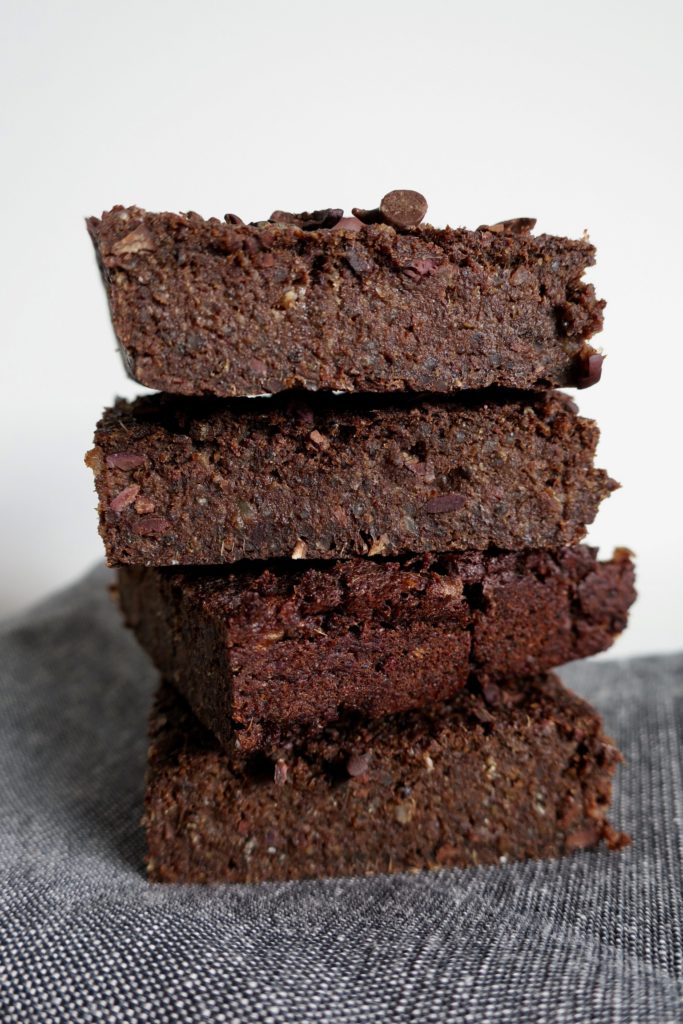
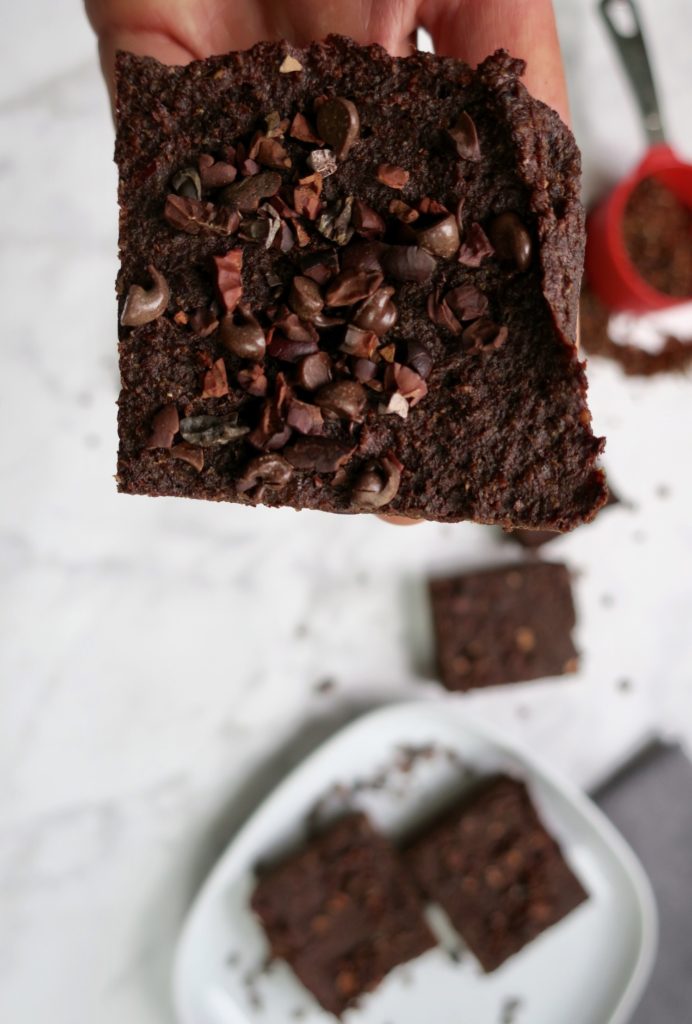
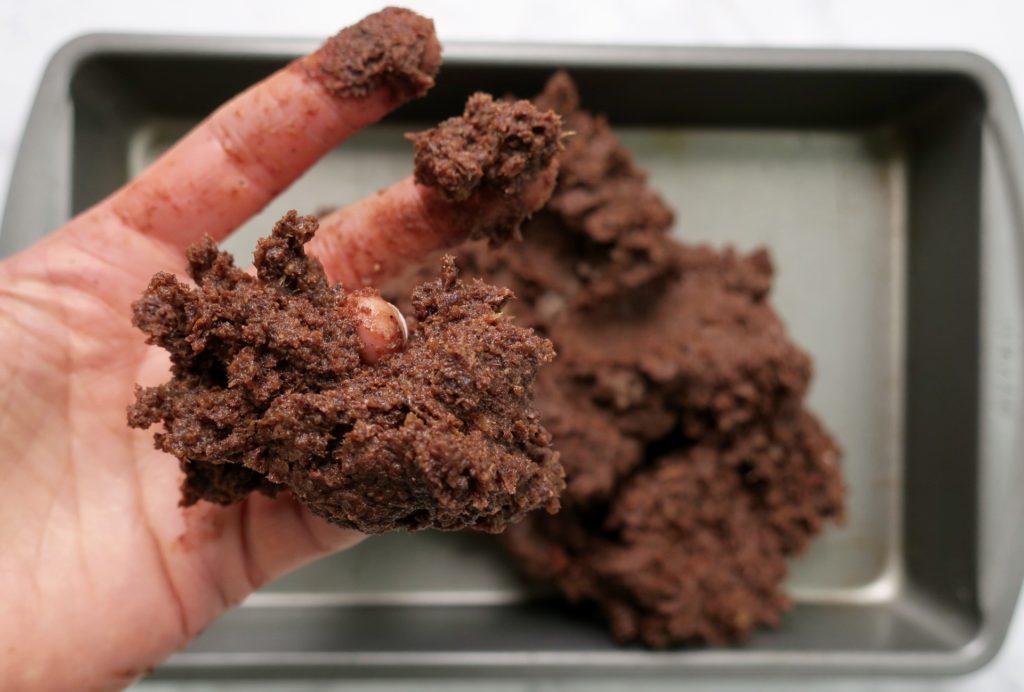
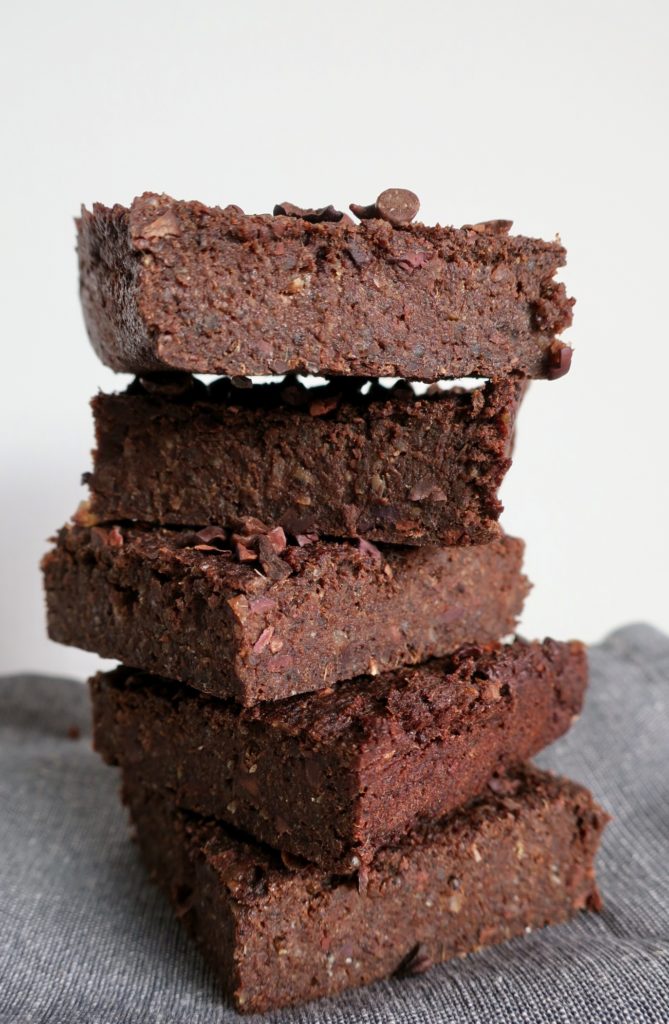
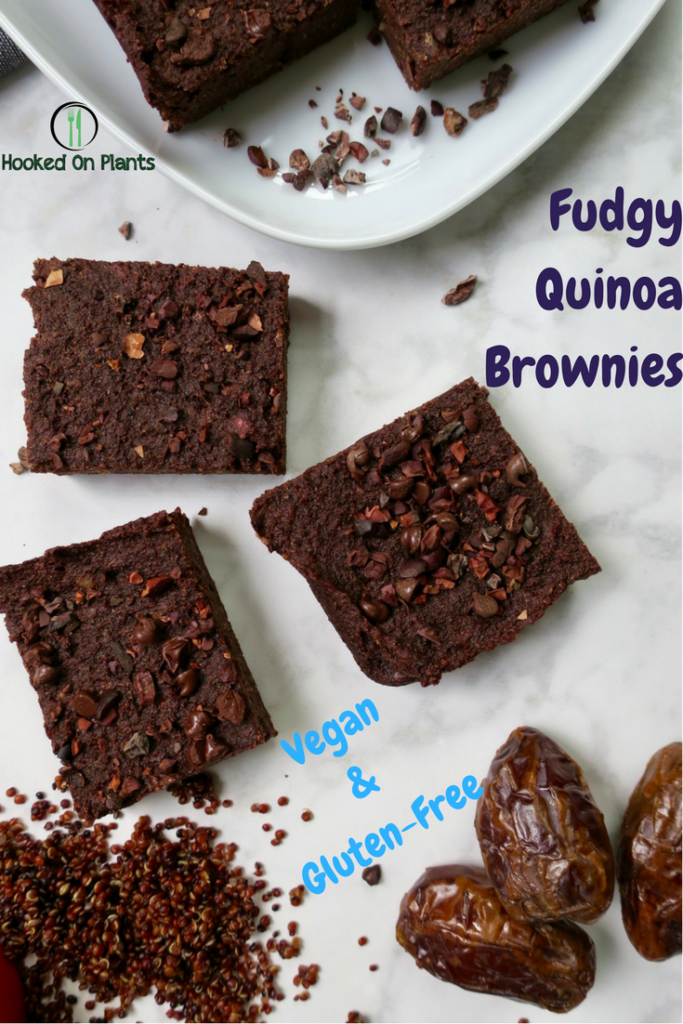
Holy fudgerama. These brownies are tasty.
You would never know there are hidden superfoods in these babies.
Dense & chewy. That’s what these brownies are all about.
The base? Quinoa and dates. Throw in some superfood ingredients like cacao and cinnamon, and you’ve got yourself a health food that tastes incredibly sinful.
A healthy version of a decadent brownie. YES.
You could eat these for breakfast.
These brownies are also PERFECT for a camping trip.
You know, for those times when you’re hanging around the campsite and need something sweet and luscious to sink your teeth into… Or  for that extra boost of energy on that hike of yours.
These brownies are packed with whole food ingredients, with out any refined sugar or gluten.

Raise the roof for these morsels of awesome!

On the camping thought, camping as a vegan isn’t as hard as you may think…
What else to eat as a Vegan Camper?
  • Breakfast:
    • Jules Fuel – my superfood quinoa oatmeal!
    • Banana pancakes – pre-make these, then throw them on the fire with some tin foil!
    • Overnight oats – fill a mason jar with oats, buckwheat, maple syrup, dried fruit and seeds, then fill it up with almond milk, shut the lid, and throw it in the cooler!
    • The Vegan Egg (trying this for the first time this weekend while we’re camping) with some Tempeh bacon, tomato, avo, and Chao cheese in a whole grain wrap.
  • Lunch:
    • Roasted weiners (still possible) and dijon wrapped in a bun or romaine – Field Roast and Gusta are the best in my books!
    • Sandwiches: bring your bread slices, tomatoes, lettuce, avocado, hummus, and tempeh (either pre-cooked, or cooked on your skillet)
    • Pre-baked sweet potatoes: wrap them in tin-foil, then throw them on the fire at your campsite. Top it off with nut butter, maple syrup, or a pre-made tahini sauce
  • Dinner: Make it a one-bowl wonder by pre-cooking one of these:
    • Curry
    • Glory bowls
    • BBQ Pasta
    • Pasta Salad
    • Mac & Peas
    • Soba Noodle Salad
  • Snacks:
    • Trail Mix
    • Apples, oranges, bananas, dried fruit
    • Dates
    • Popcorn
    • Dip-ables: hummus & veggies, chips & guac & salsa
  • Dessert:
    • Roasted vegan mellows
    • Roasted bananas: leave the banana peel on, slice vertically half way through, add some nut butter and vegan chocolate chips then wrap in tin foil and throw it on the flame
    • Fire-roasted apples
 
Benefits of these brownies:
  • Quinoa – complete with all 9 essential amino acids, this little seed will provide you with ample protein, and tons of minerals! This is what makes these brownies so satiating.
  • Dates – nature’s candy! These amazing fruits are so sweet, but they also come with the fibre, nutrients, vitamins and minerals your body needs. Because they’re packed with fibre, they’re a great sweetener that won’t spike your blood sugar like the usual suspects (white refined sugar being the worst, and maple syrup being the next best thing to dates).
  • Cacao – hello antioxidants! The raw cacao powder is not only and aphrodisiac, but also a start when it comes to preventing disease.

Fudgy Quinoa Brownies 

Vegan & Gluten Free

Serves: 12-15

Time: Prep time: 15 minutes, Cook time: 30-35 minutes

Ingredients: 

  • 2 cups quinoa, cooked (I used red, but you can use white instead!)
  • 2 cups pitted dates, soaked for 10 minutes in warm water, then drained
  • flax egg (1 tbsp flax meal + 3 tbsp water = let sit for 5-10 minutes)
  • 1 tbsp coconut oil (plus 1 tsp for oiling baking dish)
  • 1 tsp baking powder
  • 1/2 cup cacao powder
  • 1 tbsp cinnamon
  • 1 tsp vanilla (powder or extract)
  • 1/2 cup cacao nibs or chopped pecans

Directions:

  1. Pre-heat oven to 350, and oil 8 x 8 baking dish with coconut oil and a paper towel
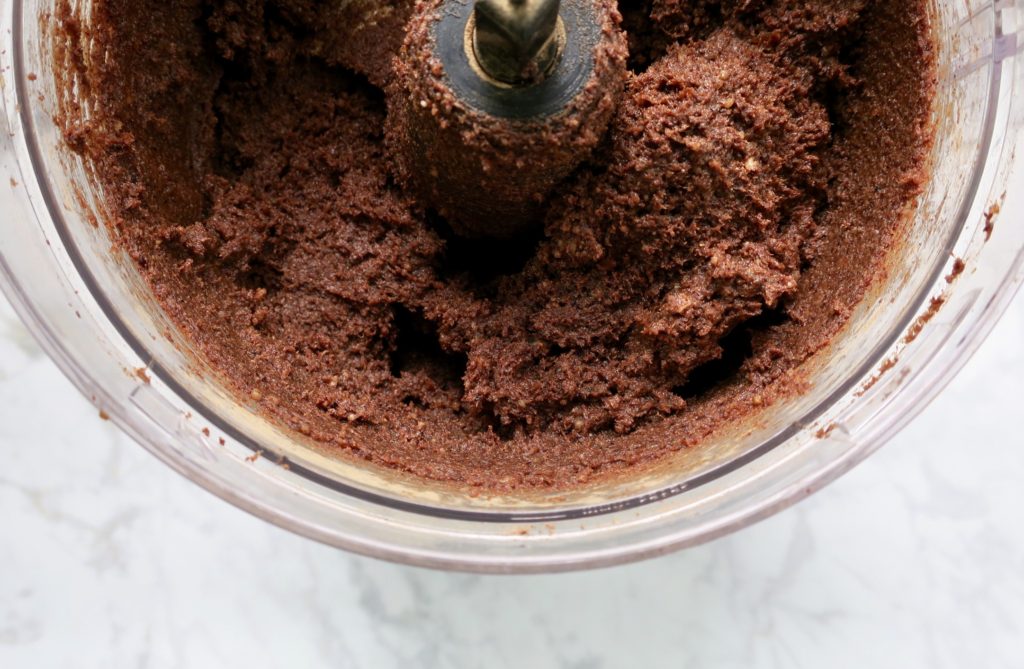
  2. In a food processor, add the pre-cooked quinoa, baking powder, cinnamon and blend until sticky and almost pasty
  3. Add the cacao powder, vanilla, coconut oil and flax egg. Blend until nearly smooth
  4. Add the drained dates into the food processor and blend until smooth and a ball starts forming. Scrape down the sides when needed
  5. Add half of the cacao nibs, or chopped nuts and blend until combined (not too much!)
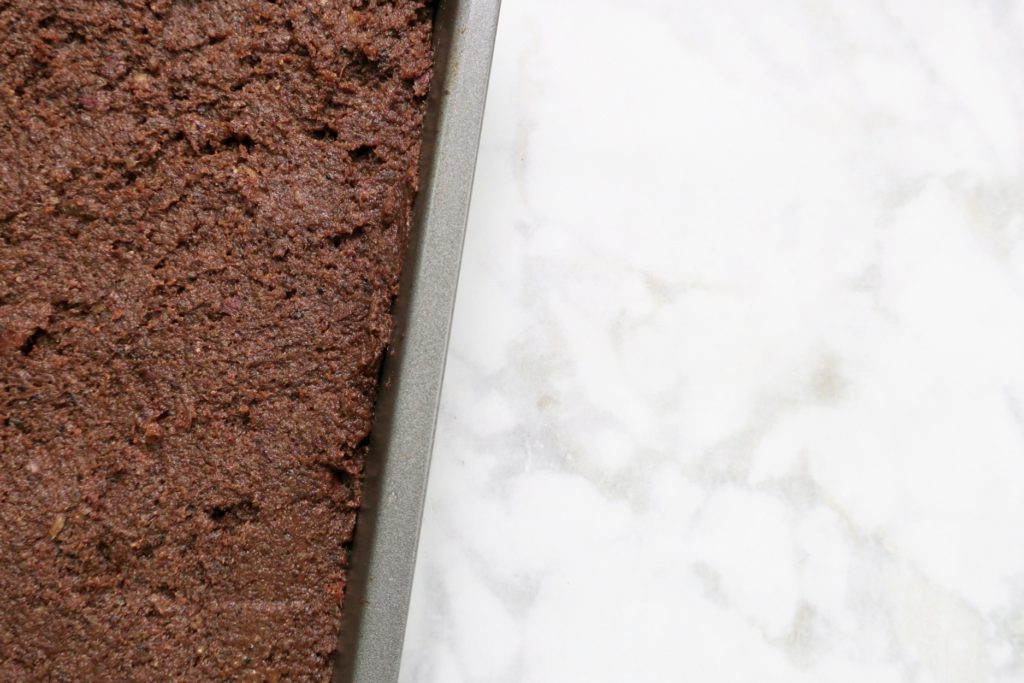
  6. Spread mixture out evenly in the dish, about 3/4 inch thick
  7. Bake for 25 minutes, then top with the rest of the cacao nibs or nuts.
  8. Bake another 5 minutes. Test for ready-ness by poking a toothpick in the brownie (if it comes out clean, they’re ready)
  9. Let cool, then slice into desired sizes
  10. Store in an air-tight container in the fridge for up to a week, or freeze them then take them to-go straight from the freezer!


Filed Under: Dessert, Gluten Free, Recipes, Salt Free, Snacks, Spring, Summer, Uncategorized, Winter Tagged With: brownies, cacao brownies, camping eats, campsite food, chewy brownie, easy brownies, fudgy brownie, gluten free brownie, no refined sugar, quinoa brownie, vegan camping, vegan dessert, vegan gluten free, vegan snack, whole food brownies

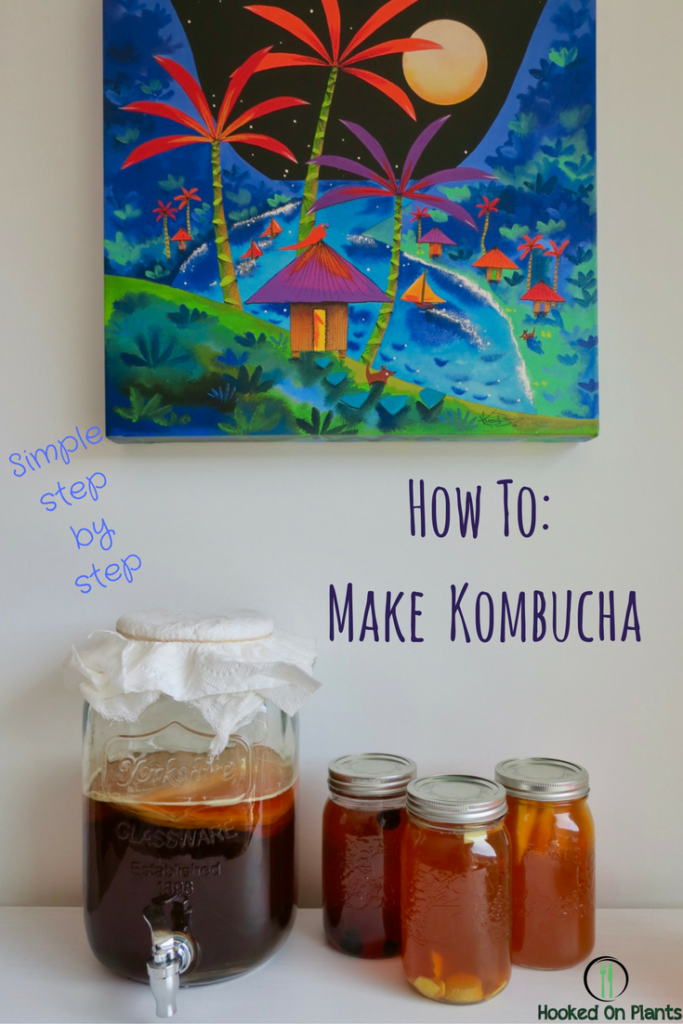
How To: Make Your Own Kombucha

June 8, 2017 By julia

The BOOSH!

A heavenly, thirst-quenching, carbonated bevy. I think it’s a miracle this stuff exists.
If you’re into pop and can’t kick the habit. You have come to the right place.
Not only does it kinda taste like pop, but it’s endless benefits allow you to sip away while you can truly feel good about what you’re sipping on.
And, rather than spending the big bucks for store bought Kombucha, why not make your own and feel like a brewmaster?
I count down the days until I can dive into my next batch.
Let’s clarify a few questions you might have first.
What is Kombucha?
Kombucha AKA ‘Boosh’ is a fermented, bubbly, tangy beverage with a multitude of benefits. It’s extremely satisfying, carbonated and brought to you by… the Scoby.
What is the Scoby?
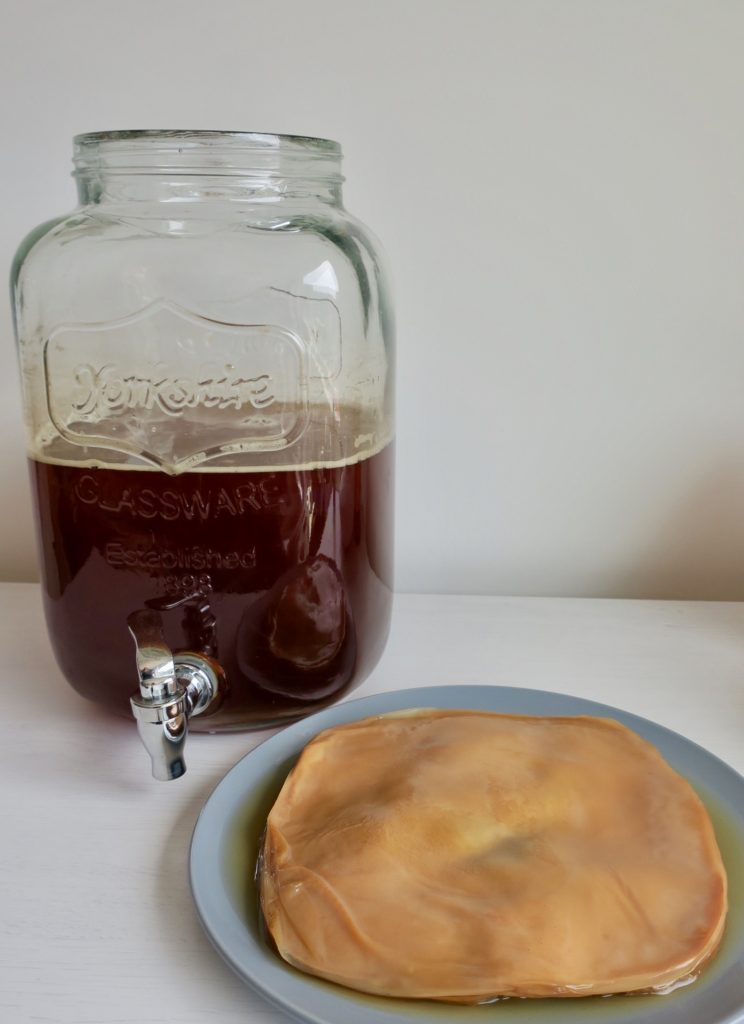
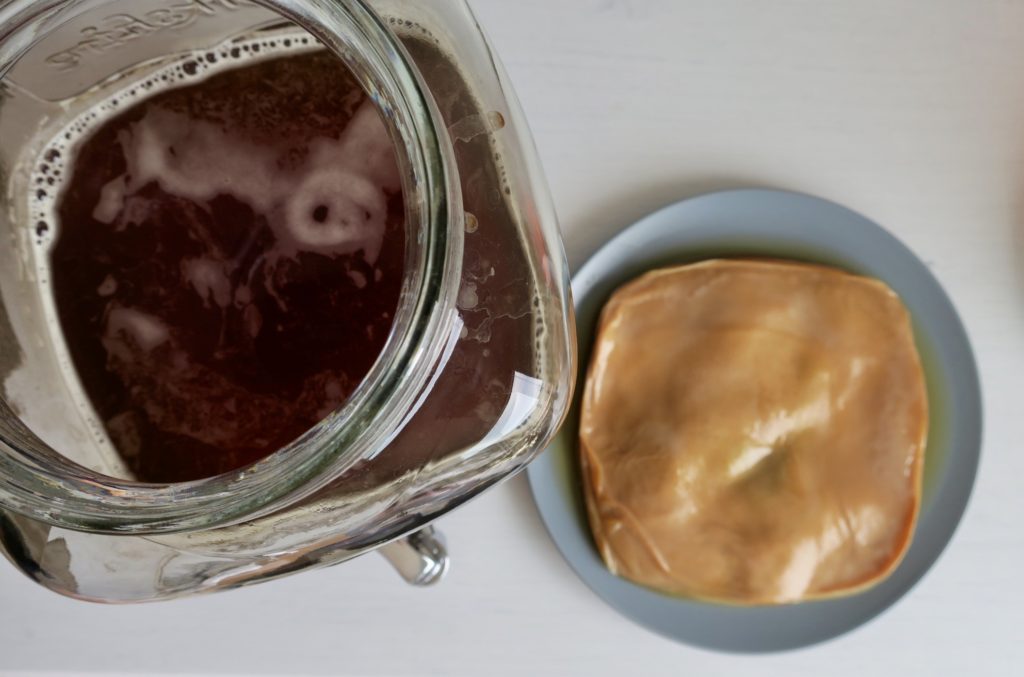
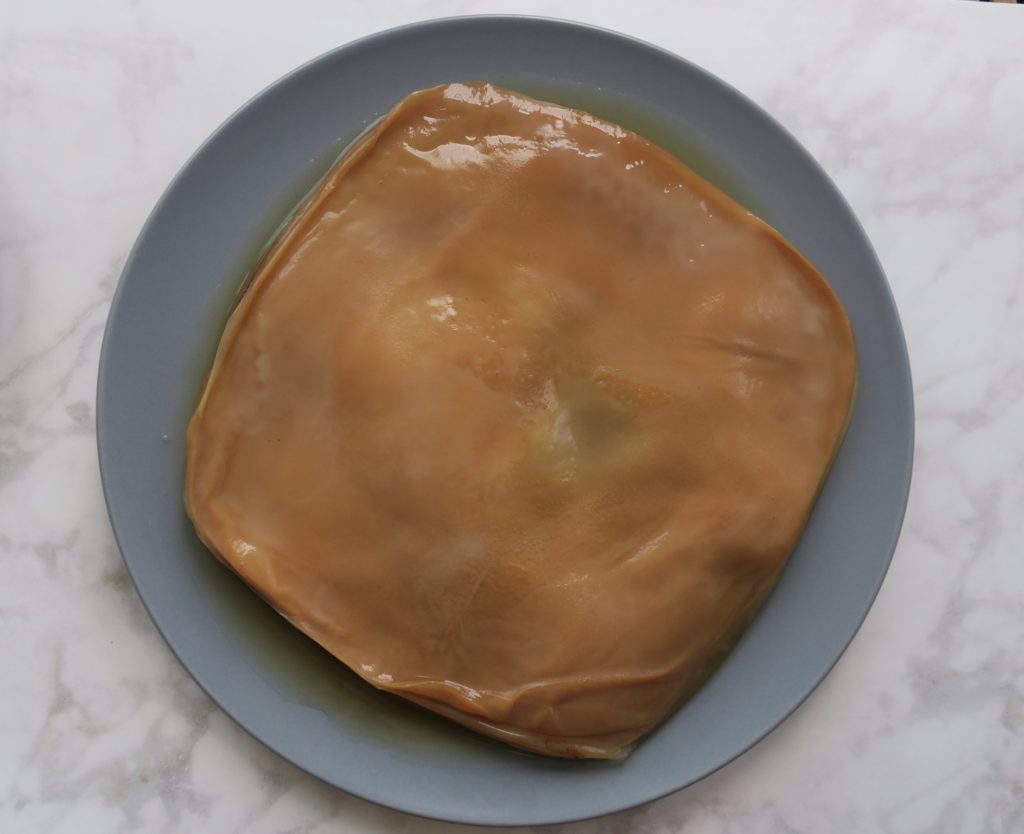
Scoby stands for “symbiotic culture of bacteria and yeast”… AKA the Mother. It’s actually a living culture that looks like a jelly fish mushroom pancake. This culture is the living home for the yeast and bacteria that transforms your sweet tea into fizzy, fermented, refreshing kombucha.
Where do you get a Scoby?

There are 3 ways you can get yourself a Scoby:

  • From a friend who is already brewing their own Kombucha. All they need to do is peel off a few layers (creating one thick layer) of their own Scoby, and transfer it to you with some of the liquid from their the batch. The Scoby likes to be smooth-side up (you’ll notice a smooth side and a rough/stringy side). You can transfer it in a zip-lock bag (which you will rinse and re-use, of course;) then get it into your glass jar with the rest of your tea as soon as you can.
  • Buy a Kombucha Starter kit at almost any health food store.
  • Start your own Scoby:
    1. Buy a bottle of raw, unflavoured kombucha at the store.
    2. Pour the raw kombucha into a large glass jar. (Optional – you can create more liquid/food for the Kombucha to ferment in by making 1 cup of black tea with 1-2 tbsp of white sugar, letting it cool, then adding this sweet tea to the jar with the original store-bought boosh).
    3. Cover the jar with a few layers of cheese cloth and secure it with a tight rubber band.
    4. Leave the tea to ferment in a room temperature cupboard for about 7 days.
    5. You should see your Scoby developing on top of the liquid (it will look like a clear film, then become more white and thicker as the time goes by. If you don’t see any sign of a scoby after 3 weeks, discard all of it and start over with a different store bought kombucha. Wait until the Scoby is at least 1/4 inch thick before using it to brew your first big batch of Kombucha! This could take up to 1 month.
    6. Keep your new Scoby and the tea for making your first batch of Boosh.


Benefits of Kombucha:

Just like all fermented things (sauerkraut, kimchi, miso, kefir, tempeh, pickles, natto, coconut yogurt) …

Kombucha has a MEGA-DOSE of benefits!

  • Increases good gut bacteria
  • Contains probiotics
  • Aids digestion
  • Detoxifying
  • Immune support
  • Reduces inflammation
  • Contains antioxidants
  • More energy
  • Cleanses liver
  • Helps with weight loss
  • Helps you sleep better
  • Cancer prevention
  • Hangover helper


How To:

Make Your Own Kombucha

First, a few things to know:

  • Every batch tastes a bit different. This depends on brewing time, temperature, and the strength of the tea. This is all part of the excitement.
  • Always have clean, non-soapy hands when handling the Scoby and the glass jar.
  • Use hot water to wash the glass jar (AKA the Scoby’s home). If it still looks grimy, use white vinegar with hot water every few washes. No soap.
  • For the batch liquid, use filtered water, if possible. Tap water from Whistler works well for me though!
**Scroll further down for Step-by-step with photos**
Prep Time: 15 minutes
Waiting Time: 10-25 days
Servings: 3-4 large mason jars
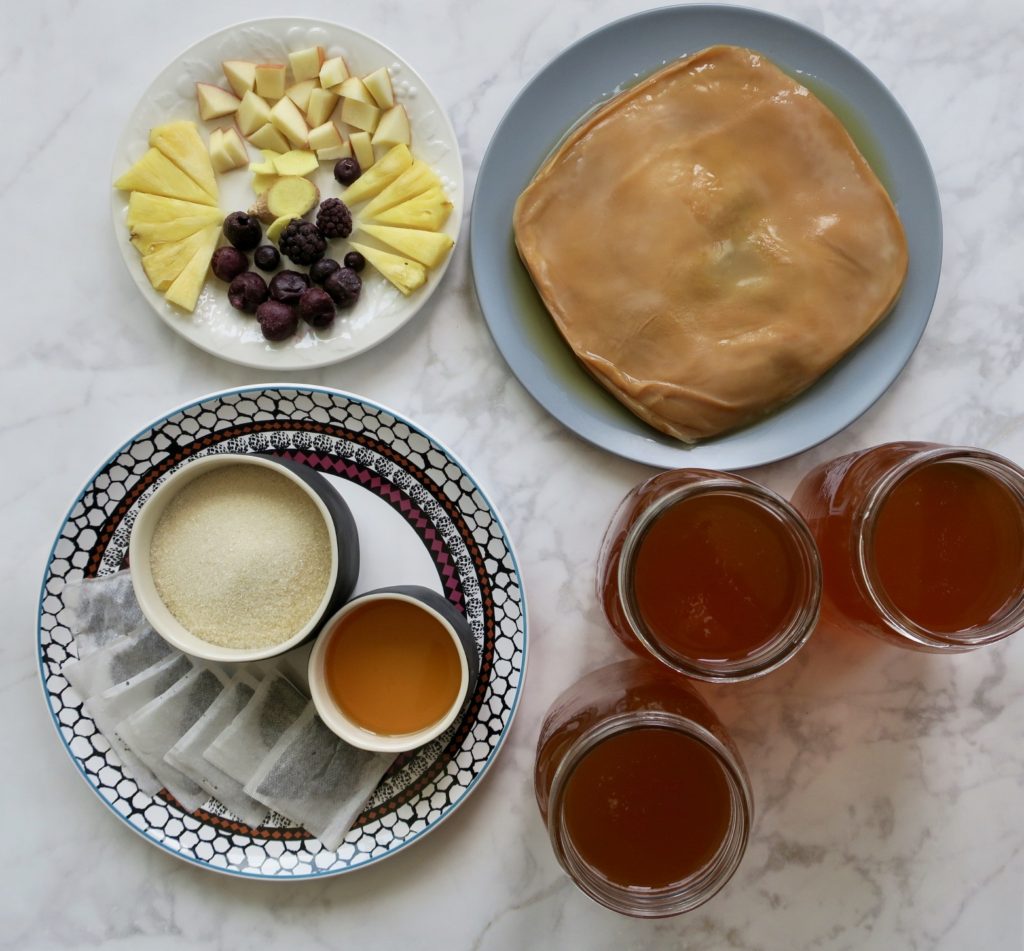
What you’ll need:
  • cheese cloth (enough to cover the top of your jar, folded over 3 times)
  • elastic
  • large glass jar (try to get one without any metal spout- it doesn’t work anyways because the Kombucha clogs it- and make sure it’s all glass!)
  • 4 large mason jars
Ingredients:
  • 7 bags of organic black tea
  • 1.5 cups of organic white sugar (don’t worry, the Scoby will eat most of the sugar up while it ferments)
  • about 16 cups of water, as clean as you can get it (filtered is best, but my Scoby doesn’t mind Whistler tap water)

Directions:

  1. Bring 4 cups of water to a boil in a pot
  2. Once boiling, turn off the element
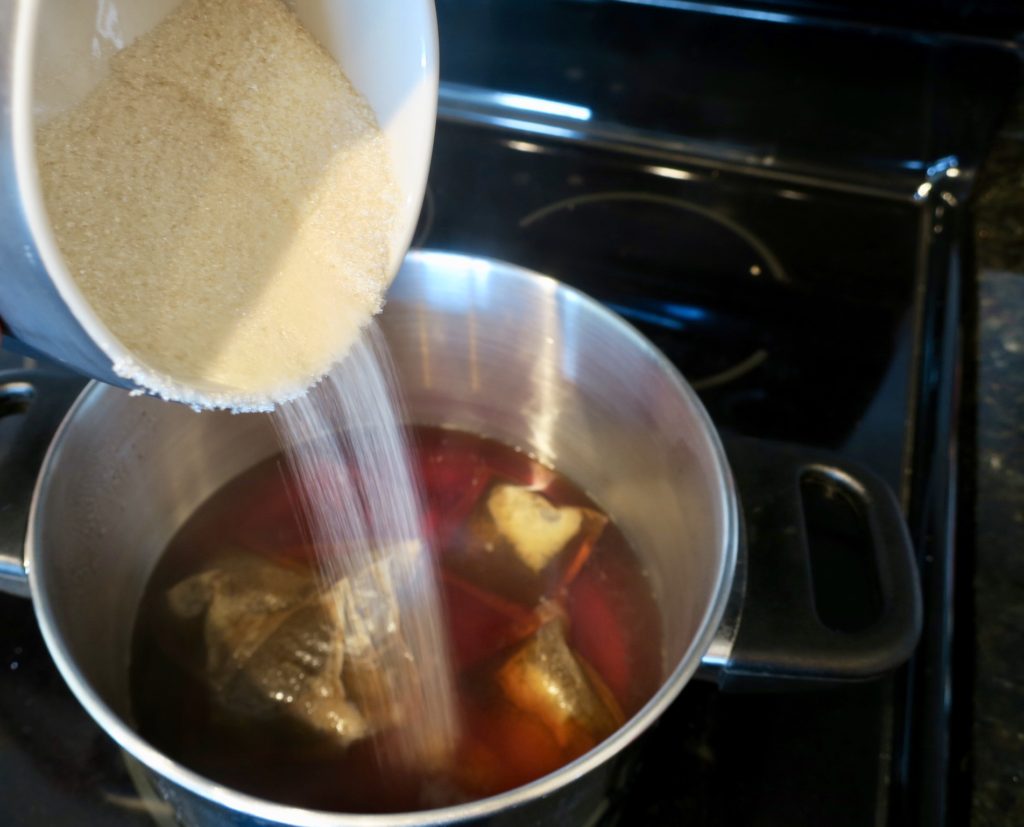
  3. Add the 7 black tea bags and the sugar to the water, and stir
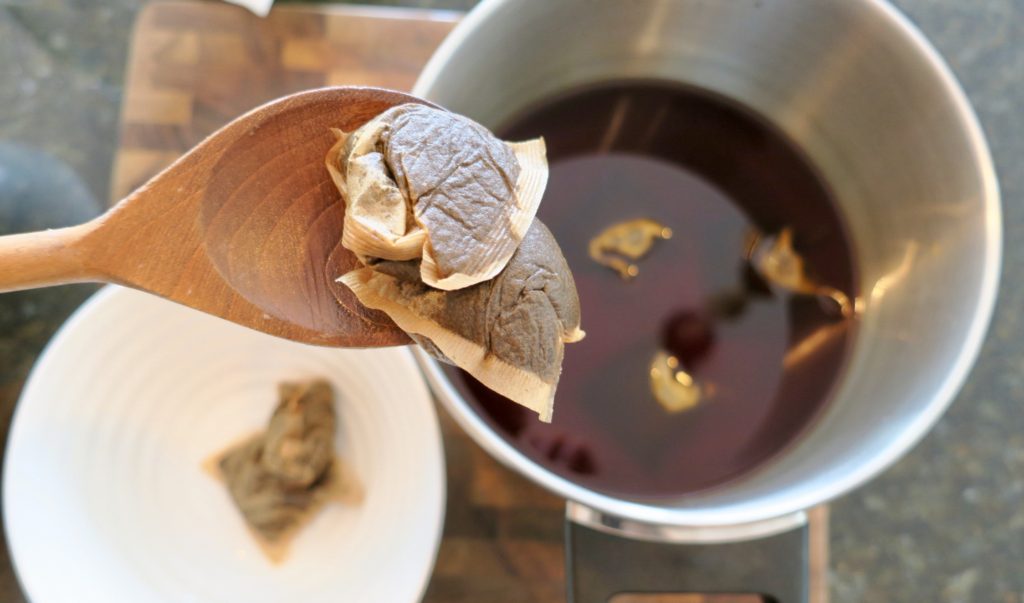
  4. Let the tea sit and steep for 10 minutes
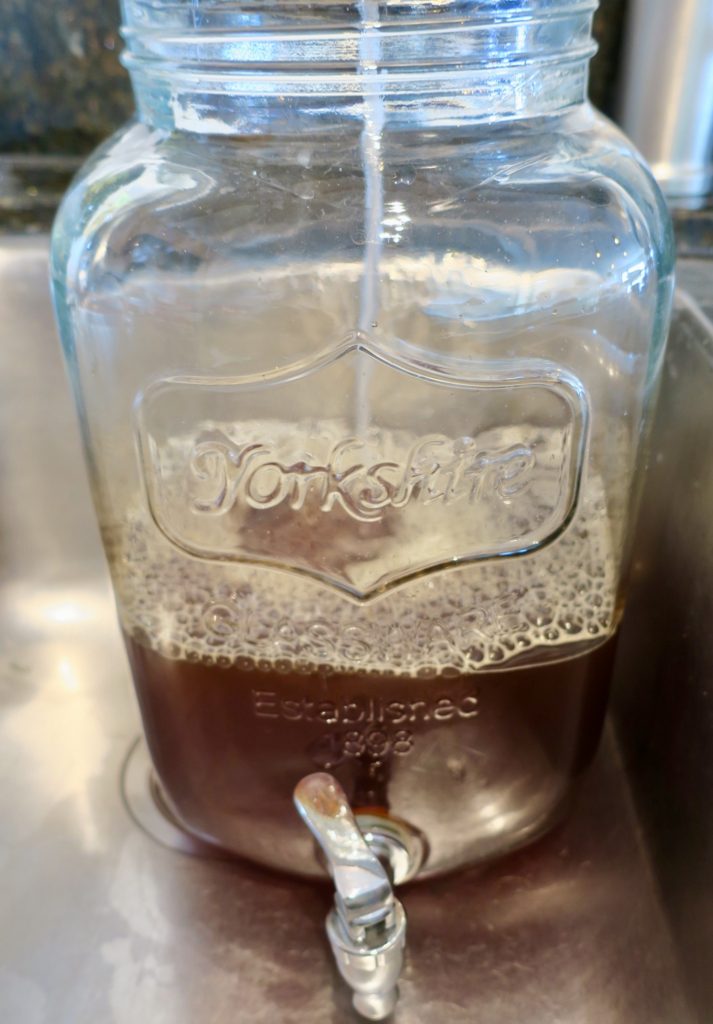
  5. Pour the hot tea into the large glass jar
  6. Fill the jar up with 14 more cups of cold water
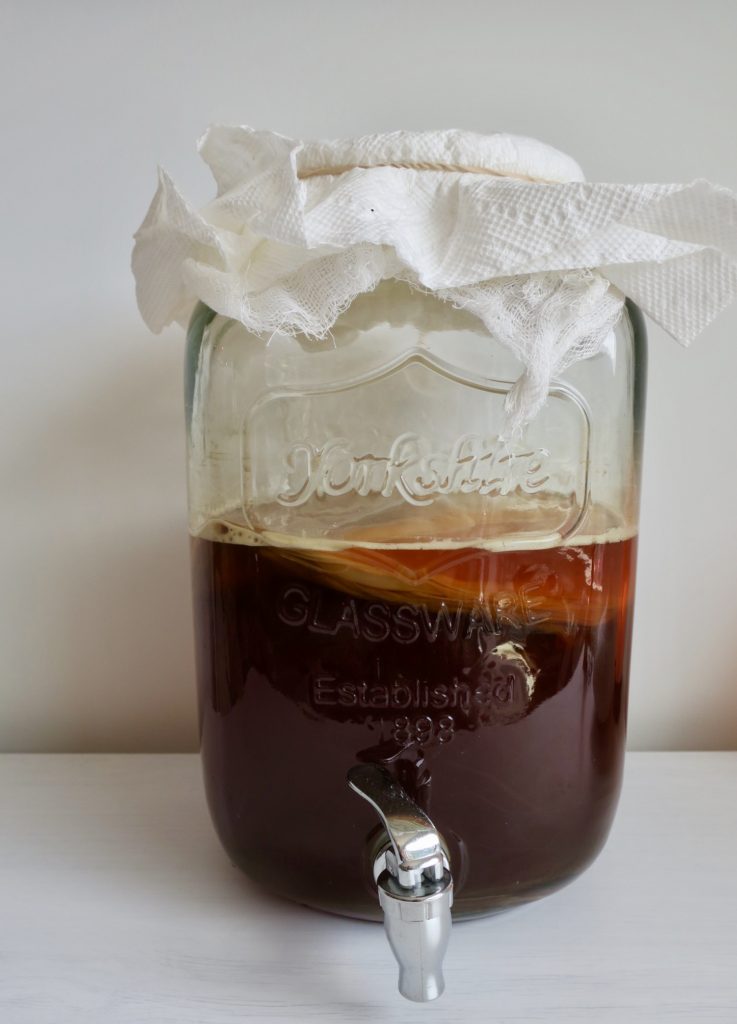
  7. Place the Scoby in the water, rough side down, smooth side up
  8. Use a few layers of the cheese cloth as a lid with an elastic
  9. Place the jar of Kombucha in a cupboard or pantry for 10-20 days
    (At day 10, taste it to see if its bubbly- if not, leave it for a few more days until you like the amount of bubbles !)
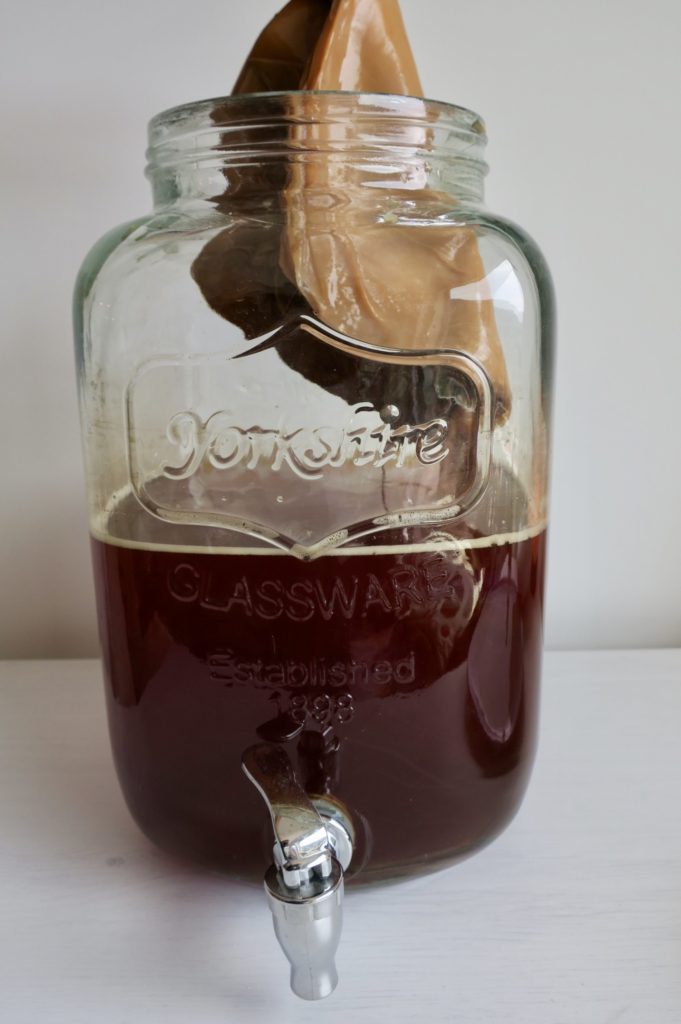
  10. Once it’s finished fermenting to your liking, carefully take the Scoby out and place it on a plate (rough side down) while you get the next batch ready.
  11. Pour the Kombucha into mason jars. You can tighten the lids, keep it in the fridge and drink it as is  OR carry 0n to the next step…
  12. This is optional, but makes the Kombucha even more bubbly and delicious.
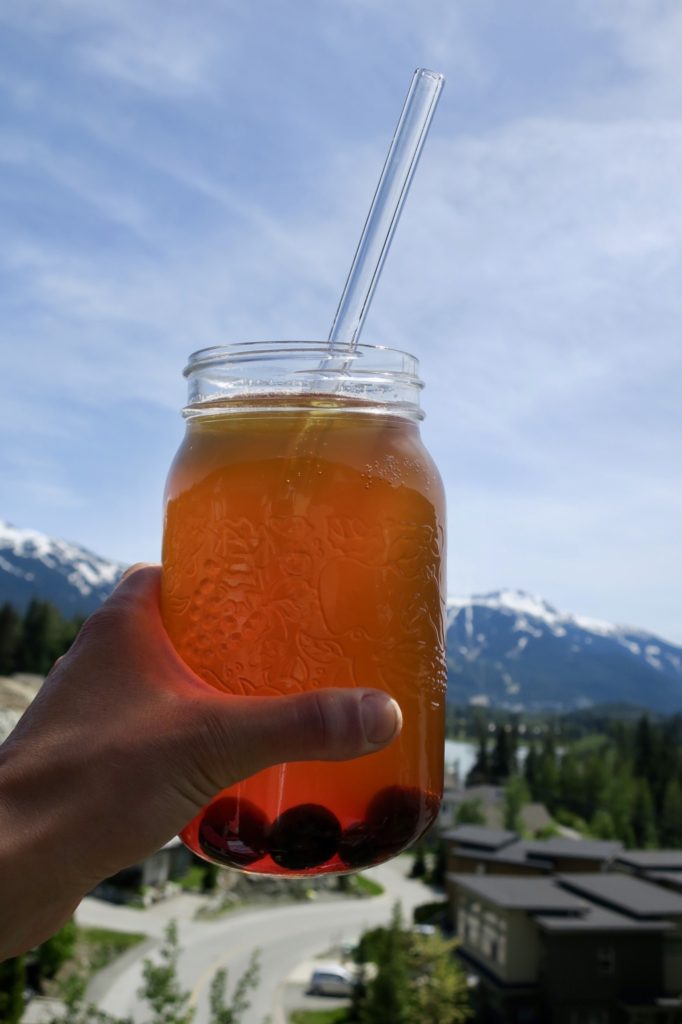
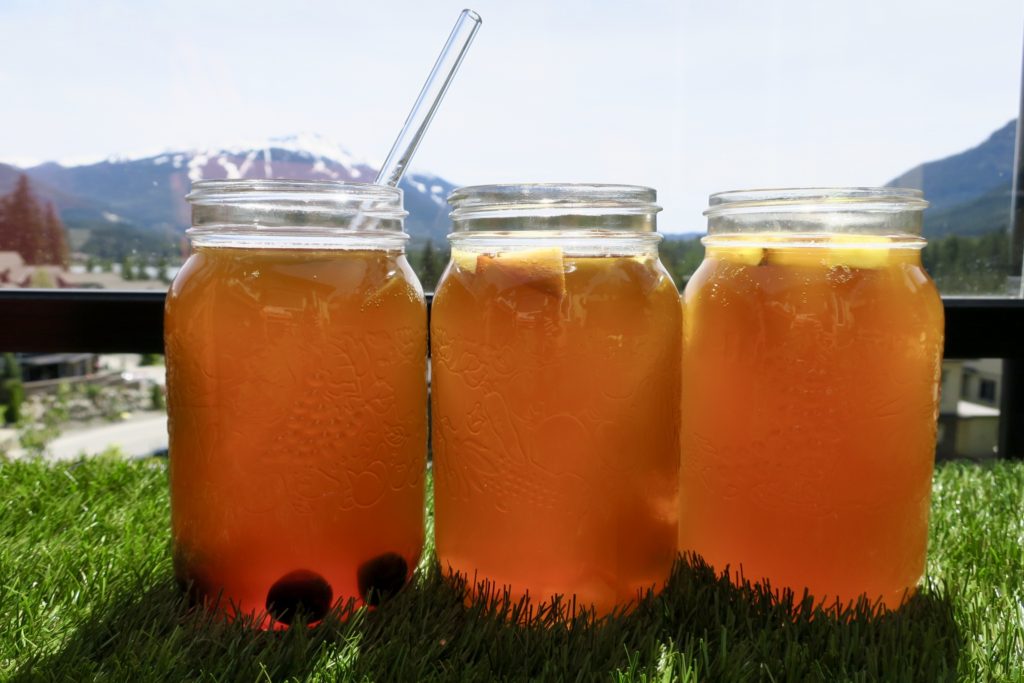
    • Secondary Fermentation – add flavour your mason jars by adding fresh ginger, 1 tsp of maple syrup, fresh fruit chunks or purée, or fresh herbs. Tighten the mason jar lids and leave them in the cupboard for 1-3 days. This will create a more carbonated and flavourful Kombucha. Then, place them in the fridge to halt the carbonation.


    **Step-by-step with photos!**


Once the water is boiling, add organic sugar and tea bags.

Remove the tea bags after 10 minutes

Picture

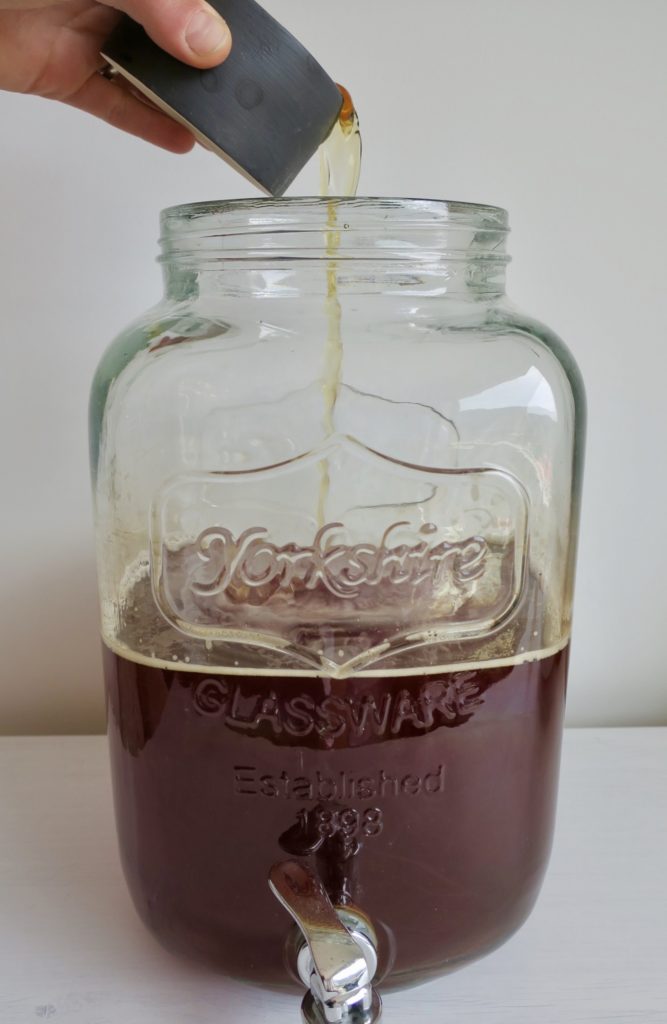
Pour the hot, sweet tea into your large glass jar

Fill the jar with about 12 more cups of water

Add a little bit of the last batch’s liquid

Place the Scoby, smooth side up, into the liquid

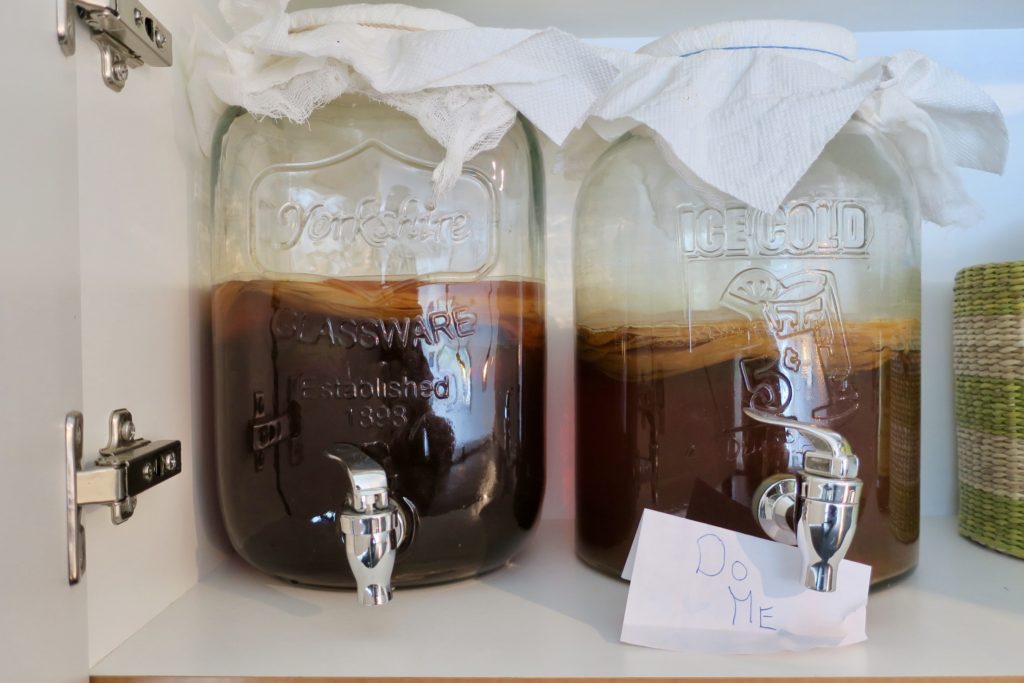
Cover with a cheese cloth and rubber band, and place into your cupboard away from the sun for 10-20 days (I have 2 jars that I rotate between every 2 weeks).

Once it’s fizzy and ready, remove the Scoby with a bit of the liquid, set aside, then pour the Kombucha into air tight jars.
Place the mason jars in a cupboard to secondary ferment along with fruit, maple syrup, or herbs for 2 days.
OR just put them in the fridge! They’re ready to drink now, but won’t be quite as bubbly or flavourful without the secondary fermentation.
Nice work brew master!
Since the Scoby is a living culture, don’t forget to talk or sing to the Scoby to keep it happy!
Too hippy for you?
Ok, just enjoy the refreshing boosh you have just created.

Filed Under: Drinks, Raw, Recipes, Salt Free, Snacks, Uncategorized Tagged With: at home kombucha, boosh, fermented beverages, ferments, how to brew kombucha, kombucha, kombucha brewing, make your own kombucha, raw, raw drink, secondary fermentation

  • « Go to Previous Page
  • Page 1
  • Interim pages omitted …
  • Page 4
  • Page 5
  • Page 6
  • Page 7
  • Page 8
  • Page 9
  • Go to Next Page »

Primary Sidebar

Search Recipes

WELCOME

welcome-julia-murray

Hi, I'm Julia! I like to simplify plant-based eating and make yummy recipes. I'm a Registered Holistic Nutritionist, certified plant-based chef, Olympian, and I make cereal (Jules Fuel). Enjoy! Read more

Get Hooked

  • Facebook
  • Instagram
  • Pinterest
  • Twitter

Instagram

hookedonplants

🌱 Olympian | Chill Vegan | RHN & Chef
🏠 Whistler Realtor @jules.eliz.murray @living.in.whistler
☀️ Vegan Adventure Retreats

Randomness in life. Diversity on the plate. And ye Randomness in life. Diversity on the plate. And yes—dance breaks. All equally essential.

The more your plate looks like a rainbow, the better. 🌈

What’s the last random plant you ate?

Every time you bring a new fruit, veggie, grain, legume, tuber, seed, or nut to the table, your microbes throw a little party.

Keep it fresh, keep it varied, throw a plant party for your biome—and let those microbes flourish & help you thrive.

#microbiome #plantbased #plantparty #veganfood #nutrition
Eat yo’ greens 🥬 the easy way: scoop, stir, d Eat yo’ greens 🥬 the easy way: scoop, stir, done.

✨ Just 5 power players makes it potent :
🥦 Broccoli sprouts = sulforaphane cancer fighting superstar
🌱 Barley grass = chlorophyll-rich, alkalizing + immunity booster 
🌊 Spirulina = max protein + B vitamins
🌿 Moringa = antioxidants + minerals
🥬 Spinach = fibre + iron

So potent because it’s only the good stuff and lots of each → no fillers, just max nutrition.

Add it to anything: smoothies, oats, coffee, pancakes, nut butter, even plain water.

👉 What would you throw it into?

I get mine at lovecomplement.com 

👉 code Hookedonplants = 10% off 🌱

Biodegradable bags + 3rd-party tested + every purchase plants trees ✅

Been using Complement for 6(!) years and my daily doses are:
⭐️ Essential (never skip a day)
⭐️ Omega-3s (microalgae)
⭐️ Gut Nurture (prebiotics + postbiotics)
⭐️ Clean Protein (the cleanest you’ll find)
⭐️ Creatine (strength + hormones + brain + bone health)
⭐️Daily Greens pow

Easy extra mega nutrients made easy = my jam.
You? 

#dailygreens #greenspowder #eatyourgreens 

@andeehelleman behind the lens 💕
📌 Save this for dinner later: Miso Dressing wit 📌 Save this for dinner later:
Miso Dressing with Benefits + Tamari Maple Tofu recipes below ⬇️

Plants have all the protein you need.

This plate not only has 40g of protein, but also comes with 20g of fibre, a whole lot of micronutrients and antioxidants, no cholesterol or saturated fat, and all from 🌱 

Plant party 🎉 

Protein-packed, whole food, plate of goodness ⤵️

🌱 Red lentils & quinoa with Miso Dressing with Benefits (recipe below)
🌱 Tamari Maple Dijon baked tofu (recipe below)
🌱 BBQ’d zucchini & mushrooms
🌱 Mega salad with almond feta
🌱 1 tsp sesame seeds
🌱 Sriracha drizzle

🥗 Miso Dressing with Benefits

✔️ 2 tbsp miso paste
✔️ ¼ cup nutritional yeast
✔️ 1 tbsp Bragg’s liquid aminos
✔️ 1 tbsp Dijon mustard
✔️ 1 can white beans
✔️ Juice of 1 lemon
✔️ 1 tsp maple syrup
✔️ ¼ cup pickle juice
✔️ 1 garlic clove
✔️ 2 tbsp Complement Protein
✔️ 1 tbsp Stay Wyld mushroom powder

⸻

🍽 Tamari Maple Dijon Baked Tofu

✔️ 1 block firm tofu, pressed & cubed
✔️ ¼ cup Dijon mustard
✔️ 1 tbsp maple syrup
✔️ ¼ cup tamari
✔️ 1 tsp garlic powder
✔️ 1 tbsp cornstarch (for crispier cubes)

👉 Whisk Dijon, maple syrup, tamari & garlic. Toss tofu in the sauce (marinate if you have time, or coat quickly if not). Sprinkle in cornstarch and toss again. Spread on a lined baking sheet and bake at 375°F (190°C) for 20 minutes, flipping halfway, until golden.

PS: Use hookedonplants for a discount at @staywyldorganics + @complement 🌱

#VeganProtein #PlantPowered #ProteinPacked #VeganDinner #PlantBasedRecipes #WholeFoodVegan #VeganStrength #VeganForTheWin #ProteinFromPlants #HealthyVeganEats #FuelledByPlants #PlantBasedProtein #VeganNutrition
‘Sup dawgs. Couple of rescues living it up. ‘Sup dawgs. 

Couple of rescues living it up. 

@kahunapaddleboards @hookedonplants @virchewdogs
Who wants a cat?! 🐈‍⬛ Adopt Turnip & Parsn Who wants a cat?! 🐈‍⬛ 
Adopt Turnip & Parsnip :) 

Check out their bios on @whistlerwag website under Adoptables. 

Why buy when you can rescue these cuties !? 

Did you know when you work with us (Team Longmuir Murray @living.in.whistler - to find or sell your home in Whistler, a part of our closing gift alwayyyys is a donation to @whistlerwag ❤️ 

Who here is ALSO quite obsessed with all animals? 

#animalrescue #whistleranimals #adopt #catrescue
Pro tip: Stay consistent. You’ve got this 🐾 Pro tip: Stay consistent. You’ve got this 🐾

P.S. Wondering what all the cuteness is about?

Only for the bestest dog food ever: @virchewdogs
🇨🇦 Woman-founded
🚚 Delivered to our door
🌱 Plant-powered
🧴 Perfect for sensitive skin (just ask Zak)

Use code hookedonplants for a discount — link in bio or just message us ‘DOG FOOD’ & we’ll send more info. 

~ With love, Zak & Tez 🐶💛
Whistler people! Name where this is from & I’ll Whistler people! Name where this is from & I’ll give you extra high fives today 🏆 
The OG rainbow collard wrap 🤤 

PS: if I were to create a Whistler Vegan Guide, drop in the comments what can’t be missed ??!!

#whistlerveganguide #whistlervegan #veganwhistler #plantbasedfinds #plantbasedwhistler #vegantravel
15 Minute Protein-Packed Vegan Pesto ChickUn Fettu 15 Minute Protein-Packed Vegan Pesto ChickUn Fettuccine 

1) Soak soy curls in water for 10 mins, then strain and pan-fry in olive oil & @bragg liquid aminos
2) In a pan, sauté 1 onion, lots of crushed garlic, 8-10 sliced mushrooms 
3) Add vegan pesto (used @love.legrand), nutritional yeast, and the pan fried soy curls to that pan. 
4) Boil pasta of choice (drop your fave pasta below… macaroni? Penne? Fettuccini?
5) Strain then pour pasta into the pan of goodness & mixy mixy
*** optional: add mushroom benefits with 1 tbsp each of @staywyldorganics Immunity Blend powder, and extra protein with @complement unflavoured protein powder. Use ‘hookedonplants’ for a discount - links in bio. 

 
🤤 Devour. 

Anything can be veganized. 👌 

📌 Save this for your next 15 minute dinner recipe idea.

#vegandinner #veganpasta #pestopasta #15minuterecipe #easyrecipe #easyveganrecipe
Ok, I’m biased… but this mama has to be the mo Ok, I’m biased… but this mama has to be the most inspiring plant-based athlete out there.

@stephaniejdsloan always supporting, motivating, moving, adventuring (in braids), and top-cheffing it up with the goodness of whole plant foods.

Happy Mother’s Day to all the amazing mama’s out there. 💕 

#momsrule  #nomeatathlete
#plantbasedathlete #veganmom #mothersday
Join the Community

Categories

  • Appetizers (24)
  • Breakfast (40)
  • Brunch (9)
  • Dessert (66)
  • Dinner (82)
  • Drinks (7)
  • fall (4)
  • Gluten Free (99)
  • halloween (2)
  • Holidays (20)
  • Hooked On People Interviews (19)
  • Jules Fuel (5)
  • Lifestyle (22)
  • Lunch (82)
  • Oil Free (93)
  • One Pot (1)
  • Raw (45)
  • Ready under 30 (1)
  • Recipes (159)
  • Salt Free (42)
  • Sauces/Dressings (34)
  • Snacks (80)
  • Spring (42)
  • Summer (43)
  • Thanksgiving (13)
  • Travel (1)
  • Uncategorized (158)
  • Vegan Dogs (1)
  • Veganism (16)
  • Winter (32)

© 2016 Veritas Techsoft Pvt. Ltd