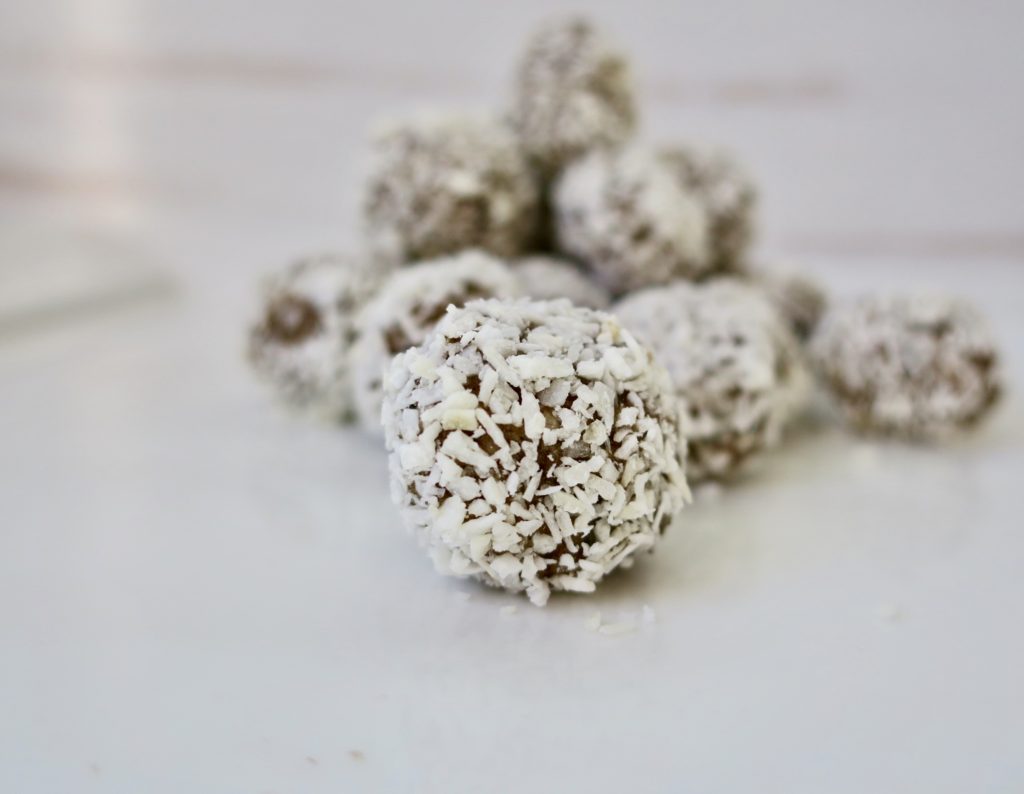
Sometimes all you need a two-biter to make your day.
Need it to be gluten-free, nut-free and packed with nutrients? Look no further.
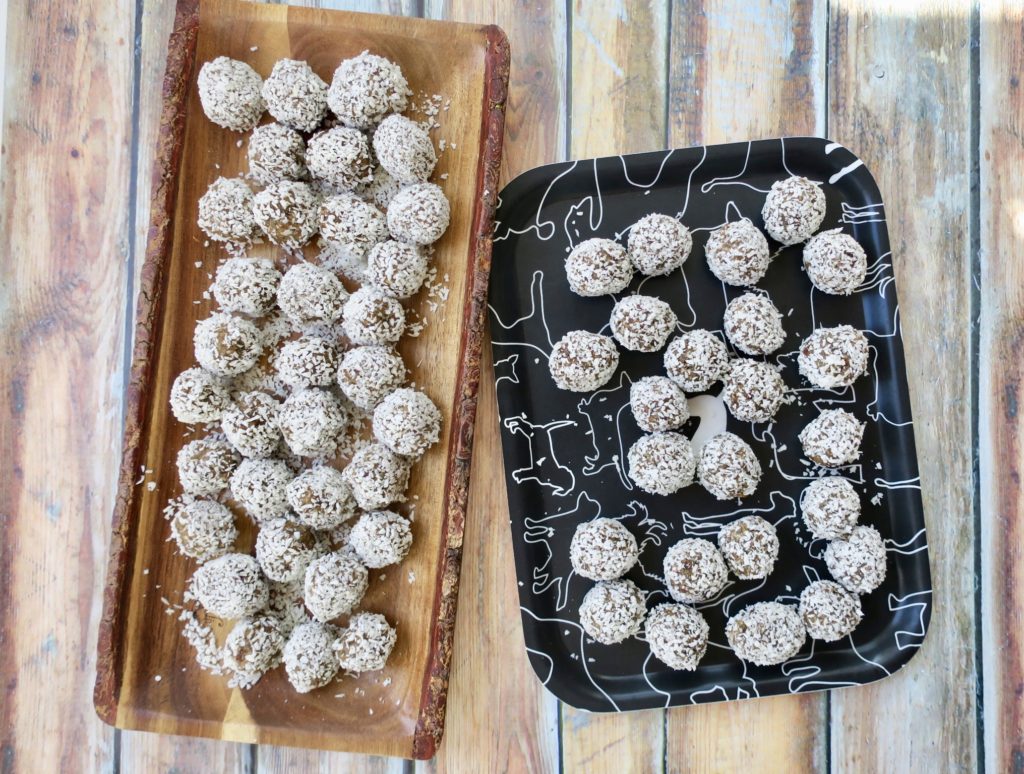
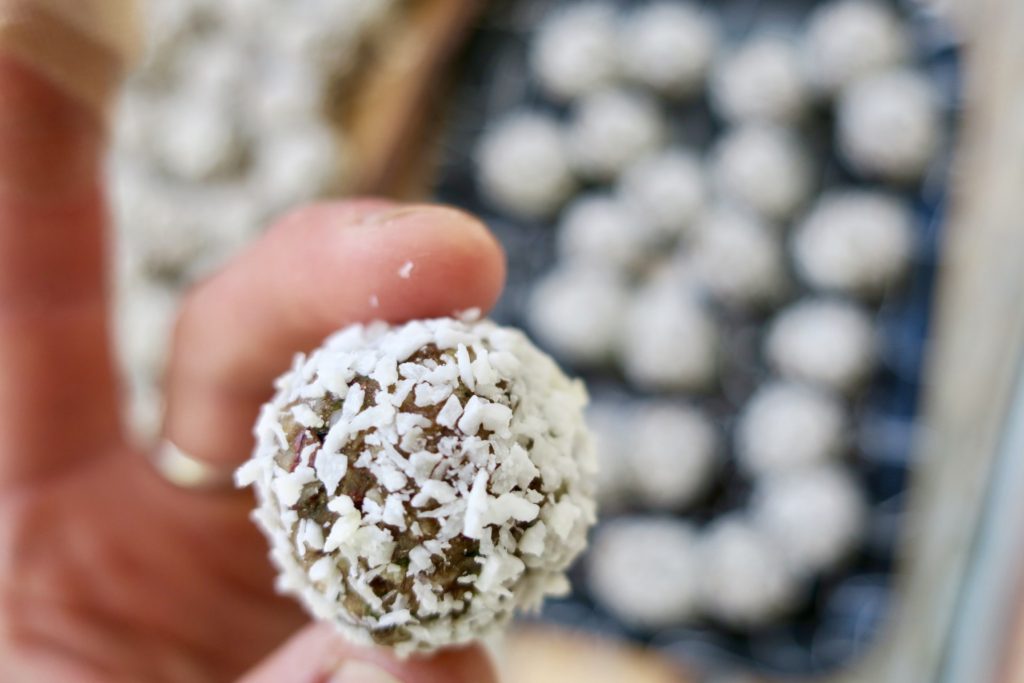
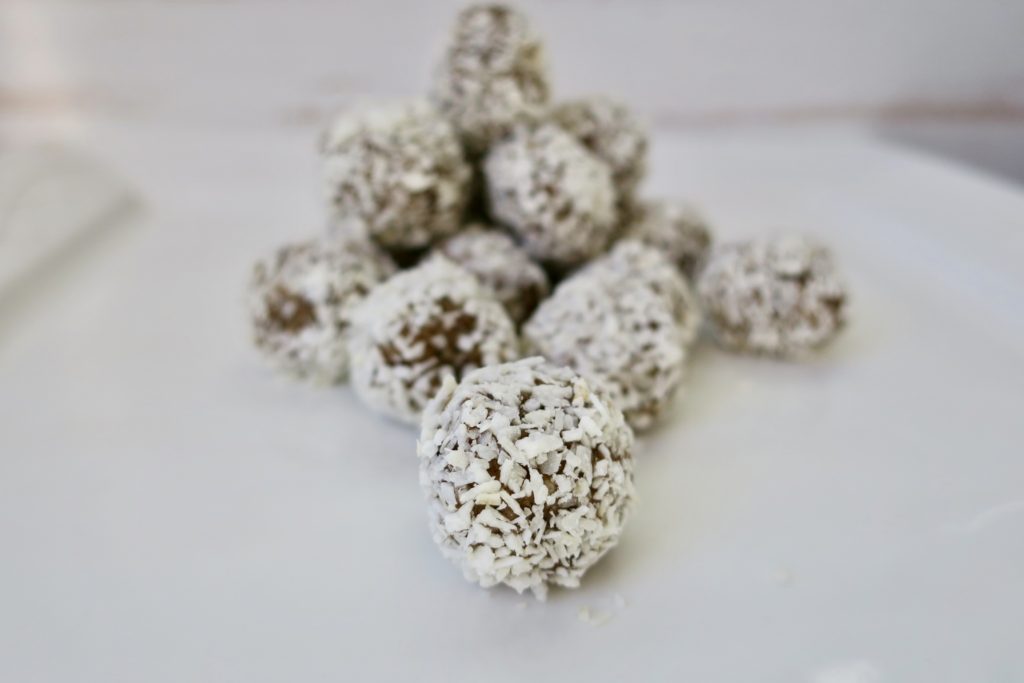
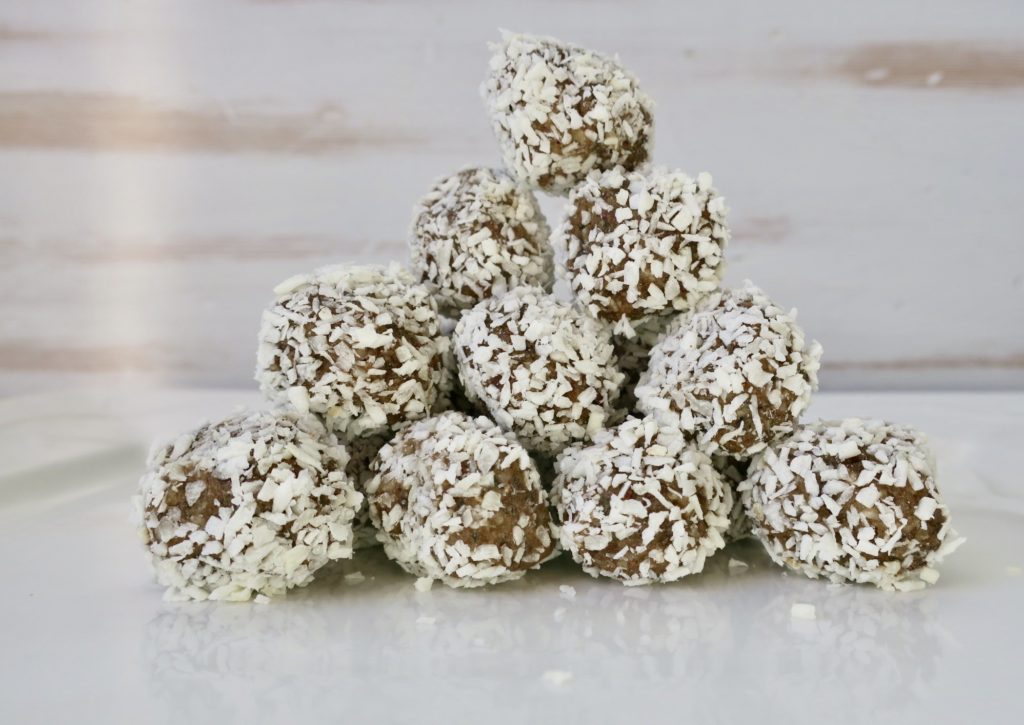
Here’s a two-bite morsel (AKA meteor ball) that will make you bounce of the walls from all that whole-food, plant-based energy. Not to mention… make your taste buds sing.
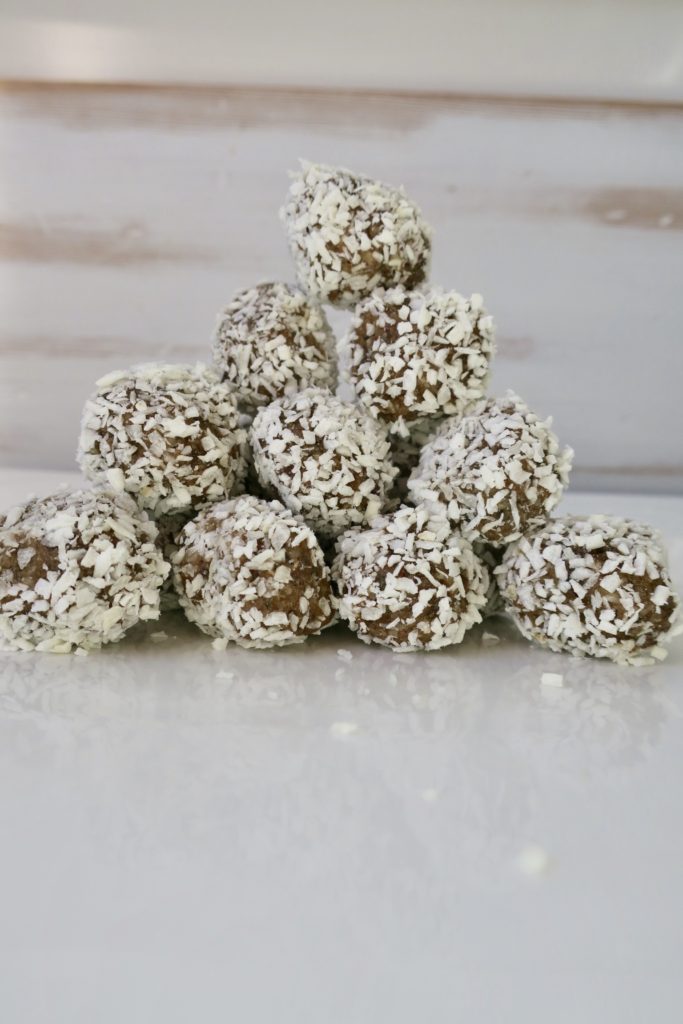
Easy as dump, blend, roll.
It’s festival season. It’s camping season. T’is the season for glorious balls of tasty nutrients.

These are perfect for camping. You can take them in a big zip lock, and keep them in your cooler until you head off on your hike, then transfer to a little baggy to stash them in your back pack.
Or, if you’re ever needing a little boost of energy at a festival, meet your new best friend.
There’s nothing like a hand-to mouth treat that is actually healthy for your cells, your muscles, your brain, your digestion… and of course, your dance moves.
This weekend calls for these little bites. Bass Coast is coming up, which it’s all about taking your dance shoes out and busting a move. Since cooking time will be squeezed out of the schedule because of all of the art to look at, people to learn from and dancing to do, these are the PERFECT bites to bring in a cooler to keep us sustained for the festivities.

Oh ya! And, I’m excited to be bringing these balls to the Hooked On Plants Bass Coast workshop too!

While we’re on the topic let’s talk festival eats! What eating at a festival really means is snacking on the go. It’s important to bring snacks that will sustain you, hydrate you, and fill you up with nutrients and good energy.
And water. LOTS and lots of water. Throw in some electrolytes or even a dash of Himalayan salt, and you’ll be loving it.
Vegan Festival food ideas:
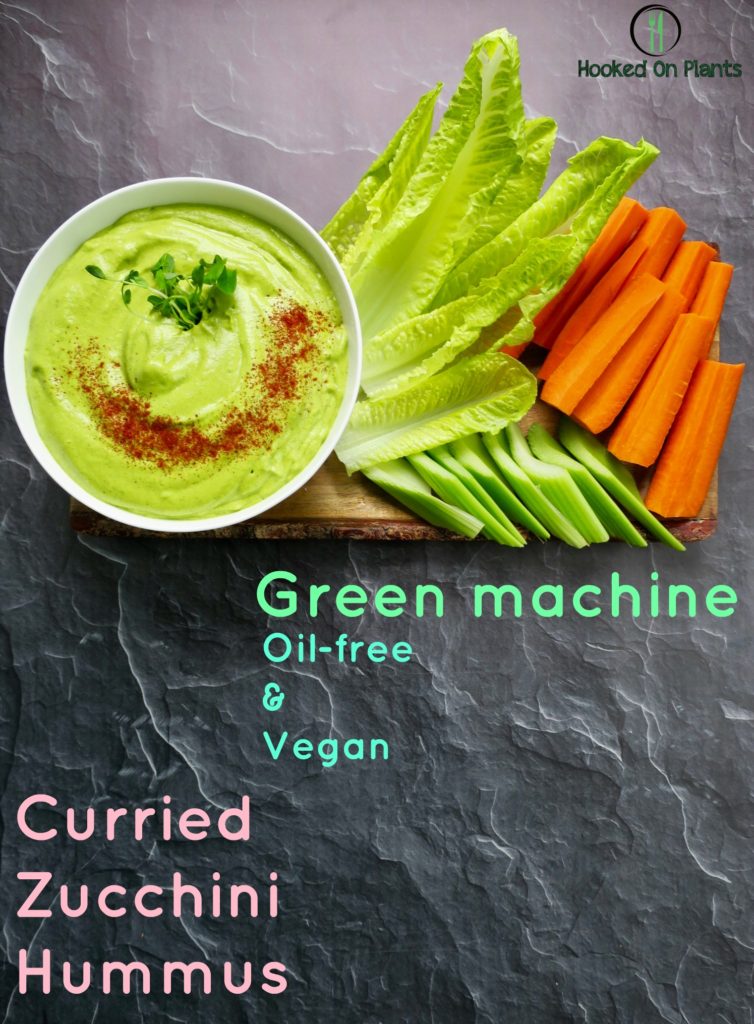
- Hummus and veggies/tortilla chips
- Fruit – any kind, and all of it! This is nature’s way of giving us amazing energy packed with nutrients and hydration
- Pre-make one-bowl meals to take spoonfuls of regularly:
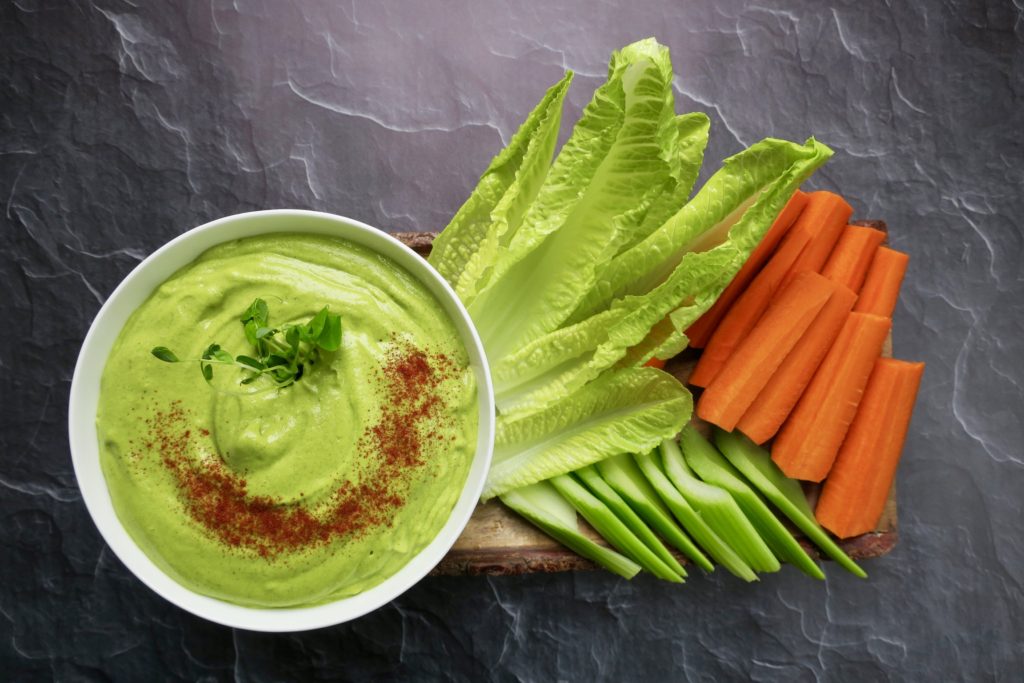
- Salad fixin’s: Bring lettuces, tomato, avocado, and seeds, plus one of these dressings in a jar
- Pre-bake sweet potatoes (either whole or as fries), and dip in organic ketchup
- Bring these Fudgy Quinoa Brownies to drool over and sustain you
- Pre-make popcorn with coconut oil and nutritional yeast to pack in the B12 (try adding curry powder or garlic powder, YUM), and bring it in a big re-usable ziplock
- Roast chickpeas for a salty snack
- Bring along your favourite green powder to throw in your water bottle in the AM.
- Pre-make and bring along a tupperware of Jules Fuel for breakfast so you can pack in some mega-nutrients before your day even starts
- Rice, Beans, Guac, Salsa, Wraps. Enough said.
Ok, now back to the balls.
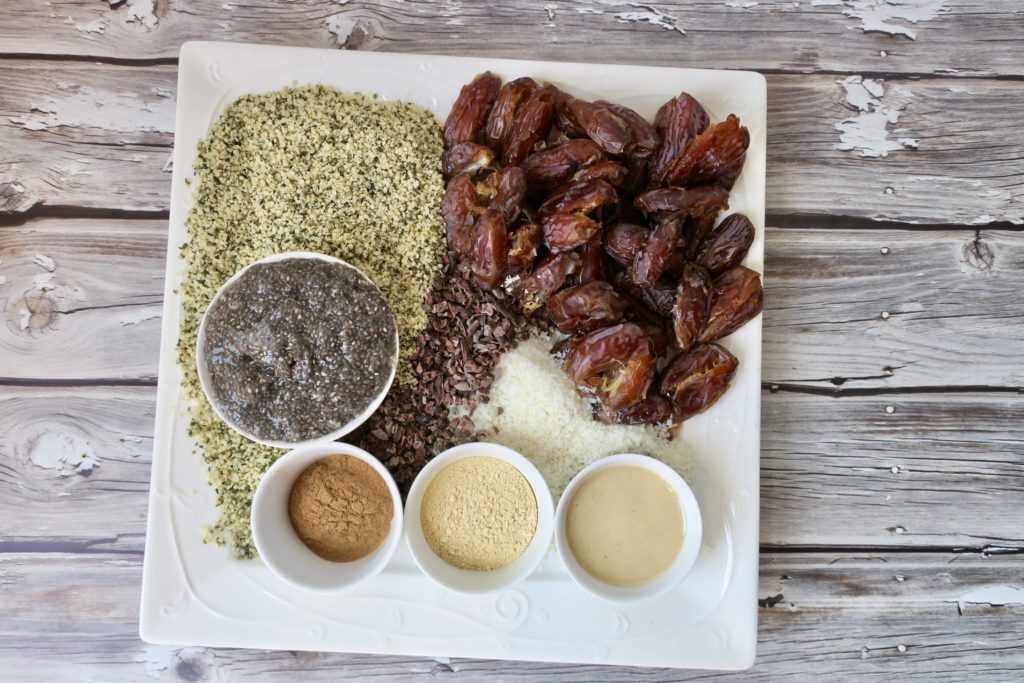
The magic ingredient in this recipe is Maca.
Benefits:
~Maca root is an adaptogen. All adaptogens bring your body back to homeostasis (or balance). Adaptogens grow in stressful situations (extreme weather), meaning they need to adapt to their environment. That’s why these amazing herbs and roots are so beneficial! Maca is especially good for balancing hormones, strengthening immunity, increasing energy & labido,
~Dates are the base to these ‘meteor balls’. Dates pack a mean punch of minerals, fibre, and clean, easily digestible energy. Perfect for the summer adventures.
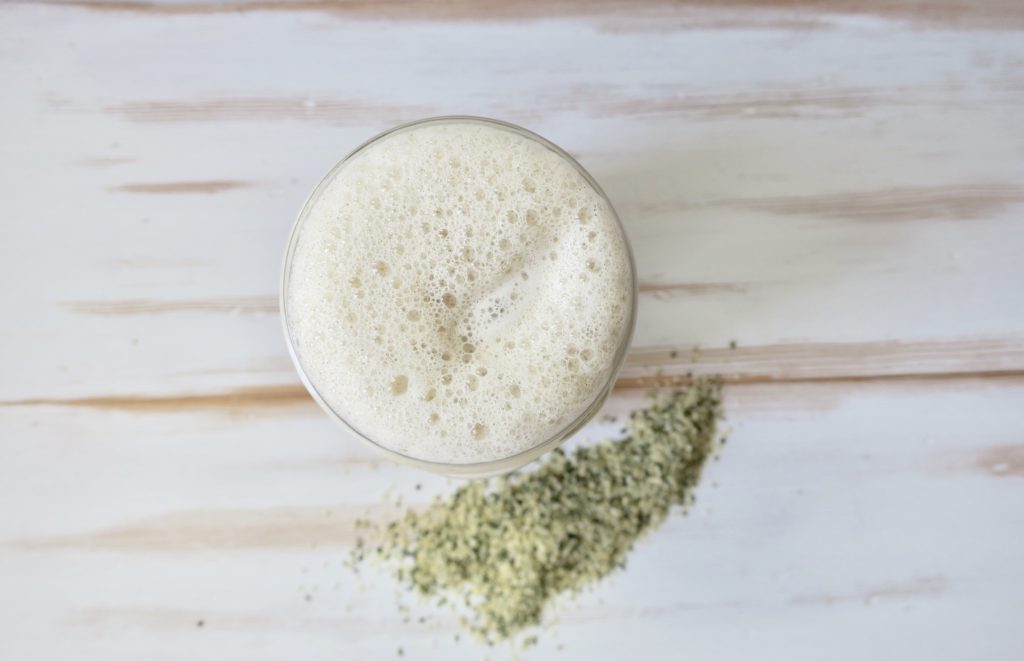
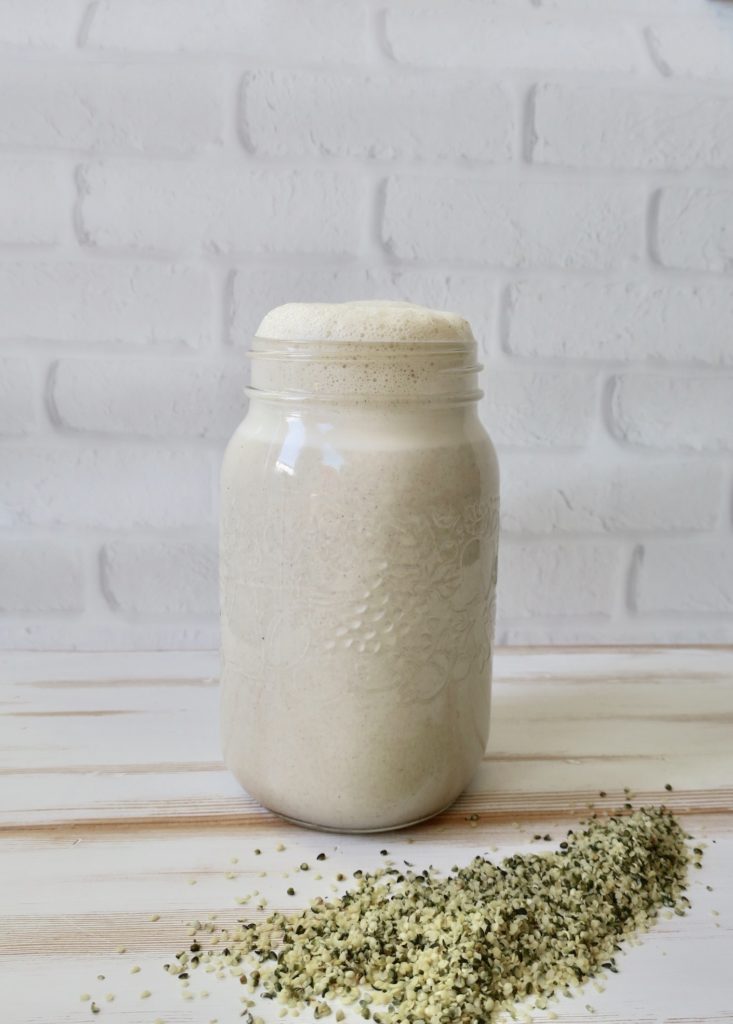
~Hemp seeds bring a complete plant-protein to the mix. Plant protein is easily assimilated by your body to help you grow beautiful hair and nails. You really don’t have to worry about where you’re getting your protein from when you eat a whole-food plant-based diet.
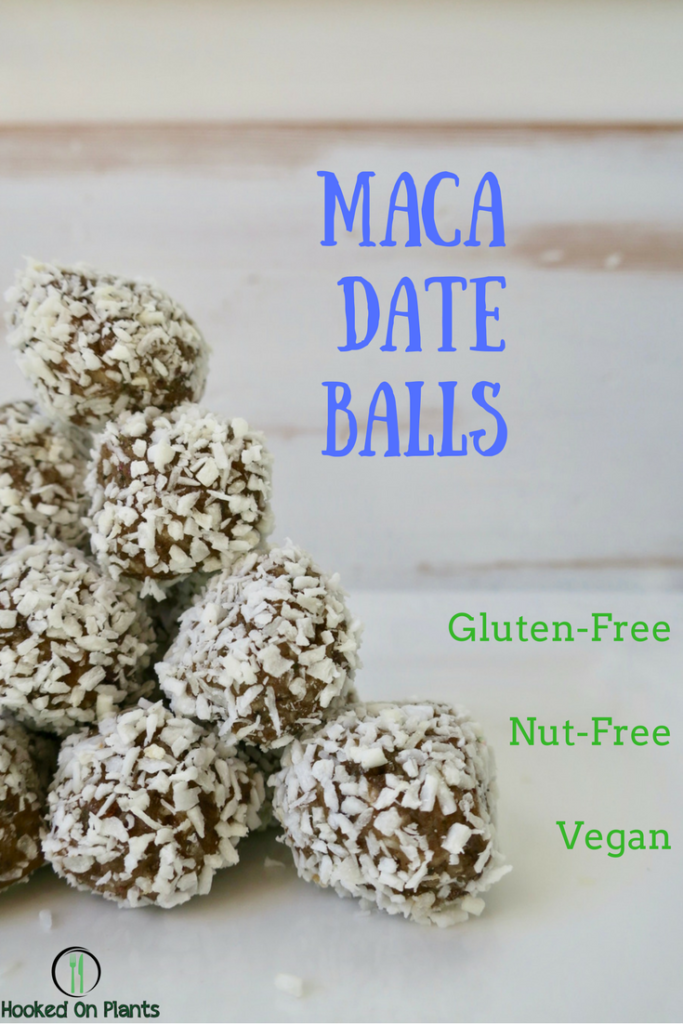
Maca Date Balls
AKA Meteor Balls
Time: 10 minutes + 30 minutes chill time
Serves: 15-20 balls
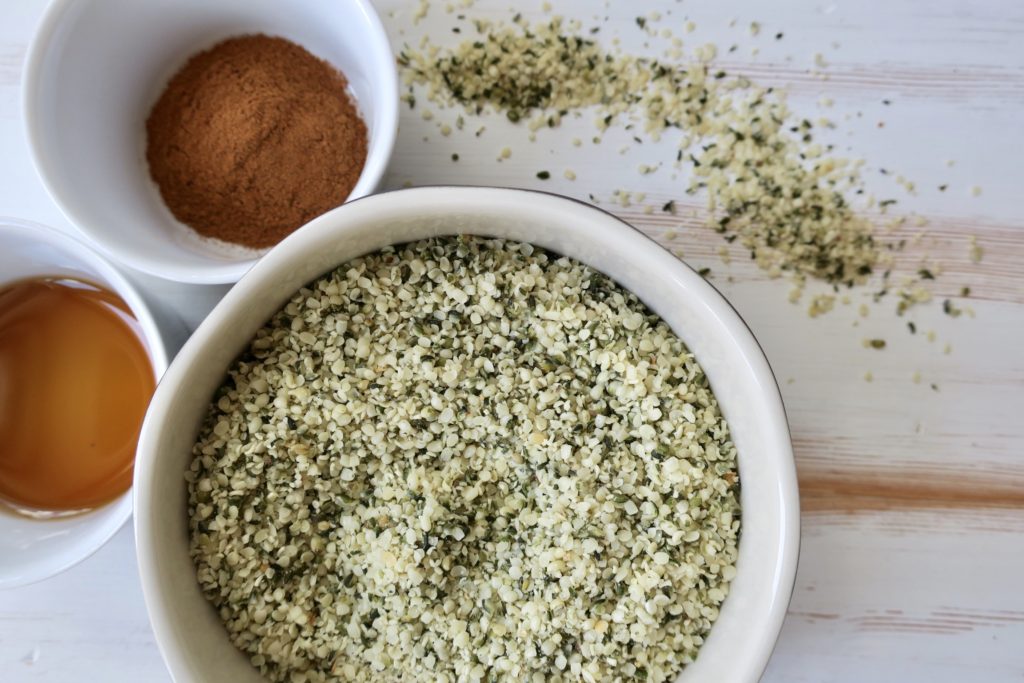
Ingredients:
- 15 pitted dates (1 cup packed)
- 1 chia egg (1 tbsp chia + 3 tbsp water, let sit for 5 minutes until gooey)
- 1/2 cup hemp seeds
- 2 tsp cinnamon
- 1/2 cup shredded coconut
- 2 tbsp maca
- 2 tbsp cacao nibs
For rolling:
- 1/4 cup shredded coconut
Directions:
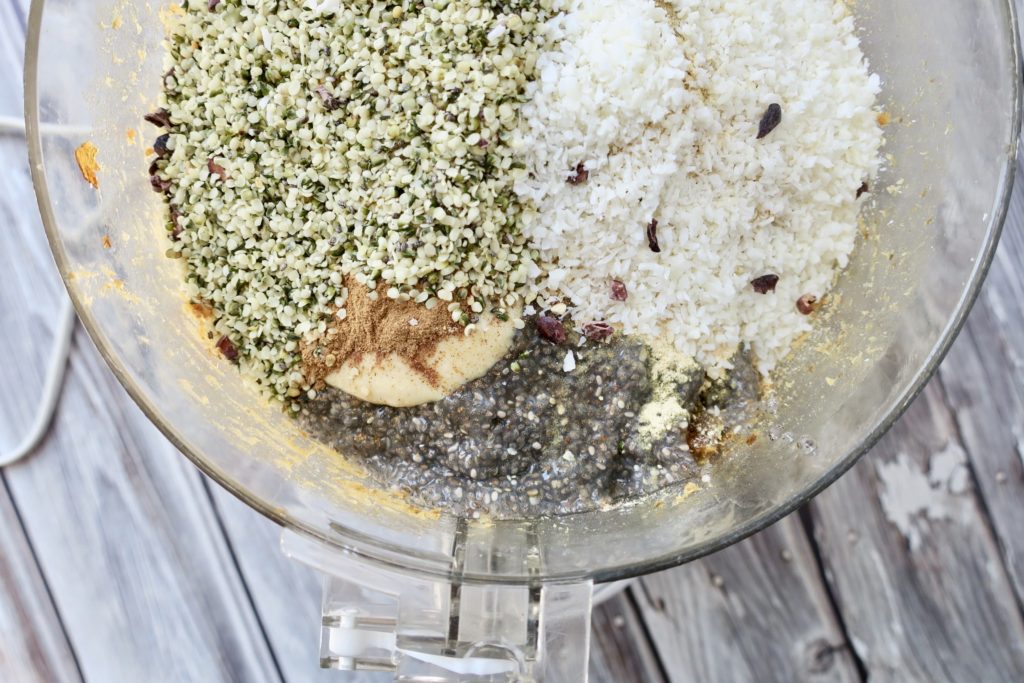
- Pulse dates in food processor until small chunks form (but don’t pulse so much that a pastey ball forms)
- Add the rest of the ingredients except for cacao nibs and rolling coconut
- Blend until ball forms
- Add cacao nibs, and blend until mixed evenly
- Spread rolling shredded coconut out in a flat bowl
- Wet hands
- Roll date mixture into small balls, then place them in the coconut bowl
- Roll the balls around until coconut coats them completely
- Place in the freezer in one layer on a plate (at least 20 minutes, then for storage place them in a tupperware or ziplock in the freezer)
- Eat when you’re feeling snacky, or low energy!