When you find a vibrant, purple mega cauliflower, you take it home.
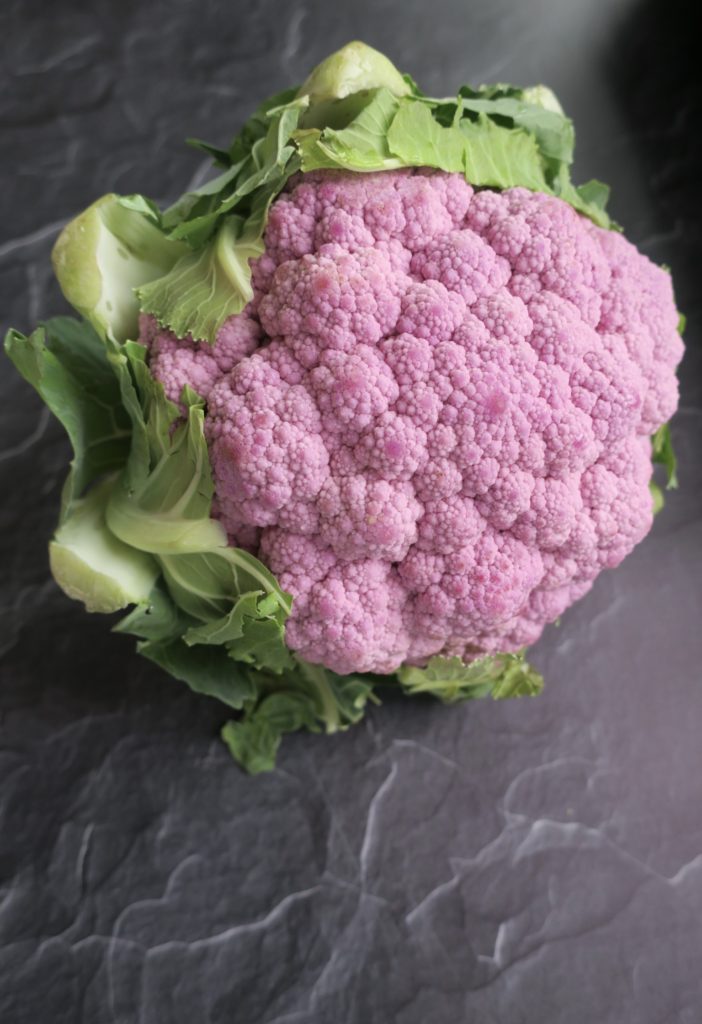
Thanks to Spud for carrying all of the local, organic goodness.
With this beauty, I immediately thought… purple cauliflower mash… yes.

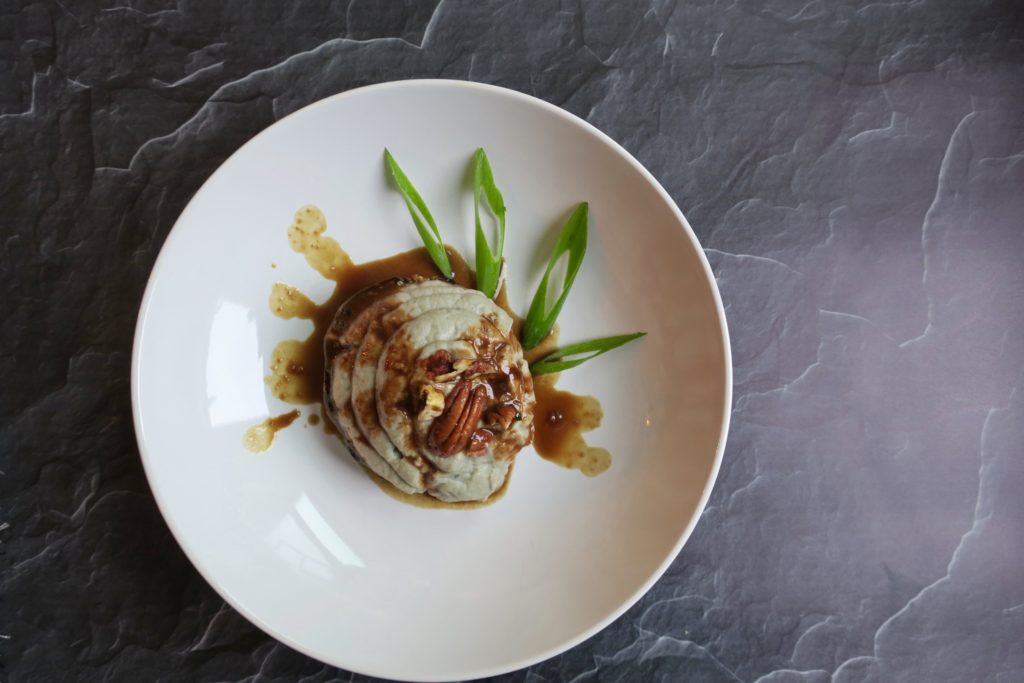
As you can see, the mash is more on the grey side, and not so purple after all. But, it still tastes delicious and it’s a different option from your regular mashed taters.

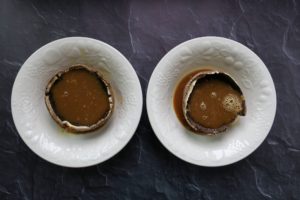
The portobello mushroom marinade is quick, easy, and super flavourful.
This is a great dish to serve if you’re having guests and you want to make it a little fancy! Ya know?
Paired with a big green salad, you’re good to go!
Benefits:
~ Cauliflower of the purple variety has more of the antioxidant anthocyanin. This, along with being a sulfur-containing cruciferous veg, packed with vitamin C and K, gives you the anti-cancer punch that you need!
~ Portobello mushrooms are rich in minerals like potassium, phosphorus and selenium. Plus, they’re pretty much vegan steak when you marinate them like this!
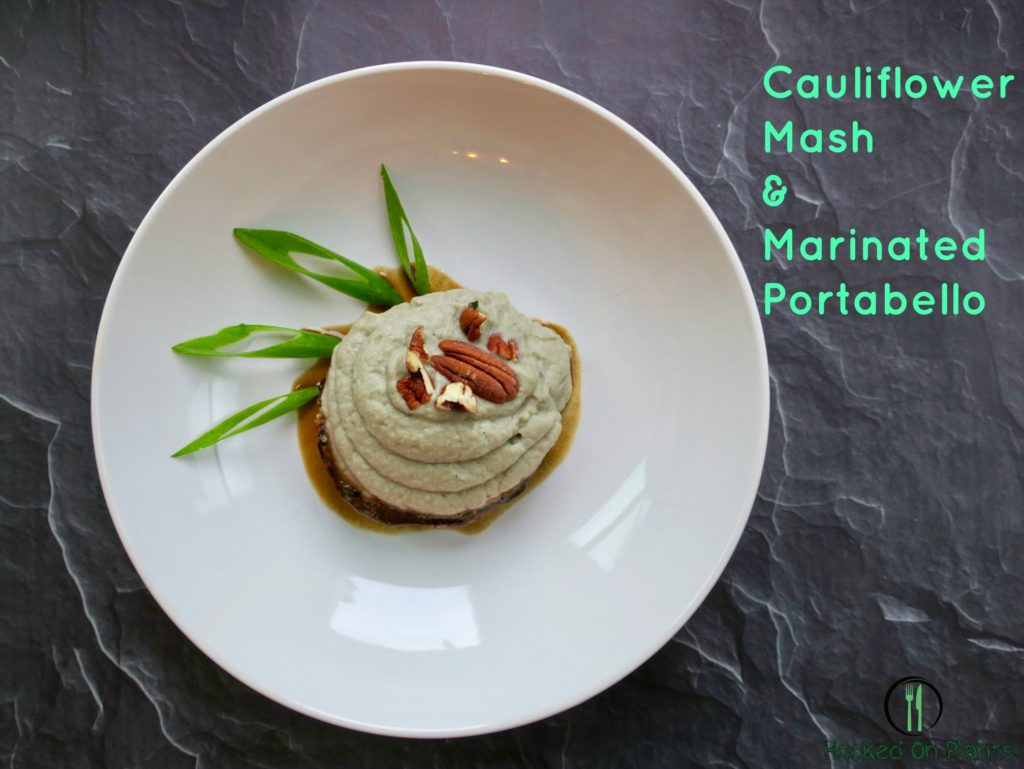
Cauliflower Mash & Marinated Portobello
Time: 45 minutes
Serves: 2
Ingredients:
Cauliflower Mash:
- 1 large head of cauliflower (any colour!)
- 1/2 c unsweetened coconut milk
- 1/3 cup nutritional yeast
- 3 sprigs of fresh thyme
- dash of pepper
- 2 cloves garlic
- 1-2 tbsp chives minced
Portobello Mushrooms:
- 2 portobello mushrooms, de-stemmed and scrubbed
- 1 tbsp mustard
- 2 maple syrup
- 3 tbsp tamari or coconut aminos
- 1 tbsp apple cider vinegar
- 3 tbsp water
- 2 cloves garlic
Garnish:
- 2 green onions, sliced thinly and diagonally
- 5 pecans, chopped
Directions:
- Pre-heat oven to 400 F
- Make portobello marinade: whisk together mustard, maple syrup, soy sauce, apple cider vinegar, water and garlic
- Pour marinade over each mushroom (cap-side down). Let sit 10 minutes
- Chop cauliflower into even pieces
- Steam cauliflower until fork tender (10-15 minutes): fill pot with 1 inch of water, bring to a boil, place cauliflower in a steamer basket and cover. Once tender, pat cauliflower down with a clean towel. Get as much moisture off as possible.
- Bake mushrooms in a dish that allows the mushrooms to be covered in the marinade. Bake 15-20 minutes, flipping half way
- While mushrooms are baking, make the cauliflower mash: In a food processor, blend until smooth the coconut milk, thyme, chives, pepper garlic, and nutritional yeast to blender with 1/4 of the steamed cauliflower. Then add in the rest of the cauliflower and blend until nearly smooth
- Serve by placing the mushroom cap side down on a plate, then fill it up with cauliflower mash, and top it with green onions and pecans. Use the extra marinade as ‘gravy’ over top of the mash!