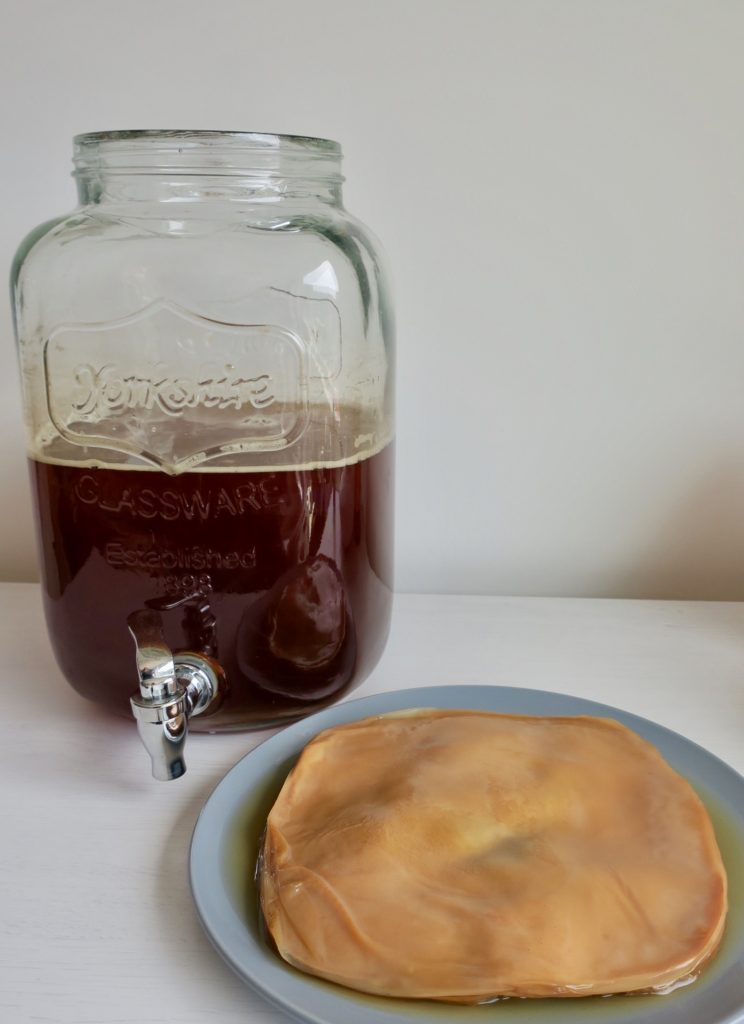
The BOOSH!


There are 3 ways you can get yourself a Scoby:
- From a friend who is already brewing their own Kombucha. All they need to do is peel off a few layers (creating one thick layer) of their own Scoby, and transfer it to you with some of the liquid from their the batch. The Scoby likes to be smooth-side up (you’ll notice a smooth side and a rough/stringy side). You can transfer it in a zip-lock bag (which you will rinse and re-use, of course;) then get it into your glass jar with the rest of your tea as soon as you can.
- Buy a Kombucha Starter kit at almost any health food store.
- Start your own Scoby:
- Buy a bottle of raw, unflavoured kombucha at the store.
- Pour the raw kombucha into a large glass jar. (Optional – you can create more liquid/food for the Kombucha to ferment in by making 1 cup of black tea with 1-2 tbsp of white sugar, letting it cool, then adding this sweet tea to the jar with the original store-bought boosh).
- Cover the jar with a few layers of cheese cloth and secure it with a tight rubber band.
- Leave the tea to ferment in a room temperature cupboard for about 7 days.
- You should see your Scoby developing on top of the liquid (it will look like a clear film, then become more white and thicker as the time goes by. If you don’t see any sign of a scoby after 3 weeks, discard all of it and start over with a different store bought kombucha. Wait until the Scoby is at least 1/4 inch thick before using it to brew your first big batch of Kombucha! This could take up to 1 month.
- Keep your new Scoby and the tea for making your first batch of Boosh.
Benefits of Kombucha:
Just like all fermented things (sauerkraut, kimchi, miso, kefir, tempeh, pickles, natto, coconut yogurt) …
Kombucha has a MEGA-DOSE of benefits!
- Increases good gut bacteria
- Contains probiotics
- Aids digestion
- Detoxifying
- Immune support
- Reduces inflammation
- Contains antioxidants
- More energy
- Cleanses liver
- Helps with weight loss
- Helps you sleep better
- Cancer prevention
- Hangover helper
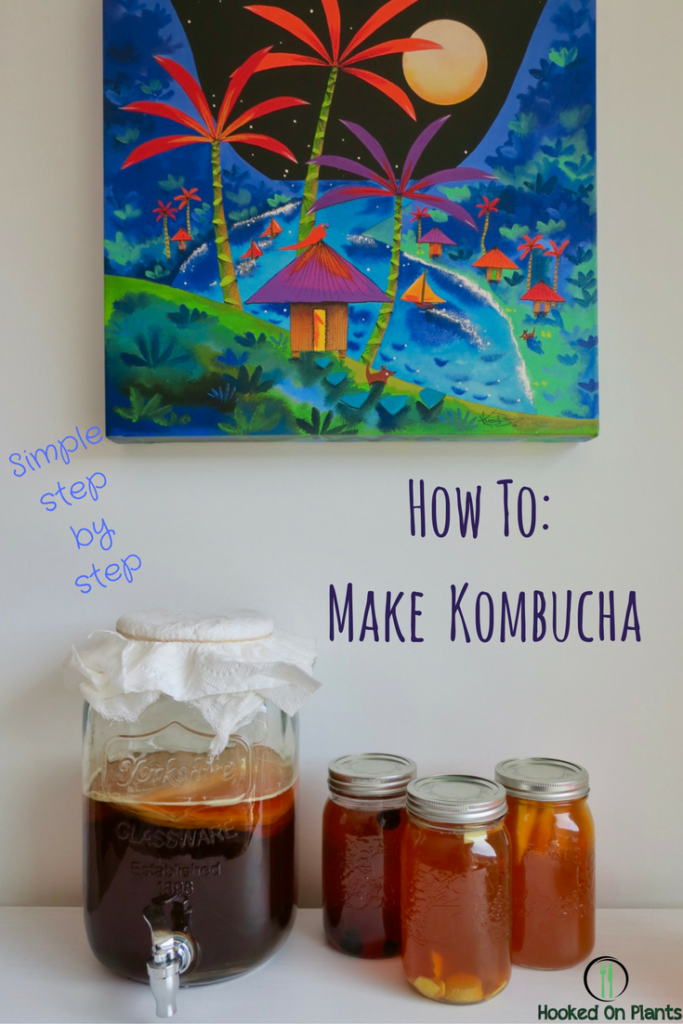
How To:
Make Your Own Kombucha
First, a few things to know:
- Every batch tastes a bit different. This depends on brewing time, temperature, and the strength of the tea. This is all part of the excitement.
- Always have clean, non-soapy hands when handling the Scoby and the glass jar.
- Use hot water to wash the glass jar (AKA the Scoby’s home). If it still looks grimy, use white vinegar with hot water every few washes. No soap.
- For the batch liquid, use filtered water, if possible. Tap water from Whistler works well for me though!
- cheese cloth (enough to cover the top of your jar, folded over 3 times)
- elastic
- large glass jar (try to get one without any metal spout- it doesn’t work anyways because the Kombucha clogs it- and make sure it’s all glass!)
- 4 large mason jars
- 7 bags of organic black tea
- 1.5 cups of organic white sugar (don’t worry, the Scoby will eat most of the sugar up while it ferments)
- about 16 cups of water, as clean as you can get it (filtered is best, but my Scoby doesn’t mind Whistler tap water)
Directions:
- Bring 4 cups of water to a boil in a pot
- Once boiling, turn off the element
- Add the 7 black tea bags and the sugar to the water, and stir
- Let the tea sit and steep for 10 minutes
- Pour the hot tea into the large glass jar
- Fill the jar up with 14 more cups of cold water
- Place the Scoby in the water, rough side down, smooth side up
- Use a few layers of the cheese cloth as a lid with an elastic
- Place the jar of Kombucha in a cupboard or pantry for 10-20 days
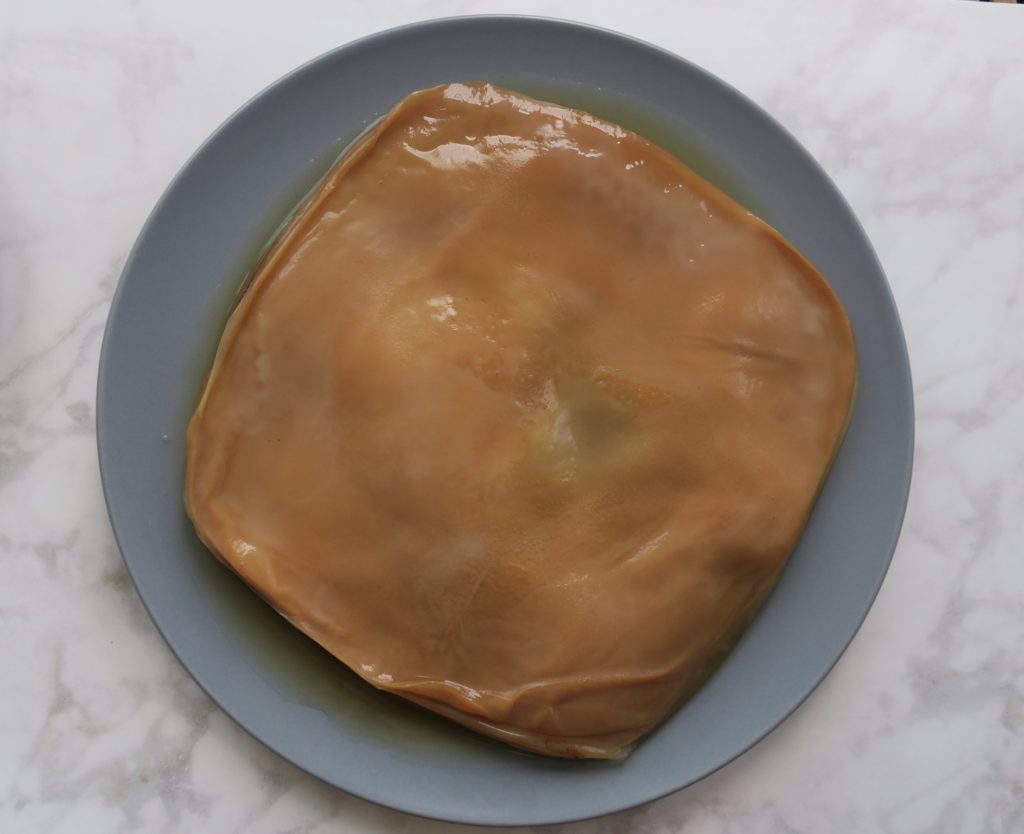
(At day 10, taste it to see if its bubbly- if not, leave it for a few more days until you like the amount of bubbles !) - Once it’s finished fermenting to your liking, carefully take the Scoby out and place it on a plate (rough side down) while you get the next batch ready.
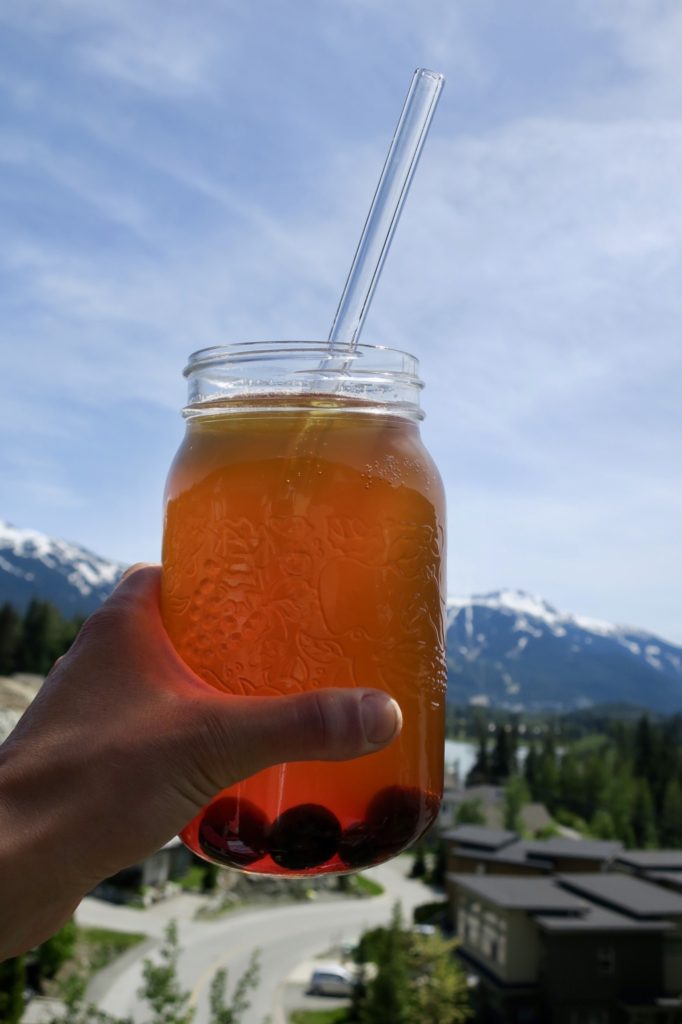
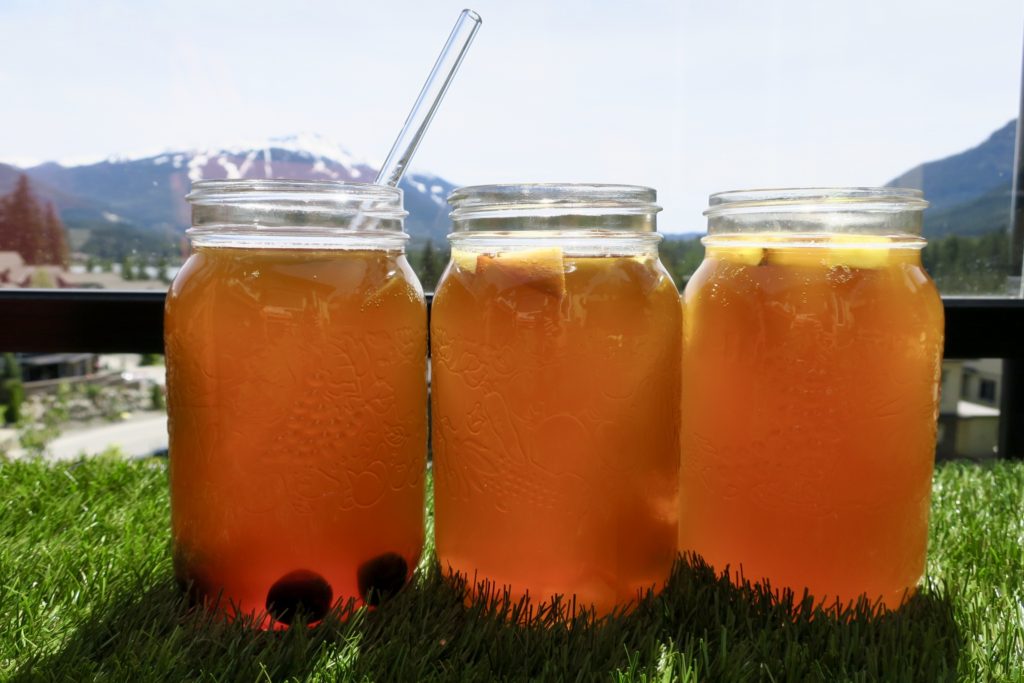
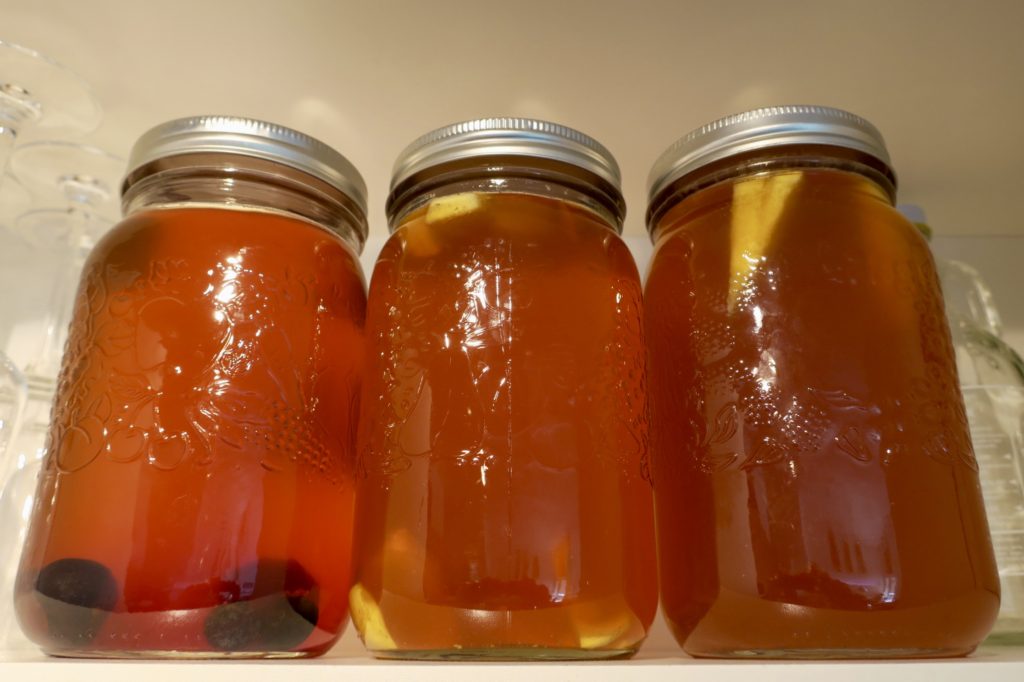
- Pour the Kombucha into mason jars. You can tighten the lids, keep it in the fridge and drink it as is OR carry 0n to the next step…
- This is optional, but makes the Kombucha even more bubbly and delicious.
- Secondary Fermentation – add flavour your mason jars by adding fresh ginger, 1 tsp of maple syrup, fresh fruit chunks or purée, or fresh herbs. Tighten the mason jar lids and leave them in the cupboard for 1-3 days. This will create a more carbonated and flavourful Kombucha. Then, place them in the fridge to halt the carbonation.
**Step-by-step with photos!**
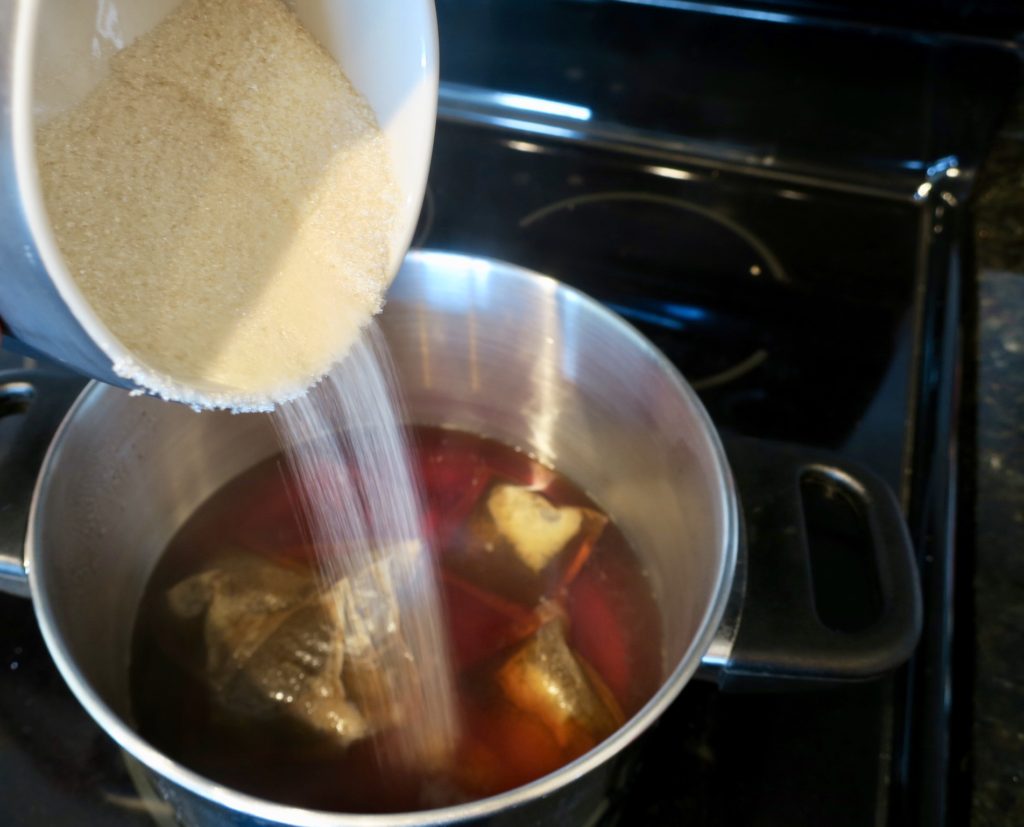
Once the water is boiling, add organic sugar and tea bags.
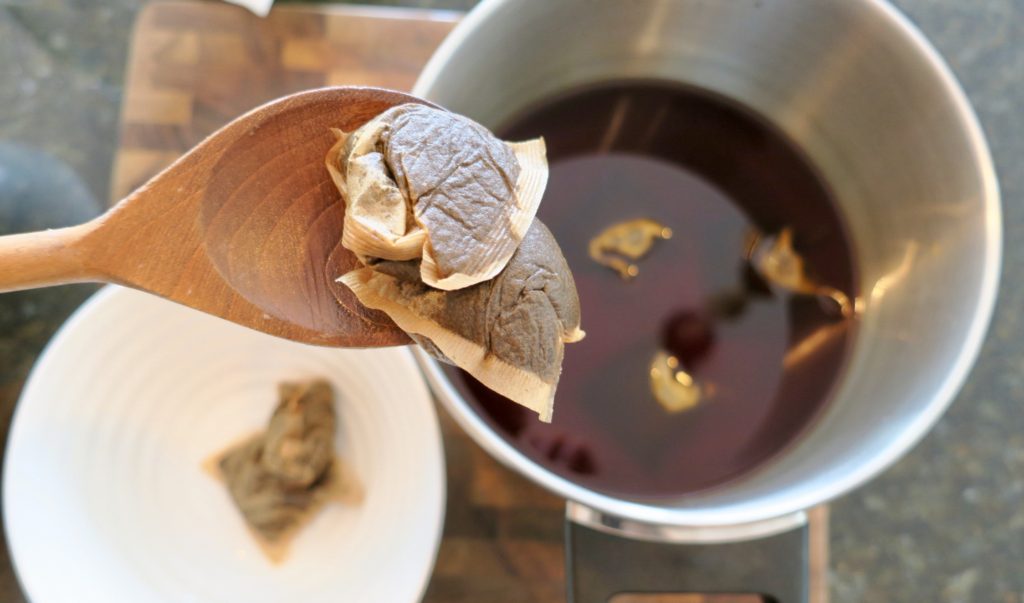
Remove the tea bags after 10 minutes

Pour the hot, sweet tea into your large glass jar
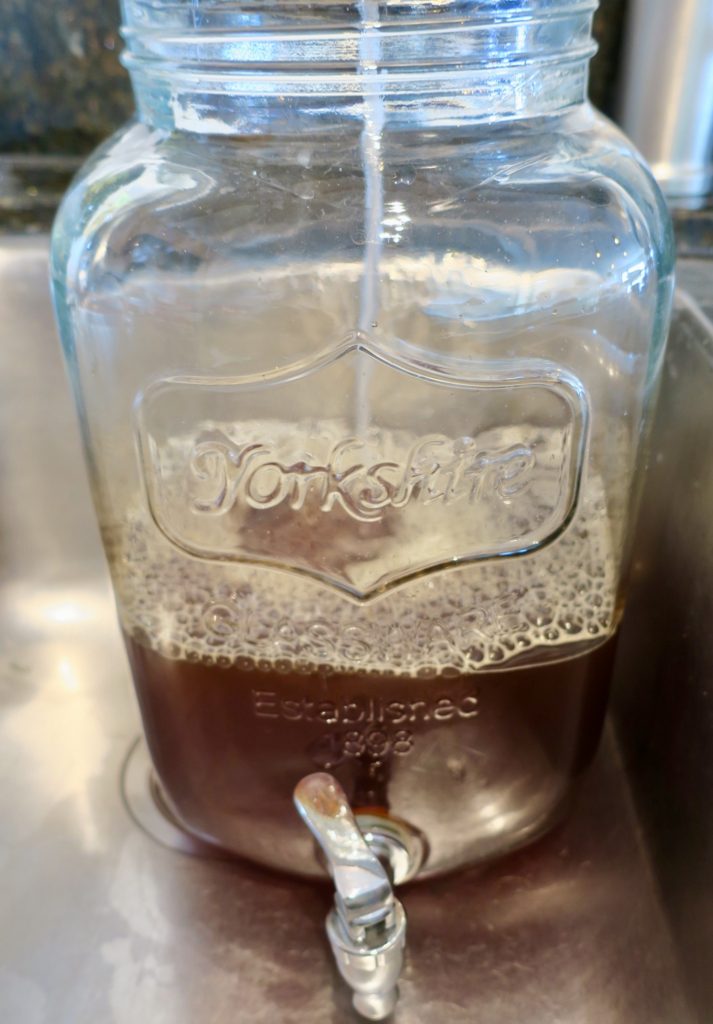
Fill the jar with about 12 more cups of water
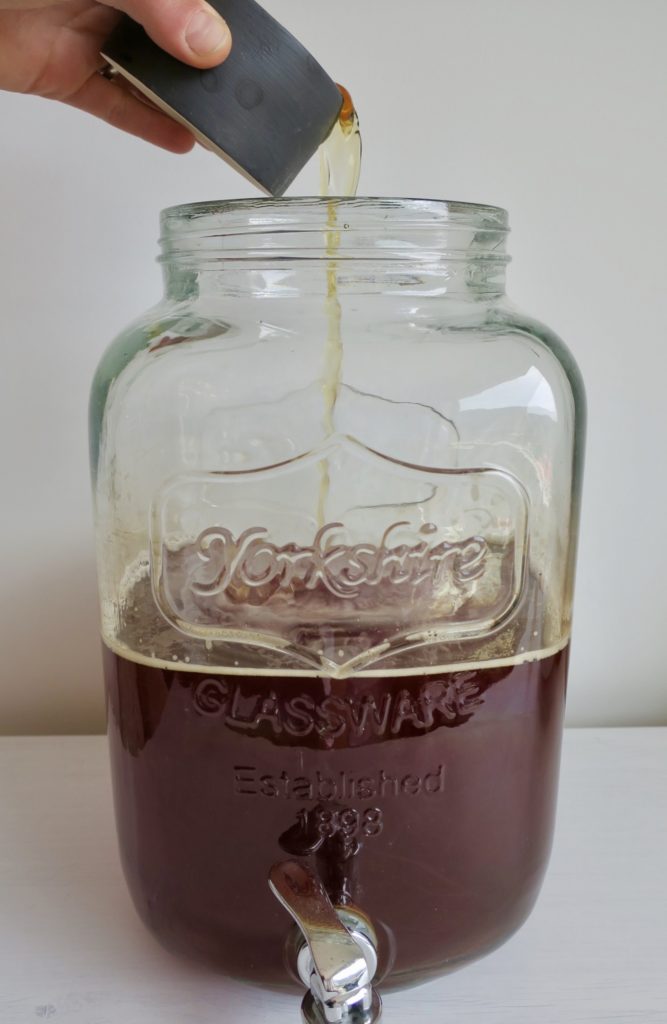
Add a little bit of the last batch’s liquid
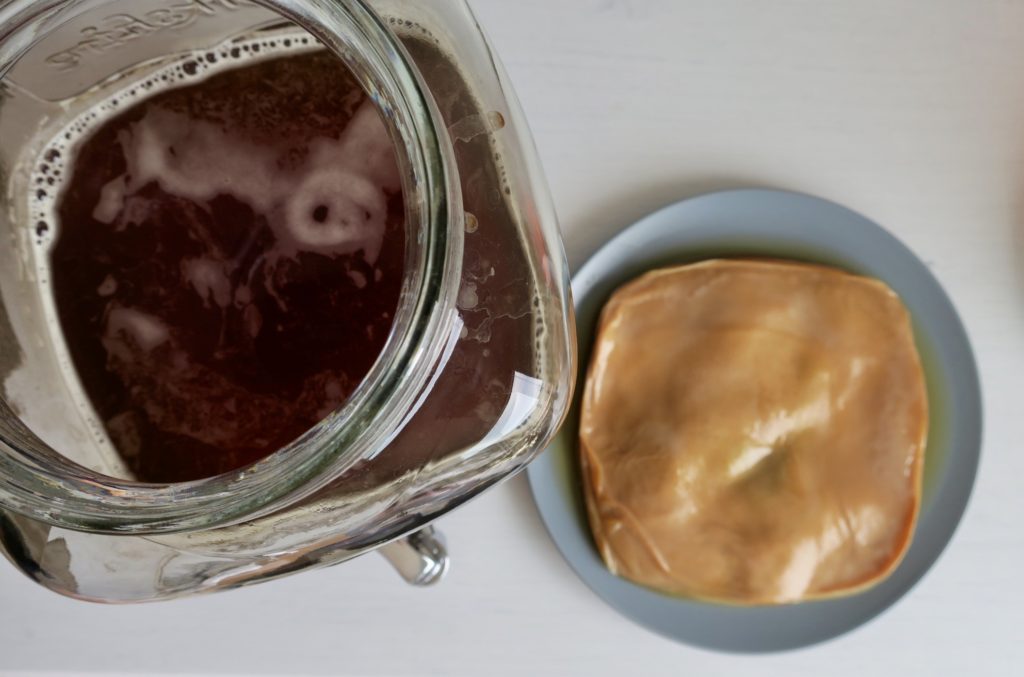
Place the Scoby, smooth side up, into the liquid
![]()
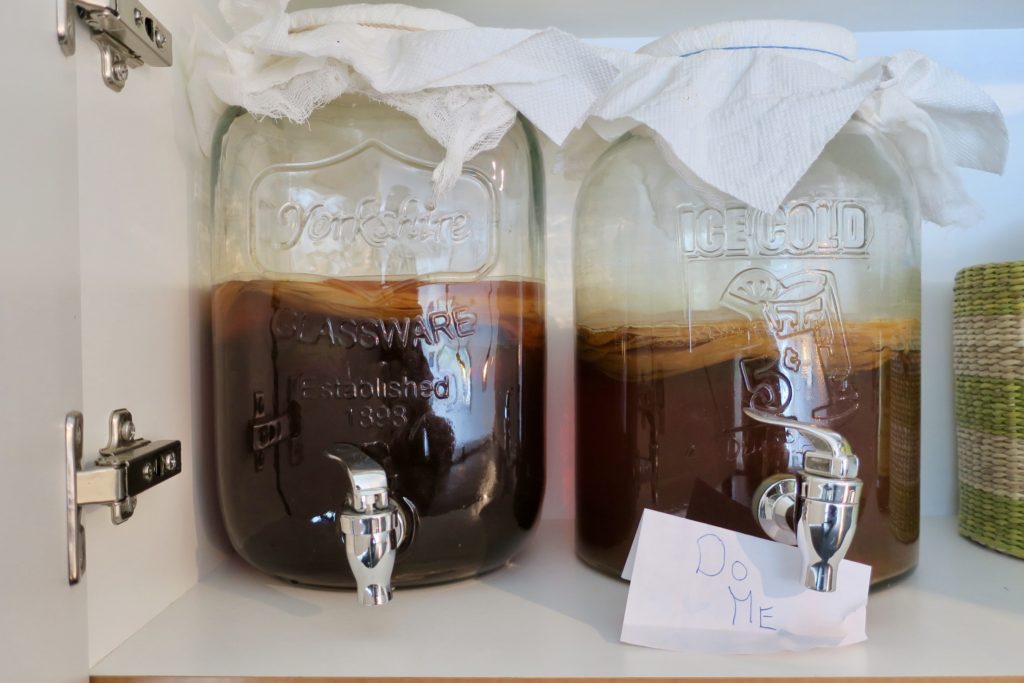
Cover with a cheese cloth and rubber band, and place into your cupboard away from the sun for 10-20 days (I have 2 jars that I rotate between every 2 weeks).
Too hippy for you?