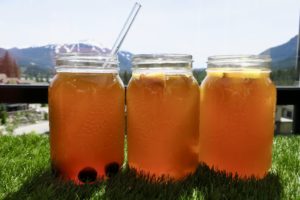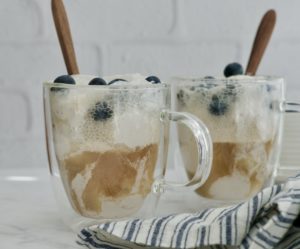
Time to float on! Kombucha float style!
Today we’re getting our float on… the easiest way ever.
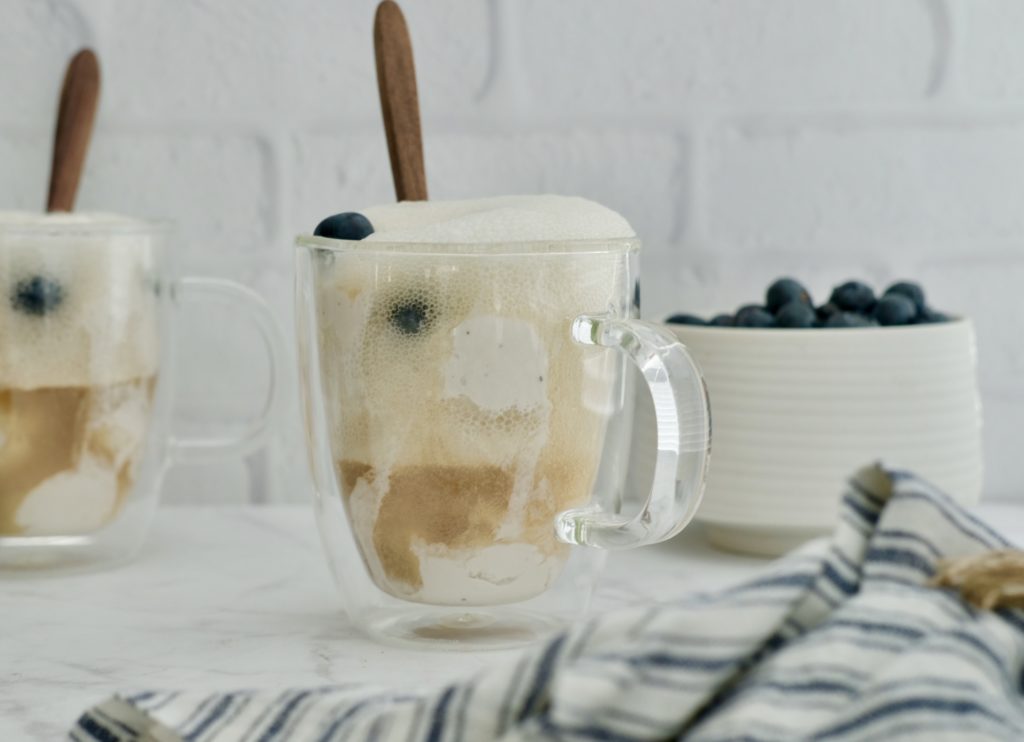
2 ingredients (3 if you count the berries on top), a satisfying pour, and a super delicious spoonful of bubbles n’ cream!
Just like you might remember, but minus the pop n’ dairy.
Have at er’ kids!
Simple as:
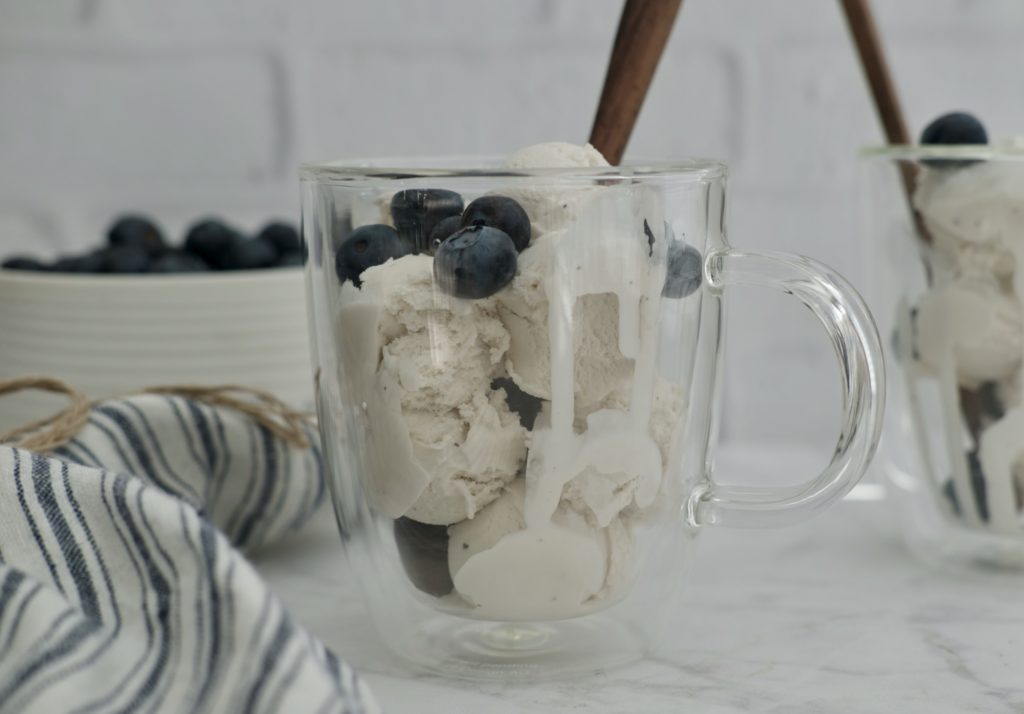
- Scoop
- Pour
- Spoon

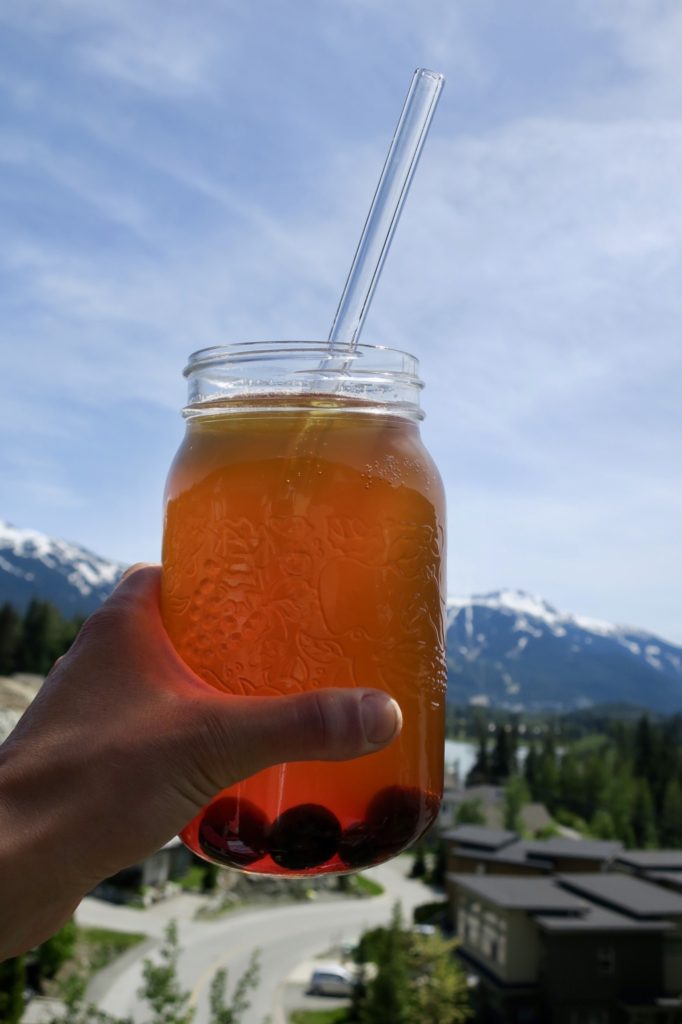
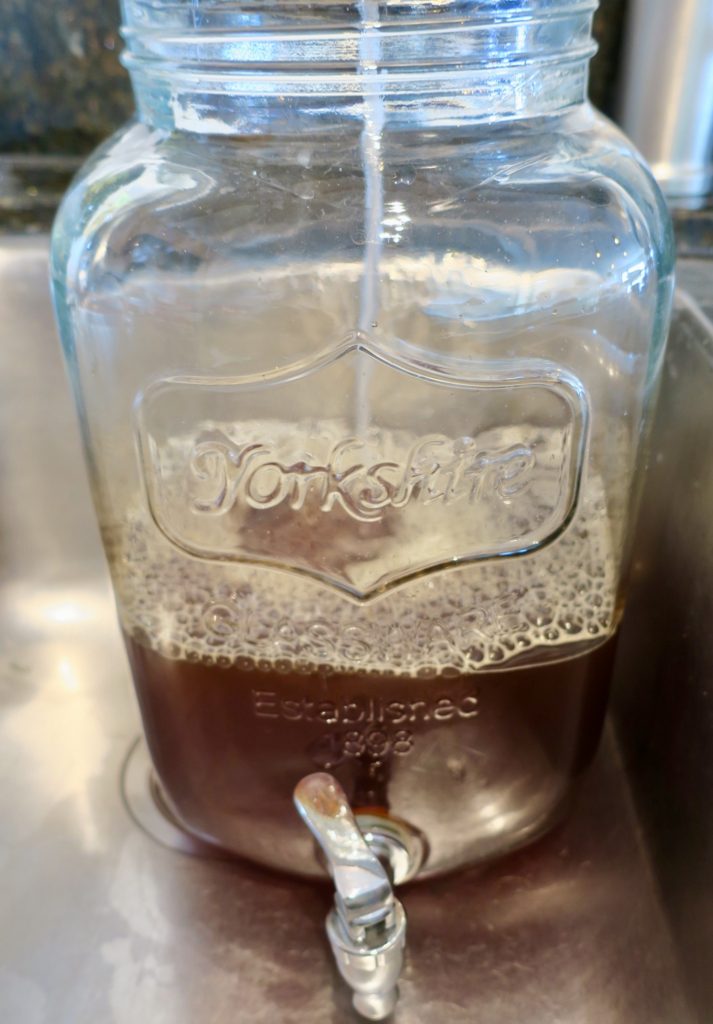
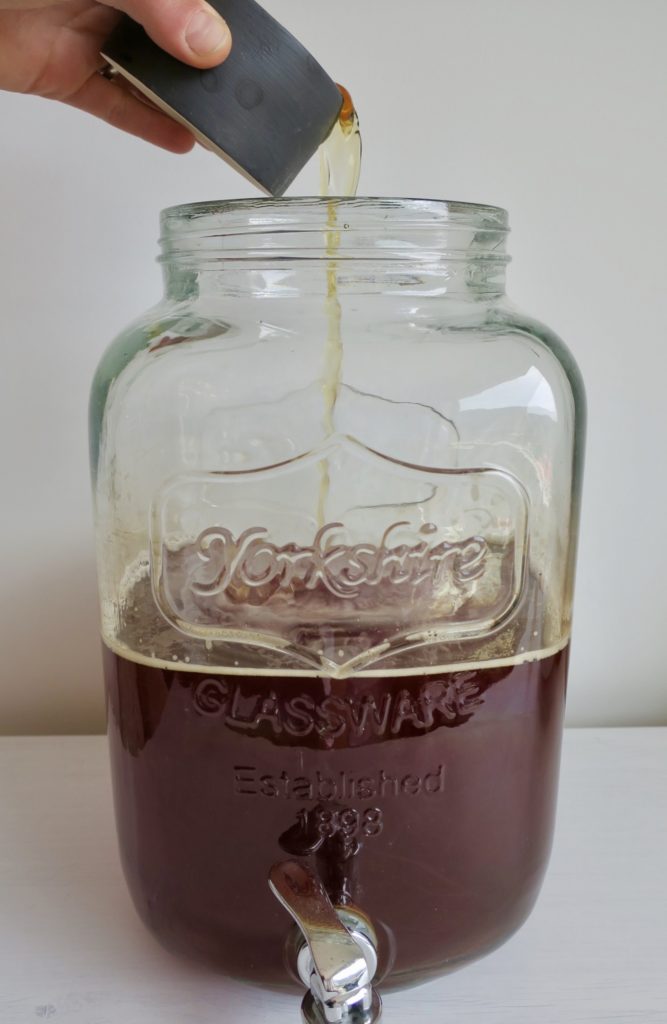
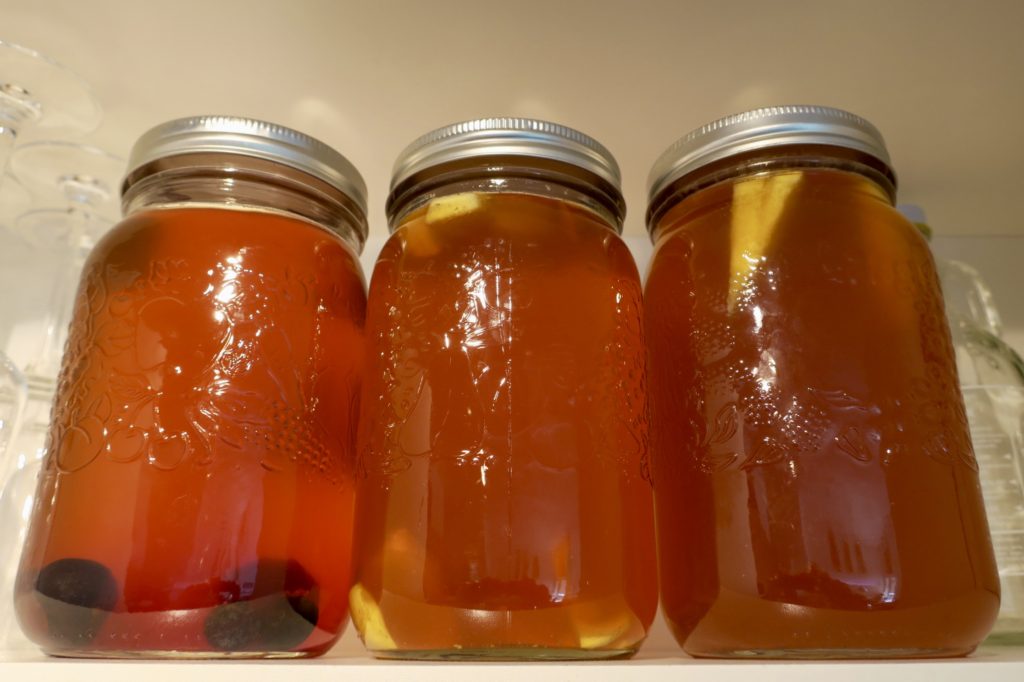
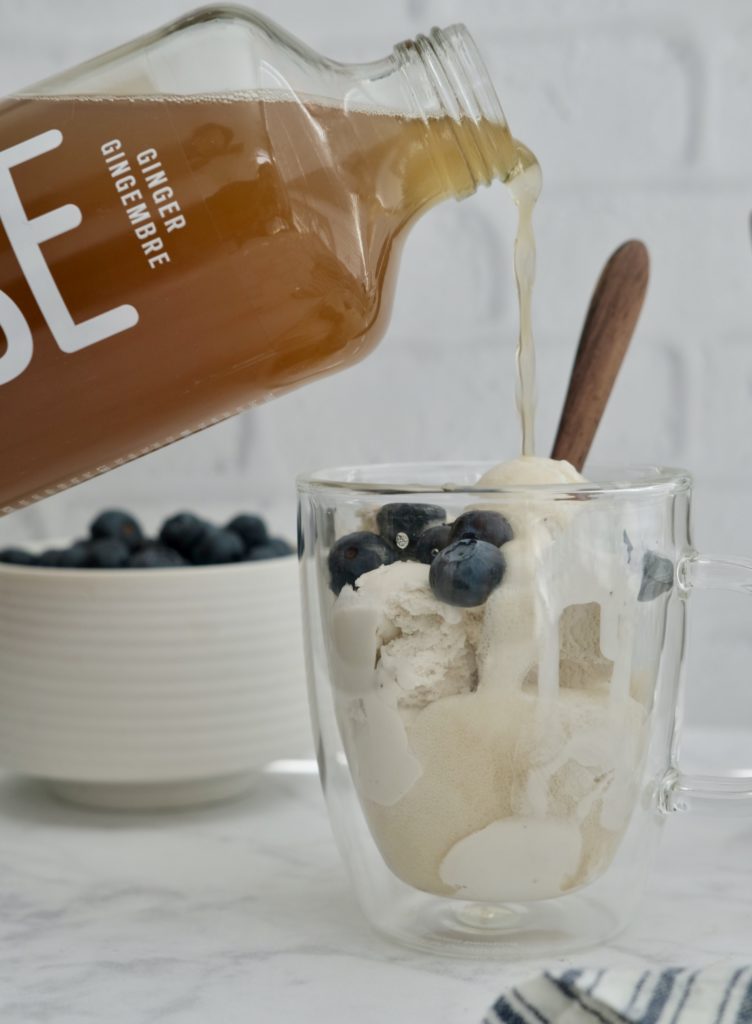
Today we’re using the Ginger Kombucha by Rise!! Their Rose Shizandra or Maple Blueberry boosh’s would be a great idea too.

I do make my own boosh, but it’s not always ready to go, and… I really like this kind. You can find Rise in most grocery stores these days, and this ginger one goes deliciously with the vanilla coconut ice cream (by Coconut Bliss).
Que the nostalgia, cuz here’s a taste of childhood in the summer!!
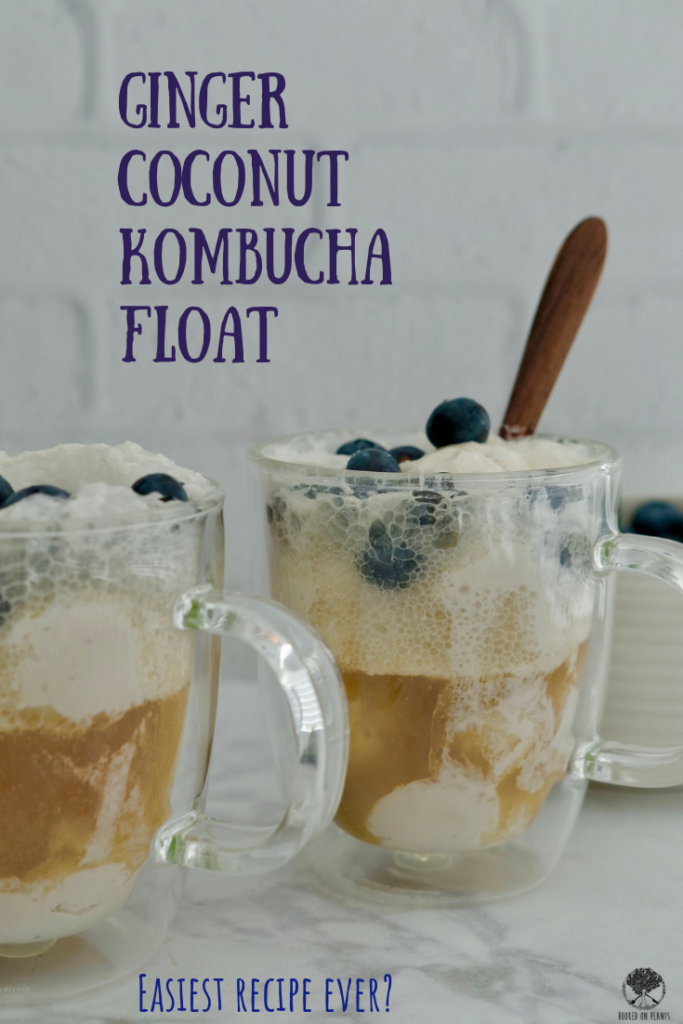
Ginger Vanilla Kombucha Float
Prep time
Total time
The easiest recipe you'll ever make?! A great one for the kids, and one to excite that child within you.
Author: Jules
Recipe type: dessert, snack
Serves: 2
Ingredients
- 2 cups of kombucha (used Ginger Rise Kombucha)
- 6-8 scoops of vegan ice cream (used Vanilla Coconut Bliss)
- Blueberries to top.
Instructions
- Scoop your ice cream into your 2 cups.
- Pour the boosh all over.
- Sprinkle those blueberries on top!
If you make this, tag @hookedonplants so I can see your creation!